



Marci's Mount - Ngàm in 3D cho kính thiên văn Hadley
 ByMarciLikes87Downloads298
Build another version of this model.
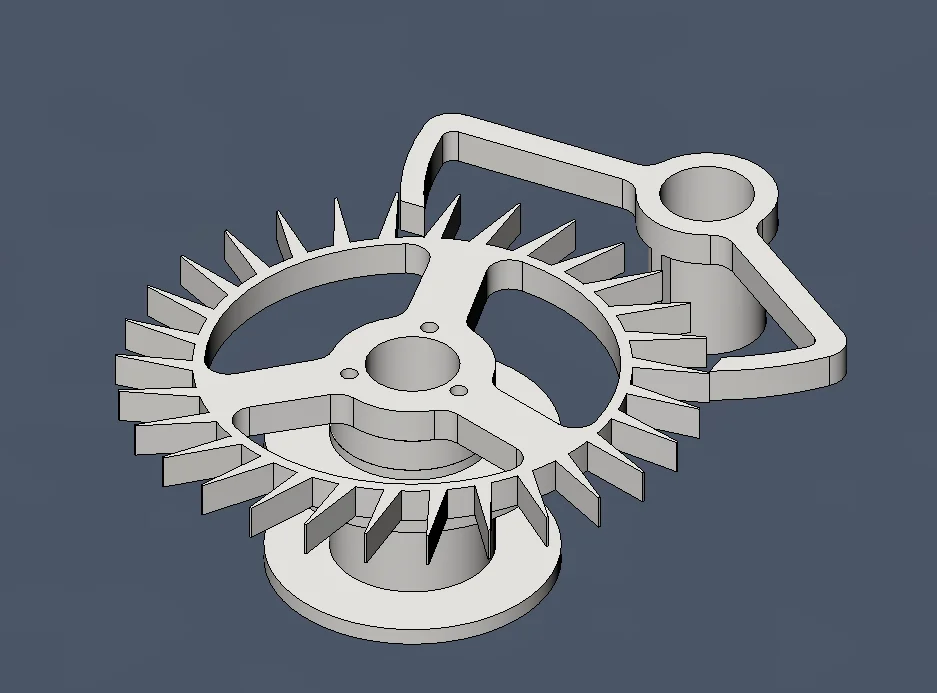
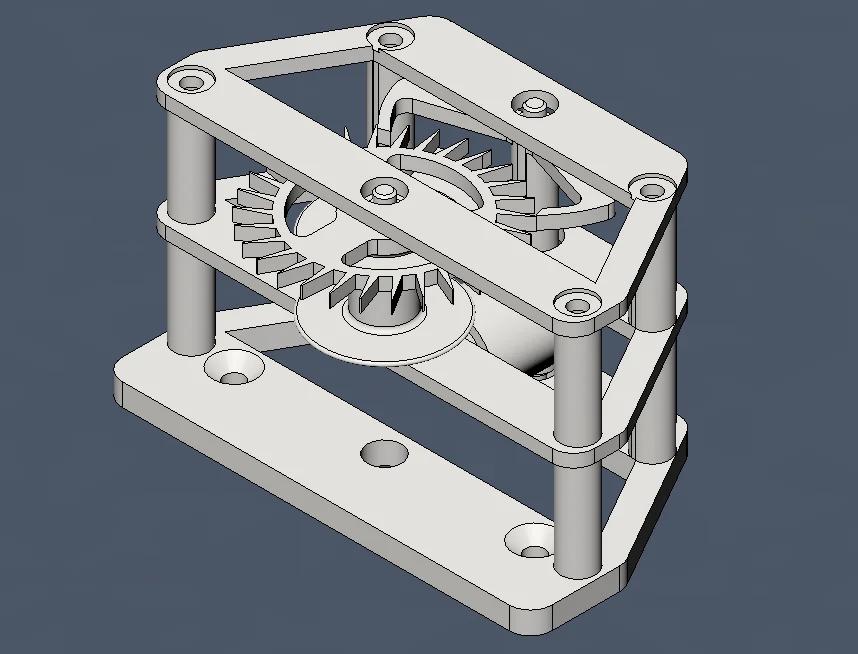
This is a work in progress and iterative testing is done to facilitate the design improvements to get a perfectly working escapement.
Sadly, the first test attempt(v11) failed, the escapement slips teeth and the cage design (v2) obscures visibility to allow clear observation to troubleshoot and adjust.
The first part of a working clock is the escapement and pendulum. This part aims to get a one second escapement going. If this is successful I intend to go to the next stage of designing and tuning the pendulum.
My aim is not just to make another clock, but to create a simplified path, at least in my mind, to understand the steps needed to get to the final destination and clearly document them using visual tools.
The technical stuff I found in this book: The Project Gutenberg eBook of The Modern Clock, by Ward L. Goodrich
To be honest, it's a long and tedious read, but if you care about the details, it is already there and I am not going the repeat that. I found a shortcut to the near perfect escapement, way more advanced than in the book. The Graham Clock Escapement - Wolfram Demonstrations Project, from this source I then produced this sketch.
I bought micro bearings on amazon, 3mm x 8mm x 3mm, so I want to use them everywhere. I also wanted a small escapement of only 50mm, it might be too small, by I am going to try this size first.
This is my sketch in Fusion 360 that I then extruded to 3mm and modelled a pendulum and cage to hold it all and test the escapement.
There is way more detail in the book that you can read from the chapters on escapements, but all the perfect angles is captured in the sketch details above.
ByMarciLikes87Downloads298

 Bystrifu_4061046Likes151Downloads1.3K

 ByBoonby_1059917Likes659Downloads1.2K

 Byandrej-bLikes0Downloads179

 ByFabianVeileLikes414Downloads1.5K

 BygillisLikes121Downloads2.1K

 ByLat0102_256421Likes35Downloads141

 Byloykastj_145194Likes1Downloads69


 ByzoltanfLikes73Downloads280

 ByHonzalLikes246Downloads183
