




Bộ sưu tập 11 nhân vật mô hình Mecca Chameleon in 3D vui nhộn
 ByZED4EverLikes313Downloads5.2K
Build another version of this model.
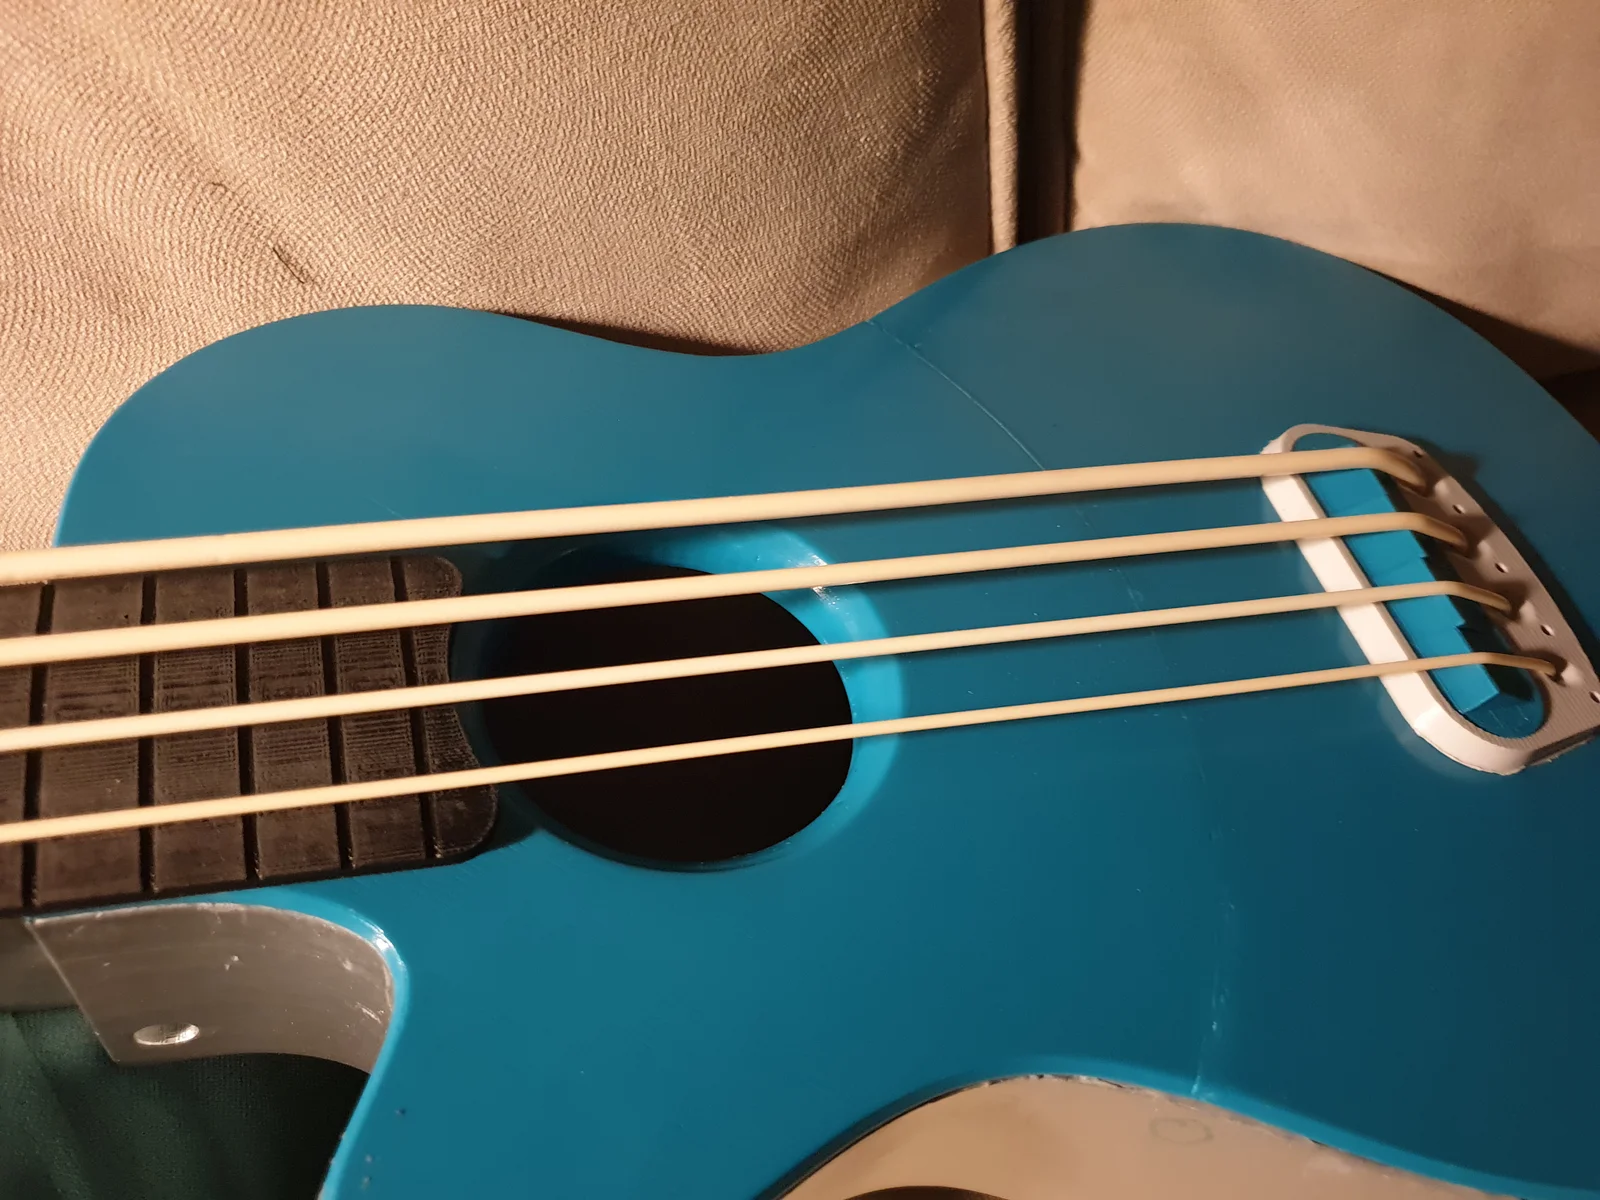
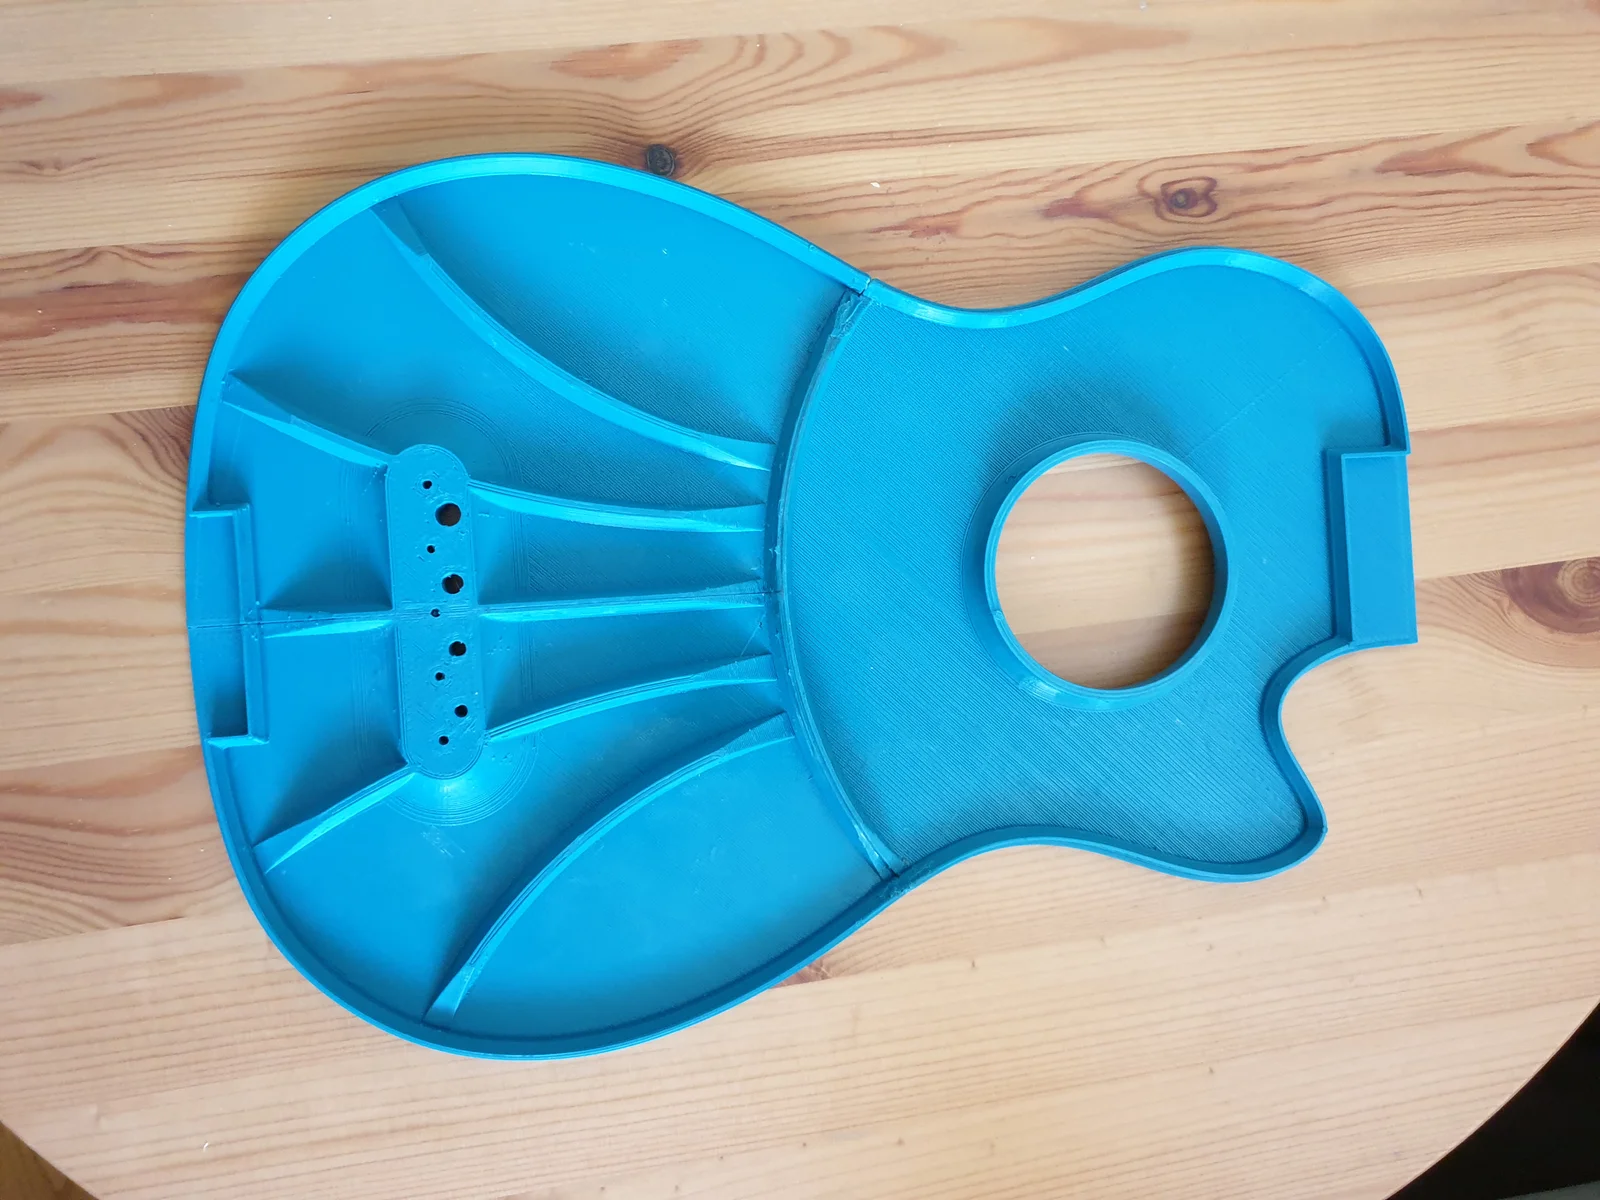
This is 3d printable ukulele bass inspired by Ukulele Bass by DavidB, but everything is redesigned (not always sure if for better) based on sketches from this project.
Just print it in PLA. I am using 0.6 nozzle.
I am left handed but all STL files are for right handed version. If You want to print Left Handed version mirror all the files but neck (unless you have mirrored threaded m10 rod).
Glue neck parts together, glue back parts together, glue front parts together. I use two parts epoxy for gluing. Put the M10 rod in the neck for more stiffness. you can use M10 bolt or nut if You are using m10 Rod) for keeping the neck in place while gluing to the body. For gluing bridge to front and fretboard to the neck I used double sided tape - so i can adjust it later. I have underestimated my glue solidifying speed, so I ended up with ugly uneven gap between front board and rest of the instrument. Nevertheless I was able to add fretboard so I can confirm that everything works. Use something slower than 5 minutes epoxy :).
Strings:
Use cable ties at the bridge end of the strings. the other end goes in the hole of the peg gear.
I have impression that it can be louder and with faster response with thinner walls of the body.
Redesigning tuners to move strings closer to the guitar head.
ByZED4EverLikes313Downloads5.2K

 ByfifindrLikes500Downloads4K

 ByVC_DesignLikes679Downloads3.6K

 ByDan Schwartz SchwartzLikes744Downloads3.4K

 Byvc-designLikes0Downloads3.2K

 ByUpcrid3D_1585693Likes808Downloads2.1K

 ByWilko_SLOLikes935Downloads2K

 Bychubbs8697_2027893Likes585Downloads1.7K

 Byquibeck_3353173Likes965Downloads1.9K

 BySeppoTakaloLikes960Downloads1.9K

 ByRobertoGalloc_356815Likes549Downloads1.8K

 ByTater_364200Likes486Downloads1.6K