



New
Custom Road-Legal Electric Car (3D Printed PETG + Carbon Fiber Body)
 Bykevin-kuehnLikes0Downloads295
Build another version of this model.
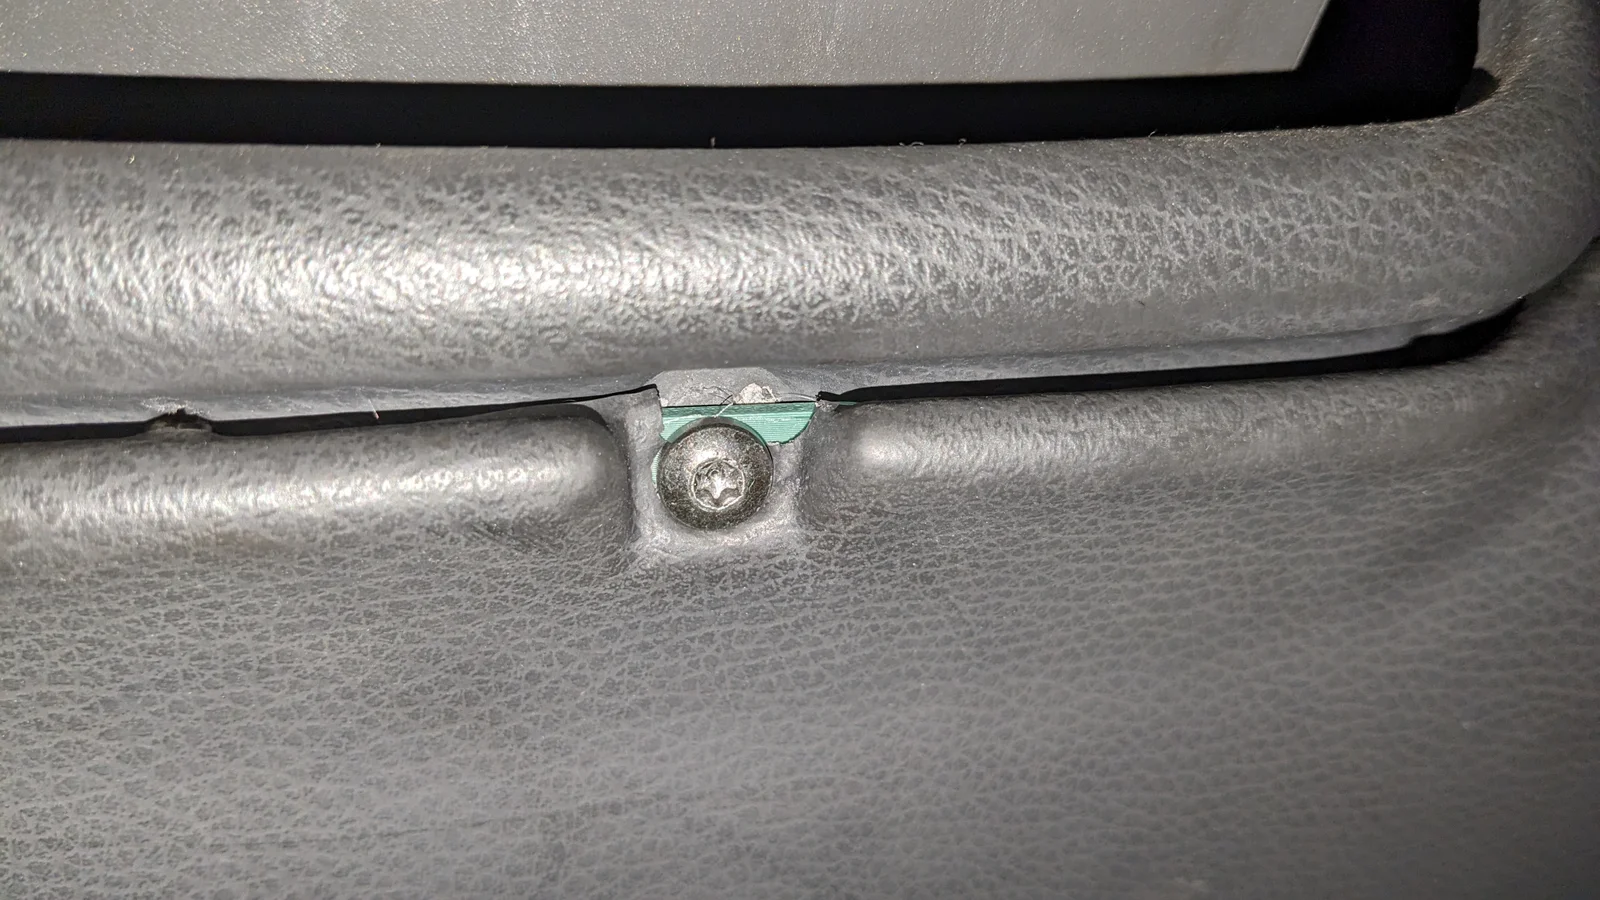
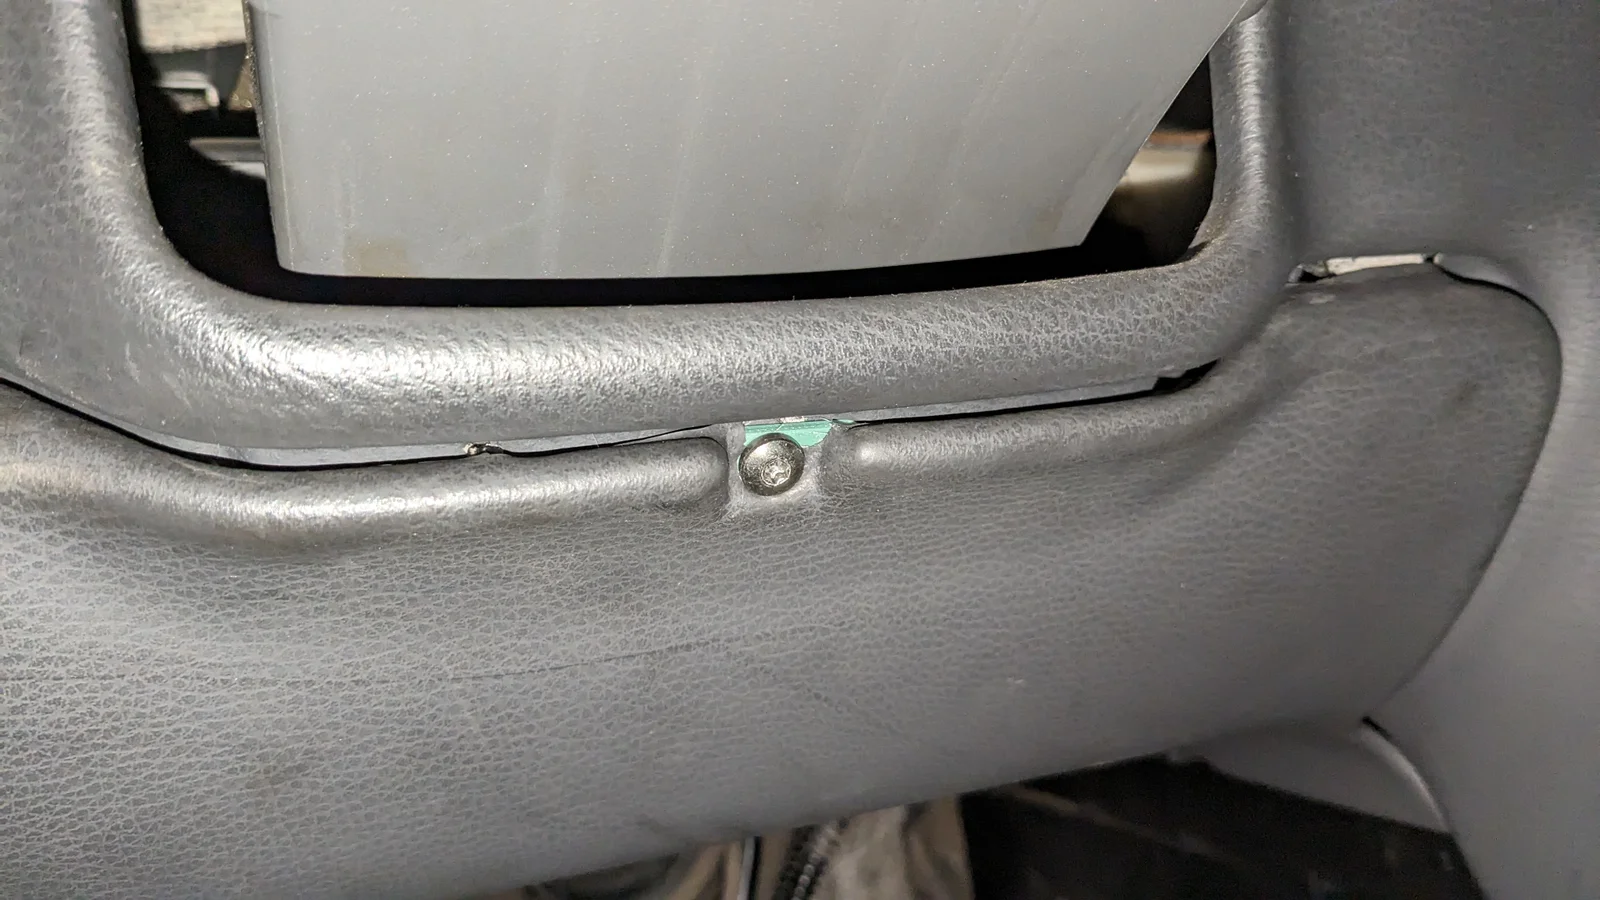
The center tab of the kickpanel on the drivers side in P80 series Volvos (V70I, S70) tends to break. Since it is the only screw holding the kickpanel in place, it is a rather important mounting tab. Repairing it is difficult since the mounting surface sits on an angle with respect to the surface of the kickpanel. In my case, no remains of the mounting tab were left attached on the kickpanel, so you will have to remove or at least trim residual material of the tab that is left on the panel for the patch to fit.
So far this has been tested on a couple of cars and is reported to work for LHD and RHD cars. But please share your experience :)
Please consider liking and posting a make if you find this useful 🙂
Bykevin-kuehnLikes0Downloads295

 BySkodaLikes0Downloads590

 Bytater-zoidLikes0Downloads122

 ByJordanK_858807Likes42Downloads438

 ByVC_DesignLikes721Downloads2.9K

 ByMAFIXMAFIX_337316Likes130Downloads384

 BytimLikes0Downloads354

 ByleonicLikes0Downloads1.4K

 Bydenis-3dLikes0Downloads266

 ByZED4EverLikes313Downloads5.2K

 BySnigelfarfar_769029Likes0Downloads8

 ByalldotLikes0Downloads211