

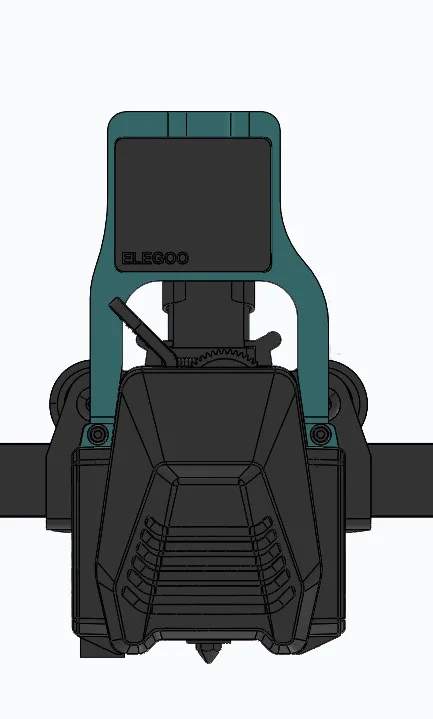
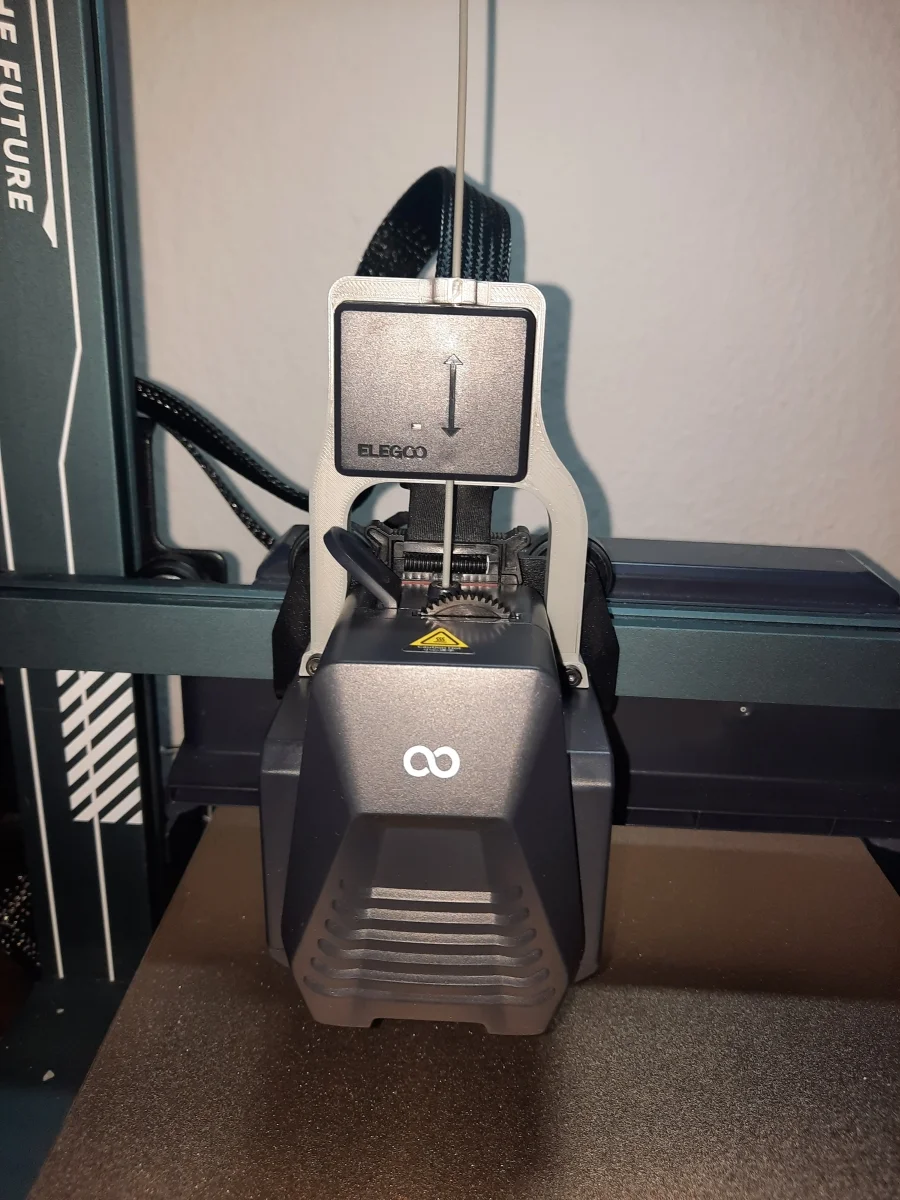


Kẹp giữ sợi Filament
 Bytinx_1344834Likes1.2KDownloads6K
Build another version of this model.
Neptune 3 / 4 Filamentsensor am Extruder montieren.
Ihr benötigt 2 Stück M3x16 Schrauben.
Es gibt 2 Versionen: Eine Standard-Version und eine mit der Möglichkeit, ein M6 Pneumatik-Fitting anzuschrauben.
Wer möchte kann in das obere Führungsloch ein Stück 4mm PTFE-Schlauch einkleben.
Man kann das original Kabel vom Filamentsensor nutzen. Wenn ihr einen großen Neptune habt wie den Max, dann könnte es sein das ihr das Kabel verlängern müsst. Fall notwendig, nutzt dazu ein 3 poliges JST XH Verlängerungskabel in der Länge die ihr benötigt.
Eine Anleitung findet ihr bei den Dateien in how_to_mount.pdf
---
Mounting the Neptune 3 / 4 Filament Sensor on the Extruder
You will need 2 M3x16 screws.
There are 2 versions: A standard version and one with the option to attach an M6 pneumatic fitting.
If desired, you can glue a piece of 4mm PTFE tube into the upper guide hole.
You can use the original cable from the filament sensor. If you have a large Neptune printer like the Max, you might need to extend the cable. If necessary, use a 3-pin JST XH extension cable in the length you require.
You can find instructions in the files in how_to_mount.pdf
Bytinx_1344834Likes1.2KDownloads6K

 Byla-cave-au-chatLikes0Downloads973

 Byprusa-researchLikes0Downloads2.7K

 Bydet-manLikes0Downloads176

 Bygummiegecko8477Likes0Downloads168

 Bychukwufumnanya-arinzechukwuLikes0Downloads153

 BydalleLikes0Downloads151

 ByjoncruzLikes0Downloads589

 BynasikLikes0Downloads122

 Byarhi_585078Likes64Downloads547

 Bypedro-schattanekLikes0Downloads255

 ByHanzo3dLikes155Downloads417