
Dụng Cụ Tiện Ích
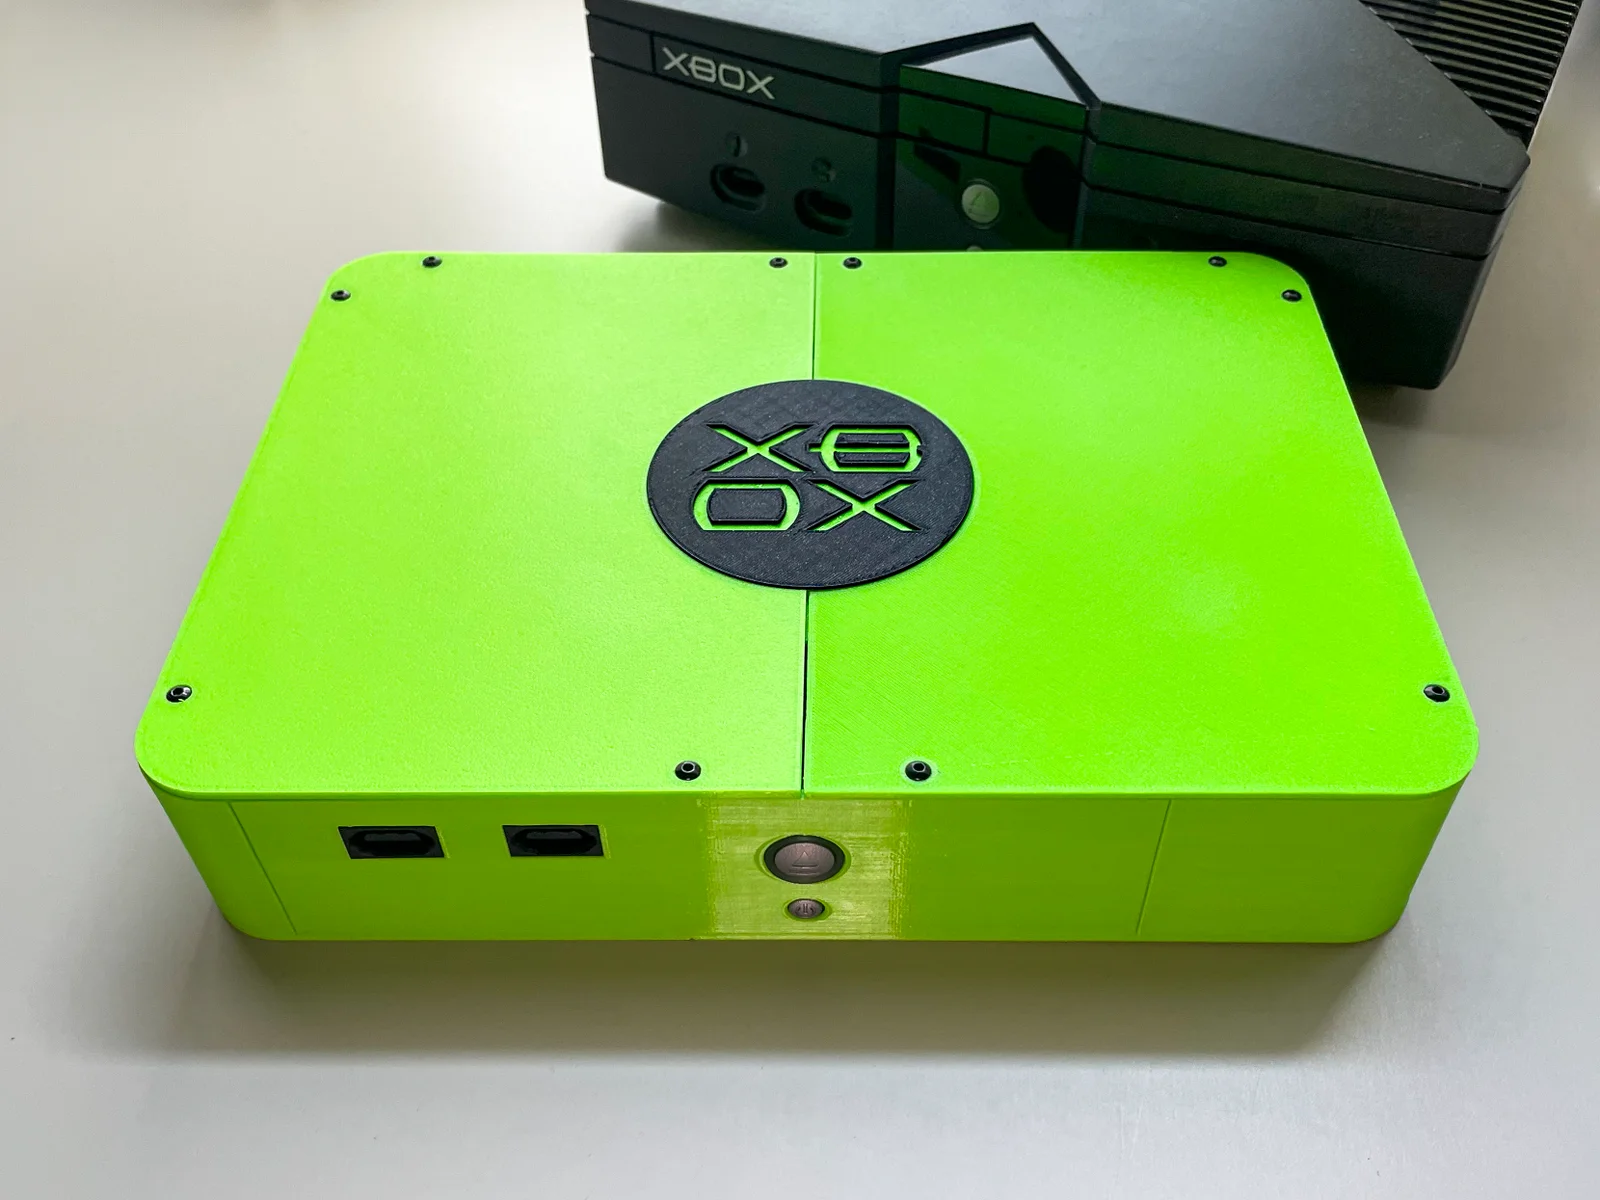
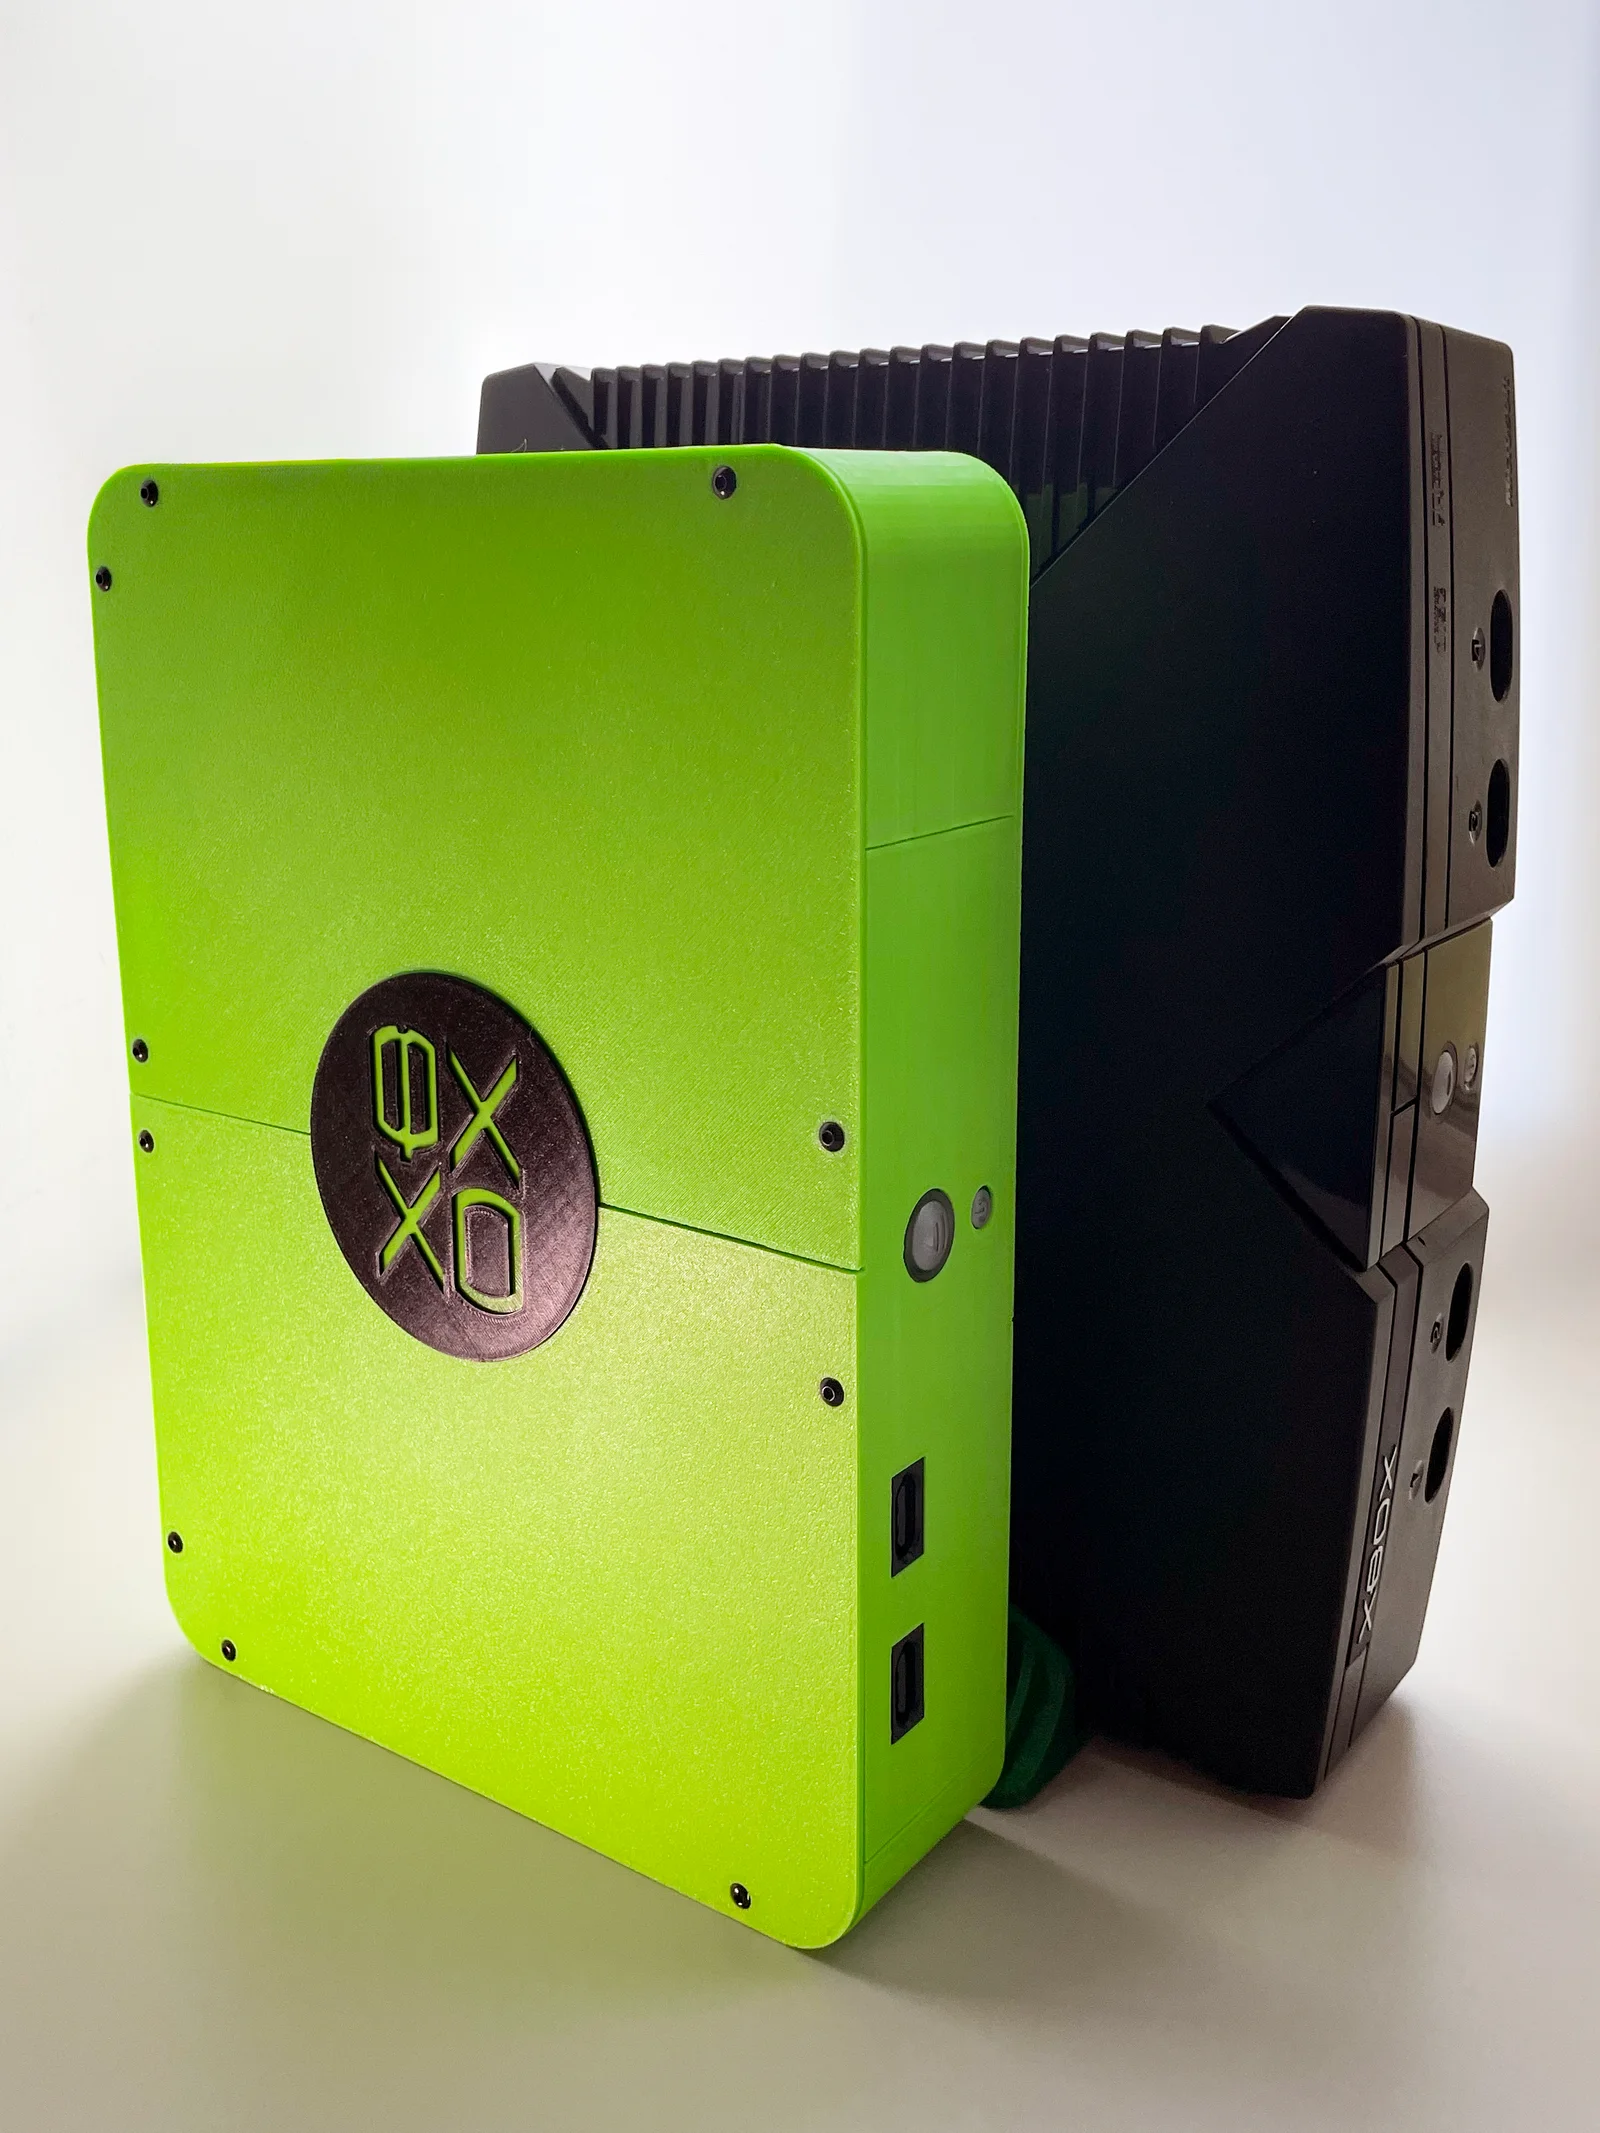
Vỏ Case Xbox Slim Nguyên Bản
Remix of Vỏ Xbox Mini (2 phiên bản) By ShinGoutetsu_972193
- Downloads
- 533
- Likes
- 77
- Views
- 4,418
- Remixes
- 4
- Comments
- 0
Files 14 2.6 MB
- Base_Left_1766839740.stlSTL · 95.6 KB
- Base_Right_1766839741.stlSTL · 131.5 KB
- Front_v1.1_1766839742.stlSTL · 112.3 KB
- Power_Button_Holder_1766839743.stlSTL · 19.5 KB
Make a variant with AI
Build another version of this model.
Remix versions 4
Original Xbox Slim - Orb thay thế (lắp vừa Xbox Jewel zin)ByDynaMight1124_259177 · 05/02/2026
Hộp vỏ PSU cho Original Xbox (Original Xbox PSU Box)ByToxicMedz_1716447 · 05/02/2026
Vỏ độ OG Xbox Slim hỗ trợ quạt 60mm và 4 cổng kết nốiByJoostRove_1755019 · 04/14/2026
Vỏ máy Xbox Case K (Đang thực hiện - WIP)ByKaugalaz_721440 · 03/15/2026
Details
- Model ID
- #180037
- Category
- Dụng Cụ Tiện Ích
- Published
- License
- Creative Commons — Attribution
Description
Xbox Slim Case – Designed for a 220x220 mm print bed.
- Uses original controller ports (note: only 2 out of the 4 ports)
- Designed to use the original power button.
- Works with the original Xbox power supply.
- Requires only M3 screws (6 mm or longer) and a 40x20 or 50x10-20 mm fan.
- Modular design
Assembly Steps:
- Print the Case: Start by printing all the necessary parts.
- Install the Power Button:
- Take all three parts of the front button and assemble them like a sandwich.
- Insert them together into the wall that holds the button.
- Don’t forget to secure the Power Button Holder with screws to keep it in place.
- Assemble the Base and Walls:
- Attach the base to the four walls.
- There’s one screw that needs to be installed from the bottom of the case.
- You may need a mallet or hammer to gently fit the walls into place—be gentle with the taps!
- Install the Motherboard and PSU:
- Place the motherboard and power supply unit inside.
- Secure them using the original screws.
- Install the Controller Board: The controller board can only be placed after the motherboard is installed.
- Add Storage: Install your HDD or SSD and screw it to the top of the case.
- Attach the Lid: Secure the lid to complete the assembly.
- ???
- Profit
Notes:
- Use M3 screws (6 mm or longer) for the bottom of the case, the front power button PCB, and the lid.
- Fan Shroud: A fan shroud is included but hasn’t undergone proper testing.
- A fully editable STEP file is included for your convenience. Feel free to make any adjustments as needed!
Print spec
- Formats
- stepstl
- Model files
- 14
- Total size
- 2.6 MB
- Largest file
- 1.4 MB
0 comments
You may also like 12 models
See all-

-
New -

-

-

-

-

-
New -
New -

-

-