



Còi Tàu Hơi Nước Mini
 ByfifindrLikes500Downloads4K
Build another version of this model.
If these have helped your crossbar whistles, please leave a make or a comment 💭 and let me know!
🎁 Get $100(s) in Rivian Rewards points and 3 months free RAN charging by using my referral code TODD11893313 when 🛒 ordering a Rivian.
Install the horizontal fillers first, if you want them. They'll help with general wind noise. They'll affect the vertical gap widths, so if you do them later you'll likely need to redo the vertical ones.
Install the vertical fillers to get rid of the whistle. You probably need different thicknesses depending on each gap. I used 1.0mm, 1.2mm, and 1.4mm in different places to get a tight fit.
You only need them on the front-facing side. I struggled to install them on both sides when I tried.
NEW - Horizontal fillers
I added horizontal gap fillers for the entire length of the crossbars. In my testing, these help with general wind noise on the freeway, at least partially.
There are x2 and x3 variants, which tell you how many to print for one side (left/right) of the front of one crossbar (the x2 can print diagonally on my MK4, but the x3 versions are short enough to print on any printer).
There are two profiles: normal and thin. The crossbar gaps vary wildly, so good luck.
The normal one should fit gaps ~0.8mm to ~1.4mm wide.
The thin one should fit gaps ~0.5mm to ~0.9mm wide.
Note: if you install these horizontal fillers, it will likely cause the vertical gaps to widen as it pushes the plastic piece downward. So install these first, then fit the vertical ones into place.
I updated the vertical model to a V2 version that fixes a slight protrusion at the top. I noticed that as the piece settled, the very top might stick out very slightly (we're talking < 0.05mm). My OCD got the better of me, so now this model should fit perfectly. At least, it does on mine. If the current fit doesn't bother you, no need to redo anything.
Initial post.
The Rivian Crossbars produce a whistle noise when you go above about 40 mph. At least, they did for me. I set out to track down exactly what was creating the noise so I could eliminate it. I ran across this Crossbar Insert model, but wasn't sure if this would actually help the whistling noise. I also remembered reading a thread about this on rivianforums.com, so that gave me a head start. I essentially did the same testing with my R1S, putting painters tape across the entire top of the crossbars as well as on the front covering the vertical gap. With everything covered, I no longer heard the whistle, so I knew I was on to something. I started removing the tape from specific sections and methodically tested for the whistle. I eventually ended up with the following tape as the minimum required to eliminate the whistle (confirming the rivianforums thread).
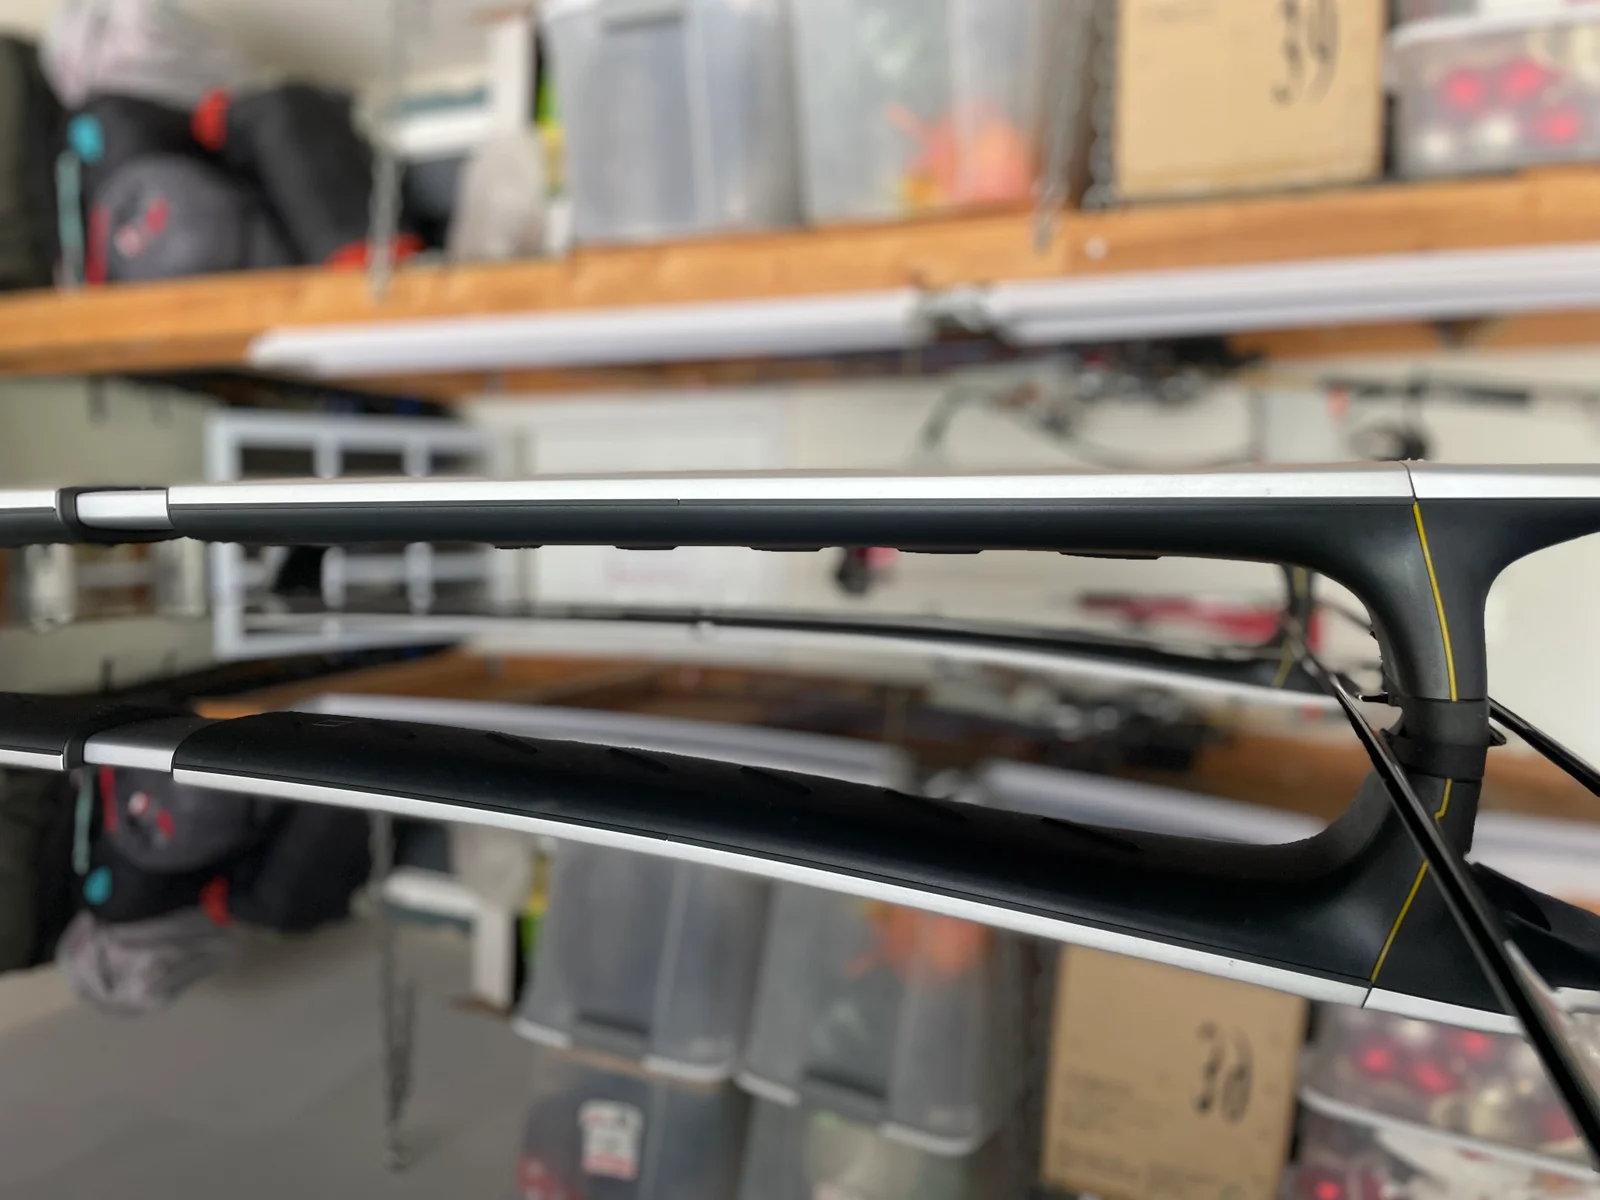
I then removed the crossbars to investigate the problem further. The black plastic panel on the underside of the crossbar (left of the green tape in the above image) can end up with some play in it and can slide ever so slightly left/right (maybe 1mm). This can result in the gap forming where the green tape is and causes the whistle noise. When I first installed these, there was almost no whistle, but now after 8 months it is more noticeable.
The rivianforums.com thread had several folks just using some sort of tape to cover the gap (gaffer's, electrical, masking, etc), but I wasn't sure how that would hold up over time (going through carwashes, etc). So I decided to just print a tiny filler piece of PETG that I could wedge in there to fill in the gap. Initial testing seems to be going well so far and they've been on my car all week.
After solving the whistling noise while driving around town, I started to look for additional adjustments I could make for overall noise. I figured, if the side gaps cause noises like this, what about the horizontal gaps? They've got to also be adding noise. In testing the side gap fillers, I taped up the entire crossbar – the top, the side handles, the fronts, everything. As I methodically removed each section and tested, I noticed a significant increase in wind noise at freeway speeds when I removed the tape from the fronts. I decided to model up some fillers for those as well.
For these fillers, I knew they needed to be a different shape. The gaps didn't have consistent widths and I wanted to make sure it covered them entirely. I knew a T-shape filler was needed so I started there. It took quite a few test models to get to the profiles I have now. The normal profile uses a ellipse-like shape to act as a spring. When you insert it into the gap, it can compress to accommodate a range of gap sizes. The thin profile was needed because some parts of the crossbar have clips that leave nearly no gaps. Actually in some cases, there were no gaps. The thin profile is a straight 0.5mm thick line with bump-outs evenly spaced to accommodate slightly thicker sections. It's really hard to say how well they'll hold up over time with the heat, etc.
Adding the horizontal fillers pushes the plastic underside piece down slightly, which then affects the gaps on the sides (since it's a slightly trapezoidal shape). So I ended up printing new vertical pieces that were slightly thicker to make sure everything fit well.
Nothing special, really, but don't use PLA. Use PETG, ASA, or even TPU
I printed with 0.20mm layers
I used concentric top layer infill just so it printed faster
I only installed these on the front-facing side, as that's where it's needed.
Horizontal fillers:
Pick a profile (normal or thin) to match the width of your gaps:
The normal profile fits ~0.8mm to ~1.4mm gaps
The thin profile fits ~0.5mm to ~0.9mm gaps
Pick a size
The x2 version requires 2 pieces per SIDE per crossbar, so you need 8 total.
The x3 version requires 3 pieces per SIDE per crossbar, so you need 12 total.
The x2 version can print diagonally on my MK4, but the x3 version is short enough to print on anything.
Vertical fillers:
If you're using the horizontal ones, install those first, as that will affect the vertical gap sizes.
You'll need 4 … they're only needed on the front.
Scale the z-axis of the model appropriately for the thickness you need. I ended up with 1.0mm, 1.2mm, 1.2mm, 1.4mm for my 4 pieces. 1.2mm provides a nice width for an accent color if you can get it in there.
This is pretty straightforward. You might need something to open up the gap a bit, as you want them to go in tight. I generally just use my fingernail. Make sure you print them thick enough that they don't fall back out. There's nothing but friction holding them in. If you're installing the horizontal fillers, I suggest doing those first, as it'll affect the side gaps.
For the horizontal fillers, I suggest starting at the middle of the crossbars and working your way out. Wedge the edge into place and then just push the rest into place. It should fit pretty snug, sometimes very snug. The gaps vary wildly on the two sets I've seen, so it might help to use the x3 versions so you have 3 separate segments so you can adjust which profile to use.
If you're only installing the vertical side piece, you might need a little help getting the gap started. I pulled down on the handle of the crossbar to open the top gap slightly, then slid the bottom edge of the filler all the way down to the bottom. Then I slowly pushed it in starting at the bottom and worked my way up. Once they're installed, they should be flush the entire length of the vertical gap.
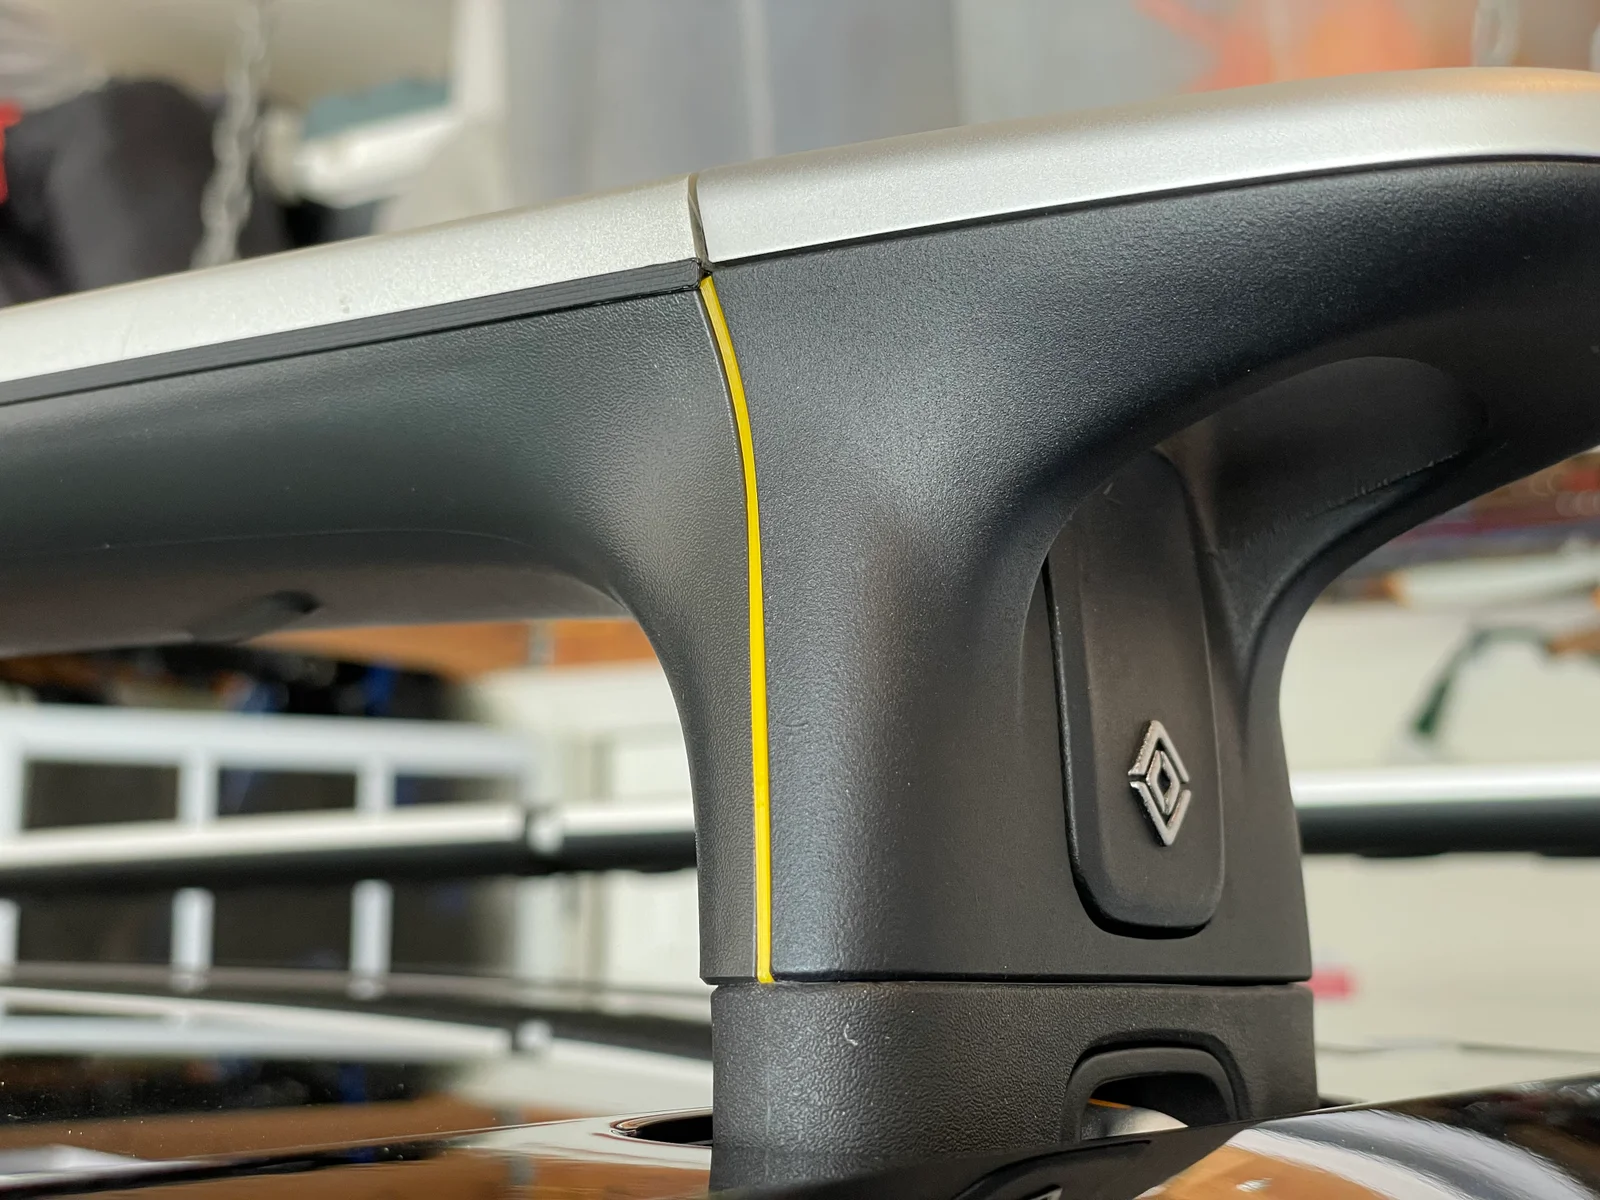
This is what it should look like installed. Barely visible. Of course, you could also use Rivian yellow for a nice accent like in the cover photo.
If you like my models and want to make my day, you can buy me a ☕!
ByfifindrLikes500Downloads4K

 ByWolf_115355Likes513Downloads8.4K

 ByZED4EverLikes313Downloads5.2K

 ByVC_DesignLikes679Downloads3.6K

 ByDan Schwartz SchwartzLikes744Downloads3.4K

 ByJordanK_858807Likes42Downloads430

 ByMAFIXMAFIX_337316Likes130Downloads380

 ByUpcrid3D_1585693Likes808Downloads2.1K

 ByWilko_SLOLikes935Downloads2K

 Bystephenhiras_1439037Likes15Downloads234

 Bychubbs8697_2027893Likes585Downloads1.7K

 Byquibeck_3353173Likes965Downloads1.9K