

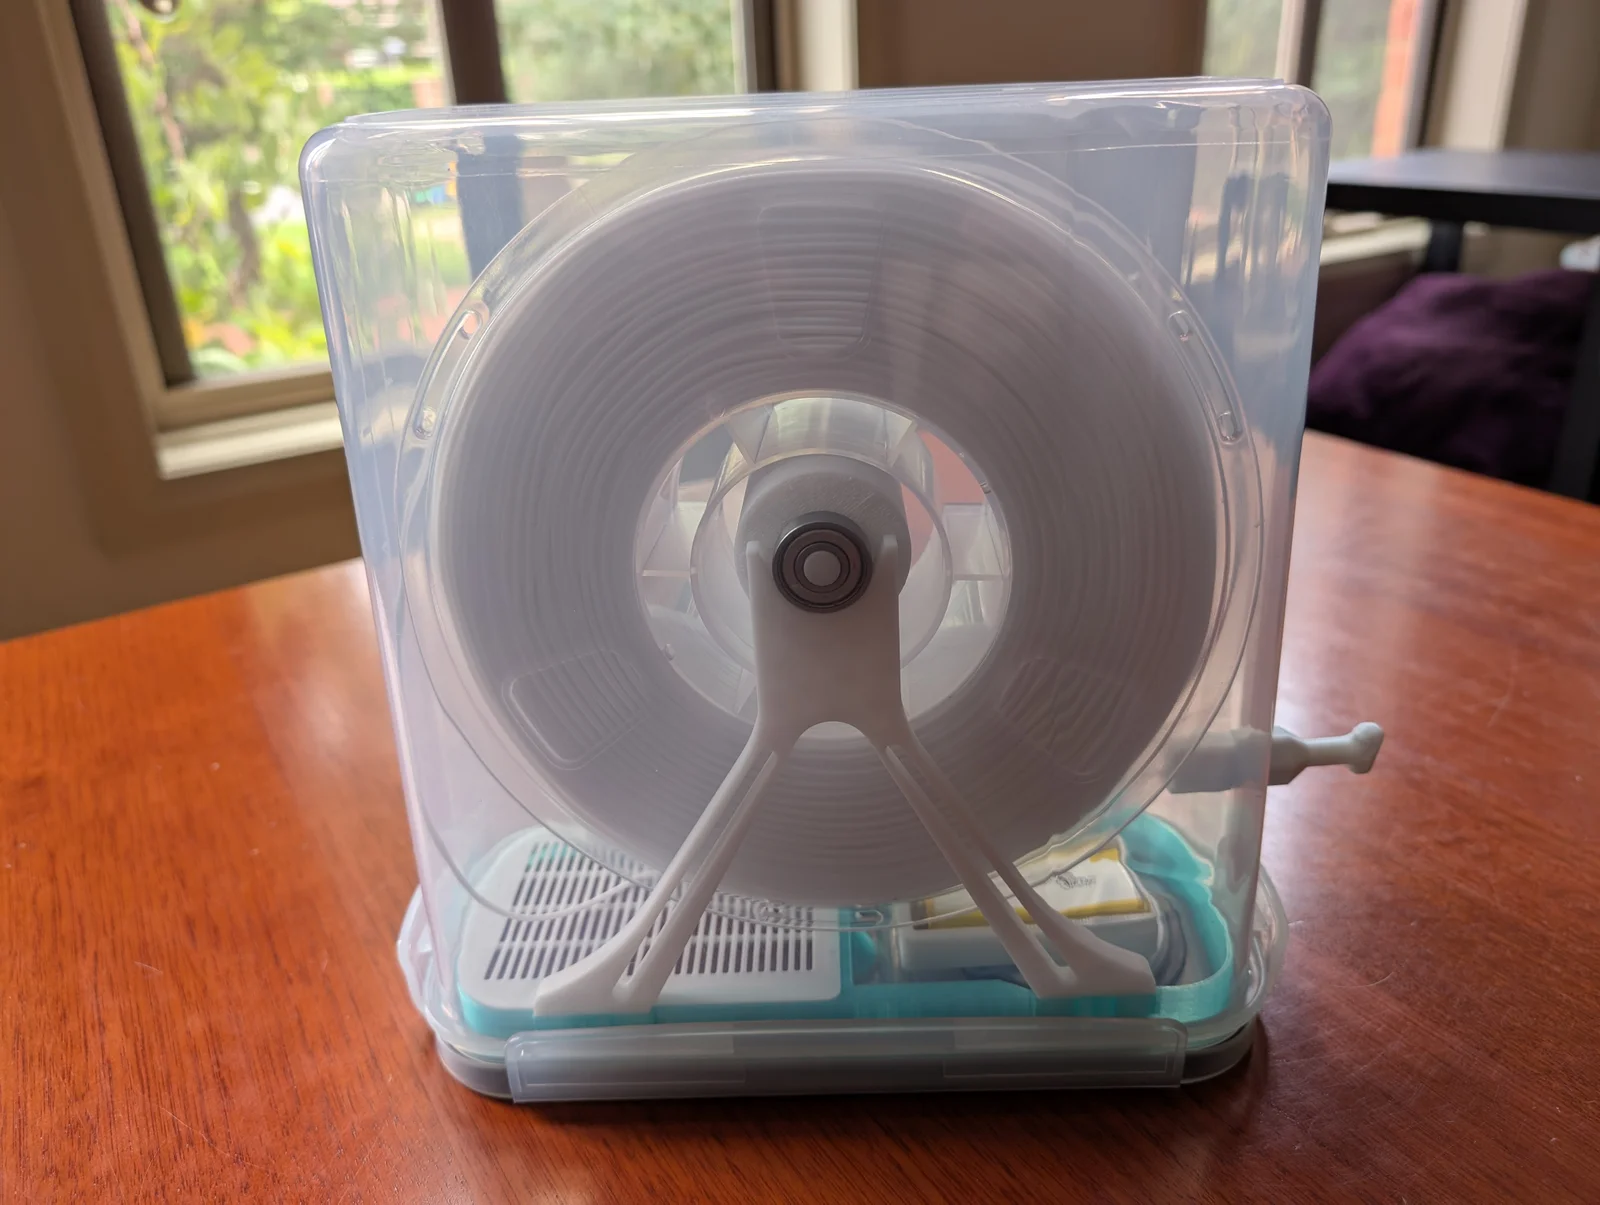
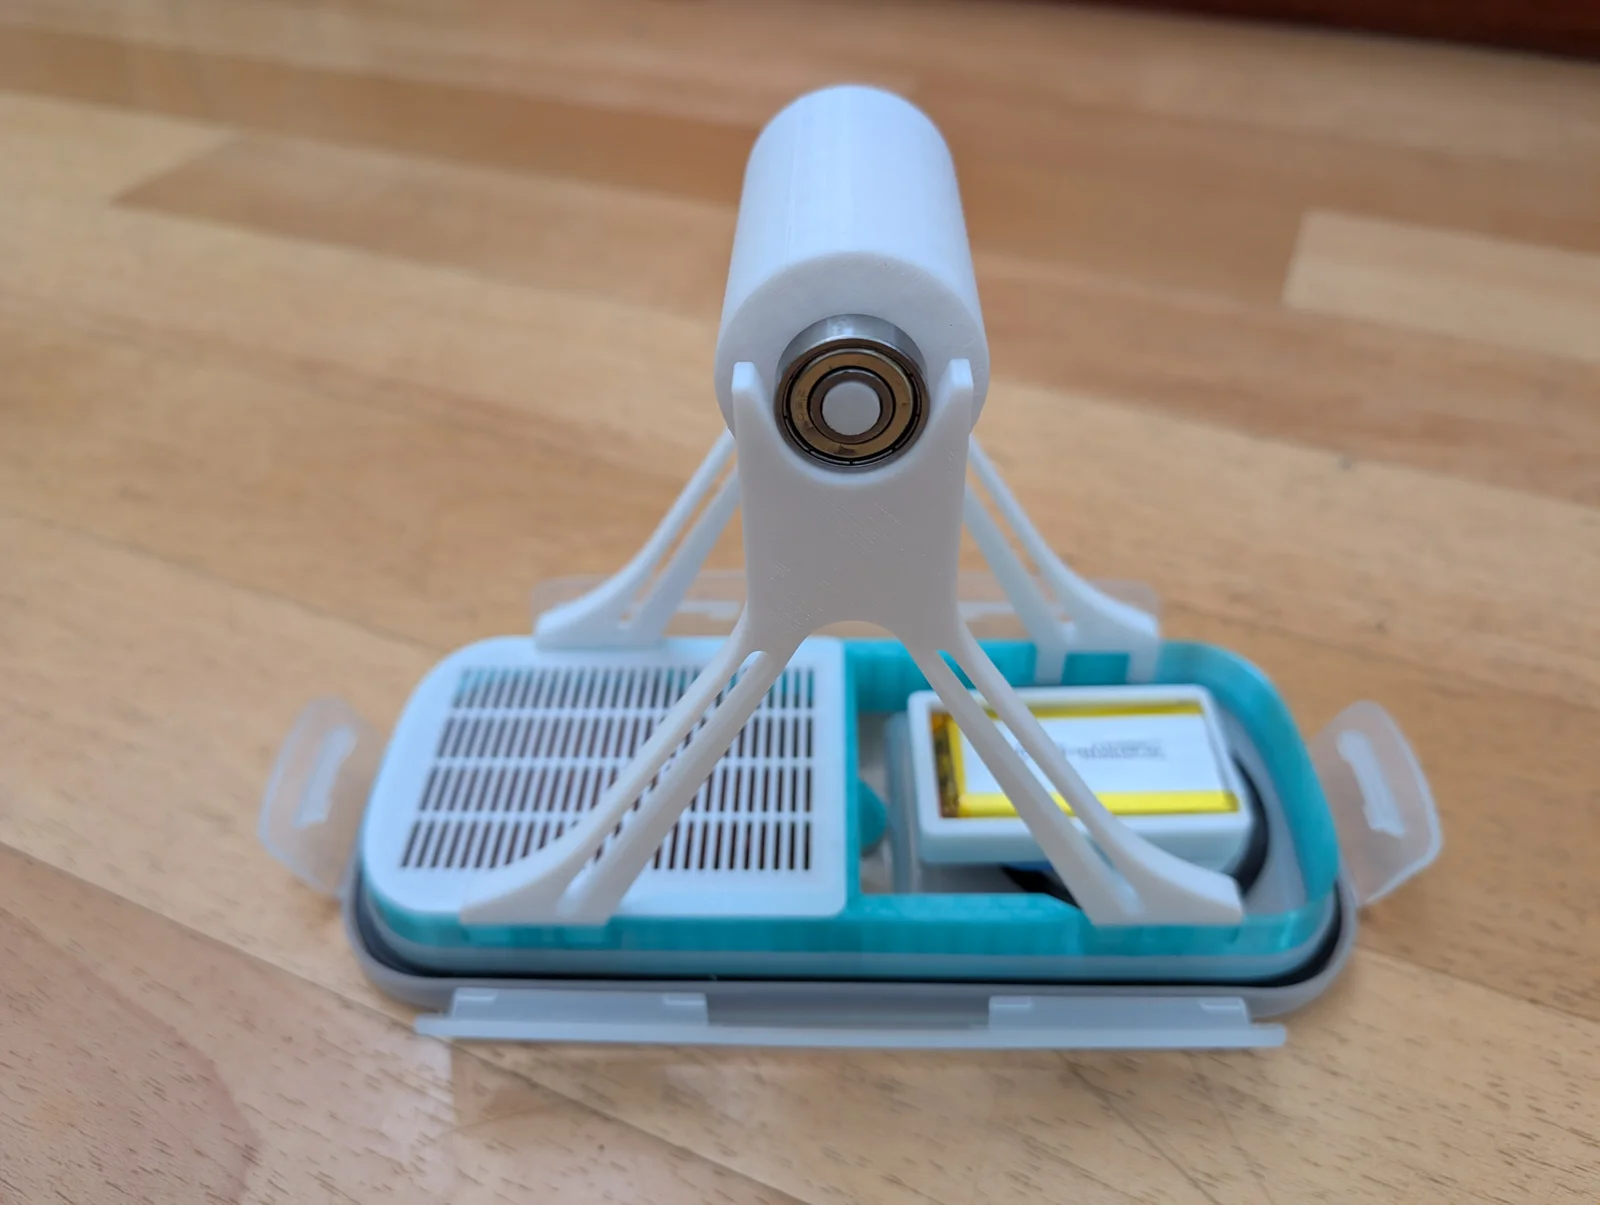


Kẹp giữ sợi Filament
 Bytinx_1344834Likes1.2KDownloads6K
Remix of Hộp Đựng Filament Khô Bằng Hộp Ngũ Cốc Tối Ưu Phiên Bản 2025 By GunplaMark
Build another version of this model.
The original design had some great features and a number of remixes have emerged, however, there were still a few critical areas that were not addressed well.
The cereal container used is very specific. There are some variations in the market that cause problems with the original design. I modified the base and other components to ensure a good fit on most available containers.
The double roller design actually creates high friction which can create havoc on filaments such as TPU. I integrated this remix https://www.printables.com/model/1255450-center-roller-for-the-ultimate-cereal-container-fi which uses a single roller (only two bearings) which dramatically reduces friction.
I sealed the base so dessicant can not escape. By using transparent filament, the colour is still visible.
I designed a humidity sensor that doesn't require constantly replacing coin cells and an adapter to fit in the case ref: Forever (almost) Sensor https://makerworld.com/en/models/2089928-forever-almost-sensor#profileId-2259111
The new design only requires one hole to be drilled and a small tab to be cut off.
Assembly summary - refer to original documentation for more info https://www.printables.com/model/1249376-the-ultimate-cereal-container-filament-drybox
Print all required parts. IGNORE the slicer warning regarding support on the base - support is only needed for the roller. The 40mm roller works well for most spools. The 30mm roller can be used if the spool touches the top of the case.
Slide bearings on to roller - make sure to only press on until the shaft is just under or flush with the outside of the bearing.
Drill hole in container using the jig to mark the spot and fit the coupler. Note: I use a step drill around 9mm and test fit the coupler to ensure it is not too loose.
Make sure the container can rest on the lid by cutting the tab on the opening flap using a flush cutter.
Insert the base and fill to about two thirds with dessicant then snap on the lid.
Insert the centre roller supports.
Insert the optional sensor and adapter.
Bytinx_1344834Likes1.2KDownloads6K

 Byarhi_585078Likes64Downloads545

 ByCapitaineBobLikes19Downloads143

 ByLeonJiang_576296Likes0Downloads6

 Bygummiegecko8477Likes0Downloads167

 BydalleLikes0Downloads149

 BywendigoLikes0Downloads123

 ByHanzo3dLikes155Downloads417

 ByMajorObstacle_257790Likes1Downloads5

 ByGeek5DLikes147Downloads490

 ByBrokentooth_designsLikes23Downloads412

 Byalexsbot_2498533Likes16Downloads81