F3D
Chuyển đổi Máy xay Cà phê Thủ công - Kingrinder K6 1

3 images

Large file collection Đồ Gia Dụng

Chuyển đổi Máy xay Cà phê Thủ công - Kingrinder K6

Remix of Chuyển đổi máy xay cà phê thủ công J-Max sang điện By AdamCook_192295

By Yozer_1761927

Downloads
123
Likes
36
Views
3,041
Remixes
1

Files 35 78.7 MB

  • Switch_Plate_Motorized_Grinder_Assembly_Rebuild_v25_Power_Switch_1766181139.stlSTL · 966.9 KB
  • Switch_Plate_Motorized_Grinder_Assembly_Rebuild_v22_Rpm_Switch_1766181140.stlSTL · 418.8 KB
  • Trigger_Holder_Motorized_Grinder_Assembly_Rebuild_v22_Spacer_1_1766181140.stlSTL · 235.1 KB
  • Trigger_Holder_Motorized_Grinder_Assembly_Rebuild_v22_Spacer_2_1766181141.stlSTL · 237.6 KB

Make a variant with AI

Build another version of this model.

Open Studio

Remix versions 1

See all 1 remix

Details

Model ID
#167447
Category
Đồ Gia Dụng
Published

Description

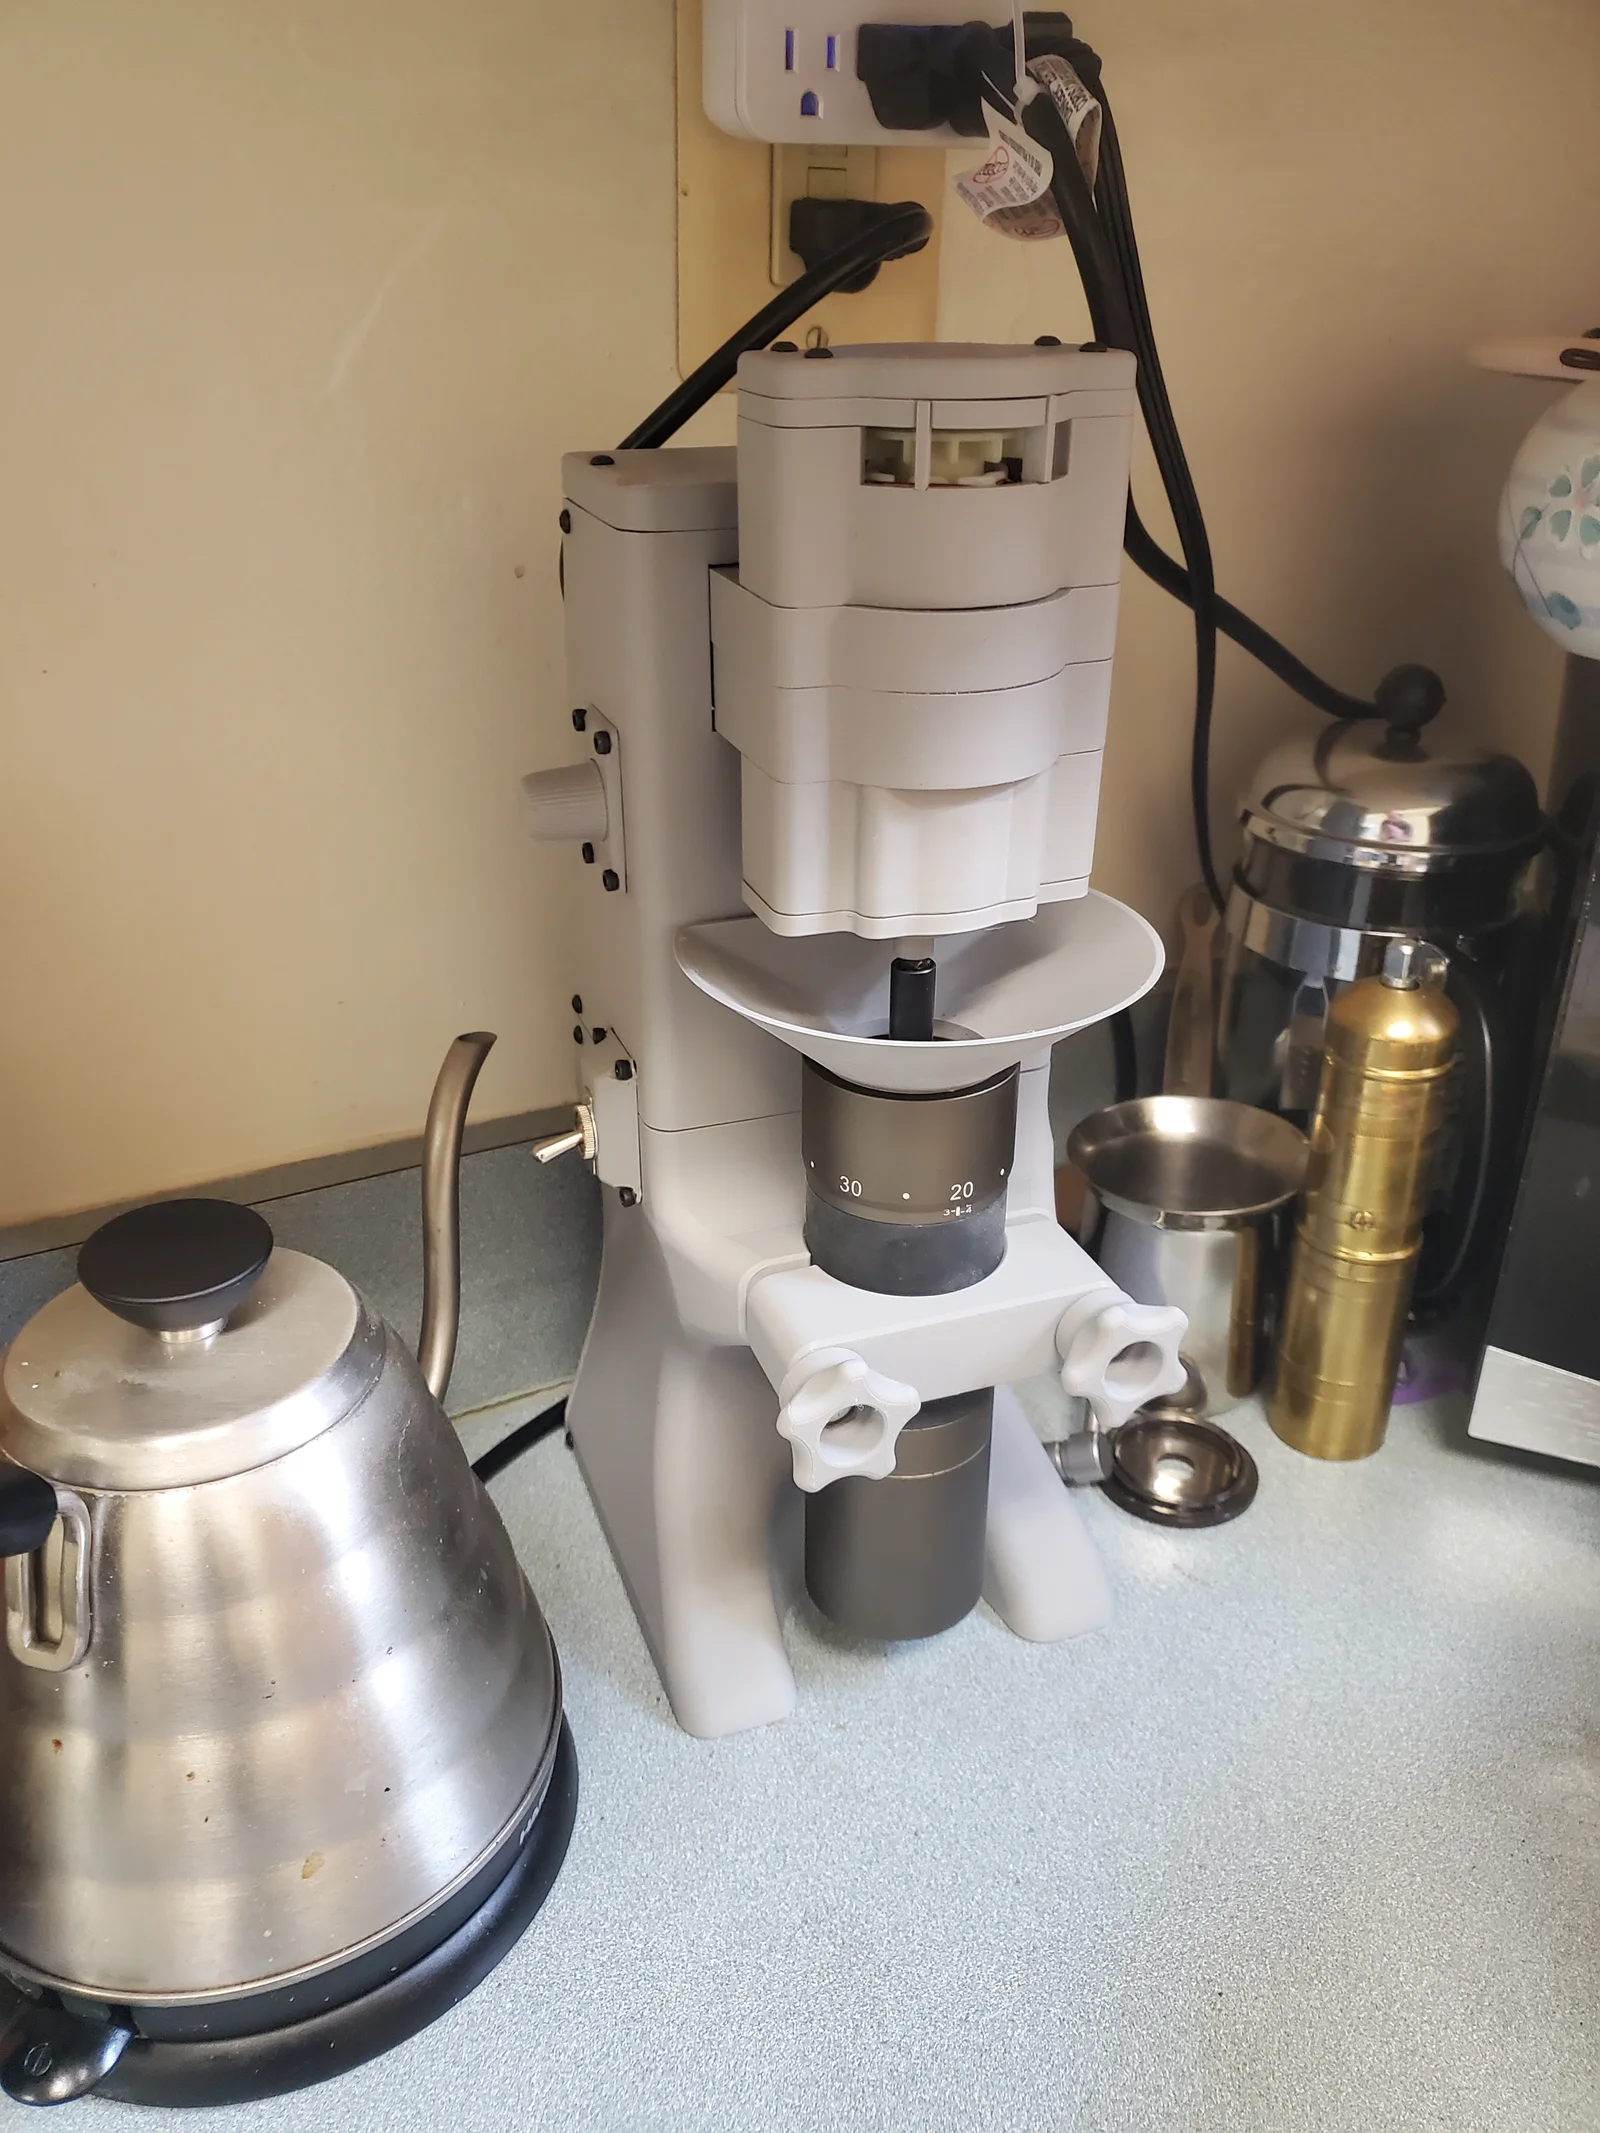
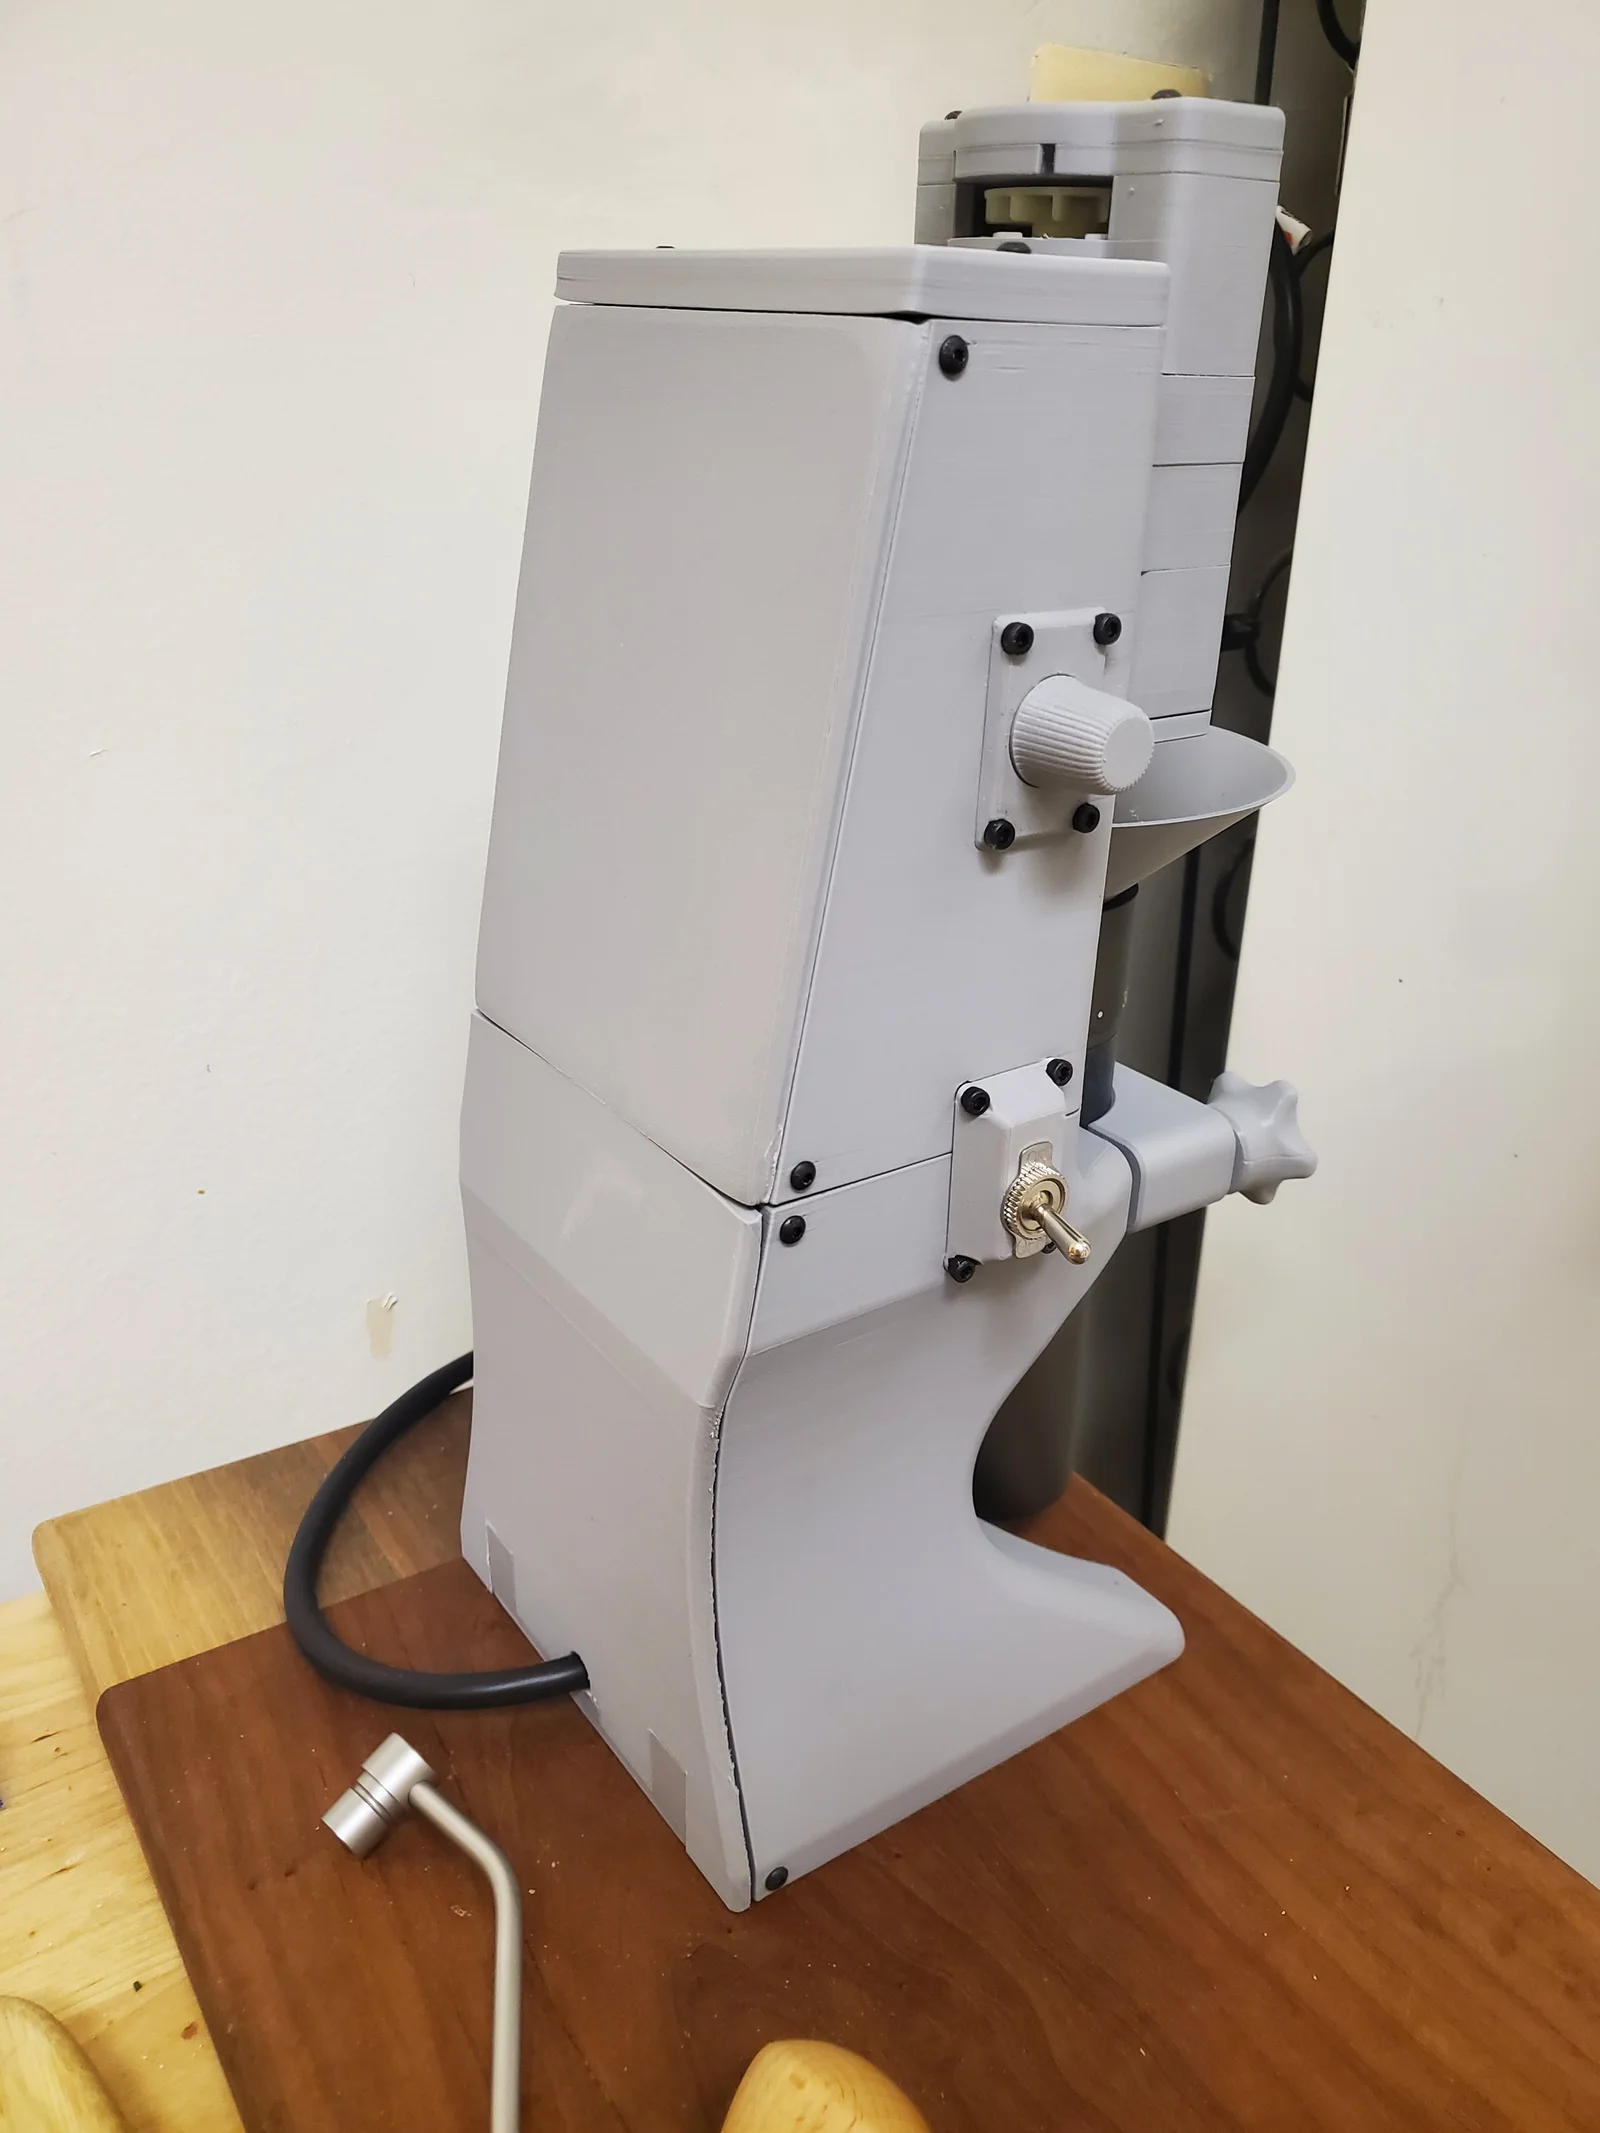
This is my take on Adam Cook's design for motorizing a manual coffee grinder! My goals for this remix were to use a more compact and cheaper motor, to add RPM control, and to make the controls more accessible. Please note that the finished product is pretty loud, so be prepared for that if you want to build it.

Edit 11/25: I've worked together with George Kolitsas to adapt the design to work with a Parkside Performance PABSP 20 drill. The alternate parts are available in the PABSP 20 folder. Thanks for all your help George!

Video Demo: 

New BOM is as follows:

Notes:

  • For a useful teardown and overview of the drill's internals, see this video: 

    • Unlike the procedure in the video, it's much easier to remove the drill chuck before taking apart the rest. 
  • Build

    • Please use the .step file to see how all the pieces fit together.
    • Almost all screw holes on the model are sized for tolerance fits and threaded inserts. The only screws that screw into plastic are on the rpm knob.
    • The long 1/4x20 bolts are used for the clamp and the motor mounting stack.
    • The bottom plate of the motor housing has holes to accommodate over long bolts, but I cut them flush after assembly. 
    • The bottom plate of the motor housing is also designed to house one of the bearings from the drill shaft. Removing the shaft is difficult, but it's only a tight press fit.
    • In order to fit the hex extension into the output slot of the drill's gearbox, you need to file two sides of the hex extension down by approximately 0.2 mm each. The output is designed for an 8mm shaft with flats on opposite sides giving it a minimum diameter of 6mm. A standard hex shaft is 6.35mm across. 
    • The zip tie is used to secure the power cord to the base plate as strain relief.
    • The bar stock is used in 5 pieces to join the top and bottom halves together. It's designed to be a friction fit, so you may have to drill out the holes depending on your printer.
    • Use the super lube in the rpm knob assembly and in the motor gearbox.
    • Please forgive me if some of the tolerances in this design are a little off. I learned a lot about CAD during the course of this project, so things aren't necessarily consistent.
  • Electrical

    • Be extremely careful when working with any mains voltage wiring. Don't work on anything while it's plugged in.
    • This project uses all of the stock wiring and controller from the drill. The trigger housing is used to control the speed of the grinder by pressing the trigger with the short 1/4x20 bolt.
    • The 10k resistor should be wired between the ground and sense wires on the drill to trick it into thinking there's a battery attached.
    • The toggle switch should be wired between the power cord and the mains input on the PSU so nothing is powered while the grinder isn't running.
    • The PSU has a voltage adjustment screw that can be used to increase the output voltage and make it closer to the drill's nominal 20v. I set it to 19v.
  • Extra photos showing partial disassembly for detail of the motor unit

Read more Show less

Print spec

Formats
f3dstepstl
Model files
35
Total size
78.7 MB
Largest file
12.9 MB

0 comments

See all