



Còi Tàu Hơi Nước Mini
 ByfifindrLikes500Downloads4K
Remix of Open Ball V1 (Hệ thống bàn cặp bi) By ChrisBorge
Build another version of this model.
I got all the way through printing and assembling Chris's open ball vice with the XL base, and the base mods from DET-Man and ThatRobHuman, and realised that I really didn't like how the work-holding/rotation system worked on the original model, even after getting the 5" lazy-susan bearing.
So I went back to the drawing board and re-designed the entire top. I had a few Goals in mind:
to be more user and assembly friendly; I wanted it to be able to be (mostly) assembled from the top down.
I wanted to be able to rotate the top into any position and for it to hold position,
I wanted to be able to easily lock it in position.
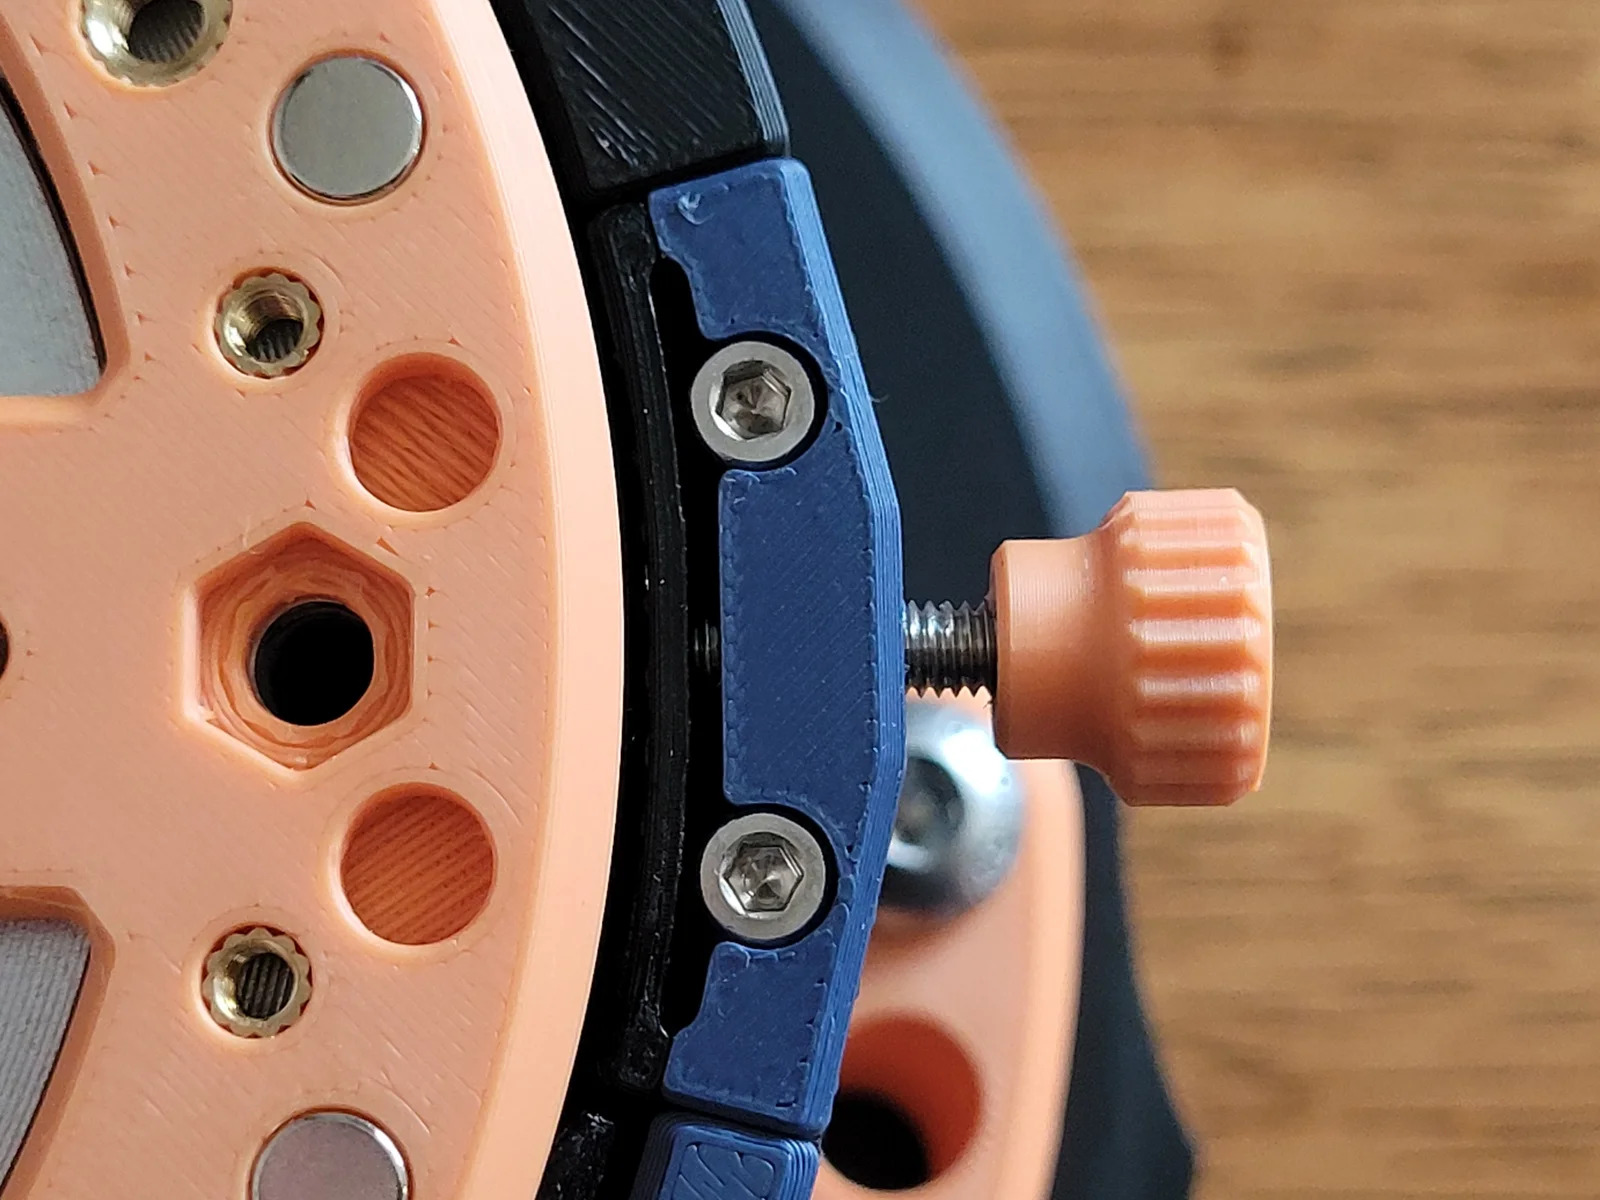
Inspired by a fidget toy, I decided on a simple pawl-and-detent system. For stability I placed 3 at equal distance around the outside, and added a 4th location to add a rotation lock.
The system has a very satisfying ratchet type operation and will easily hold position without any further user input. I've added a locking mechanism for those extra vigorous activities, but in general use, it's probably not required. I've split all the interfacing parts into 2 pieces to allow yo to print the top piece in the filament of your choosing, and the wearing parts in something more suited to the task. I used a matte PLA for all outward facing parts, and PETG for all the wearing parts.
The Indexing plate is designed with a 5deg detent, but I designed the detent pawl on a 2.5deg increment, I've found that this provides a constant friction on the plate, while still allowing for a very satisfyingly easy and useful detent system.
(minimum) BOM:
6x M5x16mm Countersink Bolts
4x M5 Nuts
2x M5 Dome nuts
2x M3x12mm cap-head screws for each detent/lock used. (8 total)
1x M4 nut for locking pawl, and 1x M4x25mm bolt
4x M3 Washer (steel)
4x 6x3mm Magnet
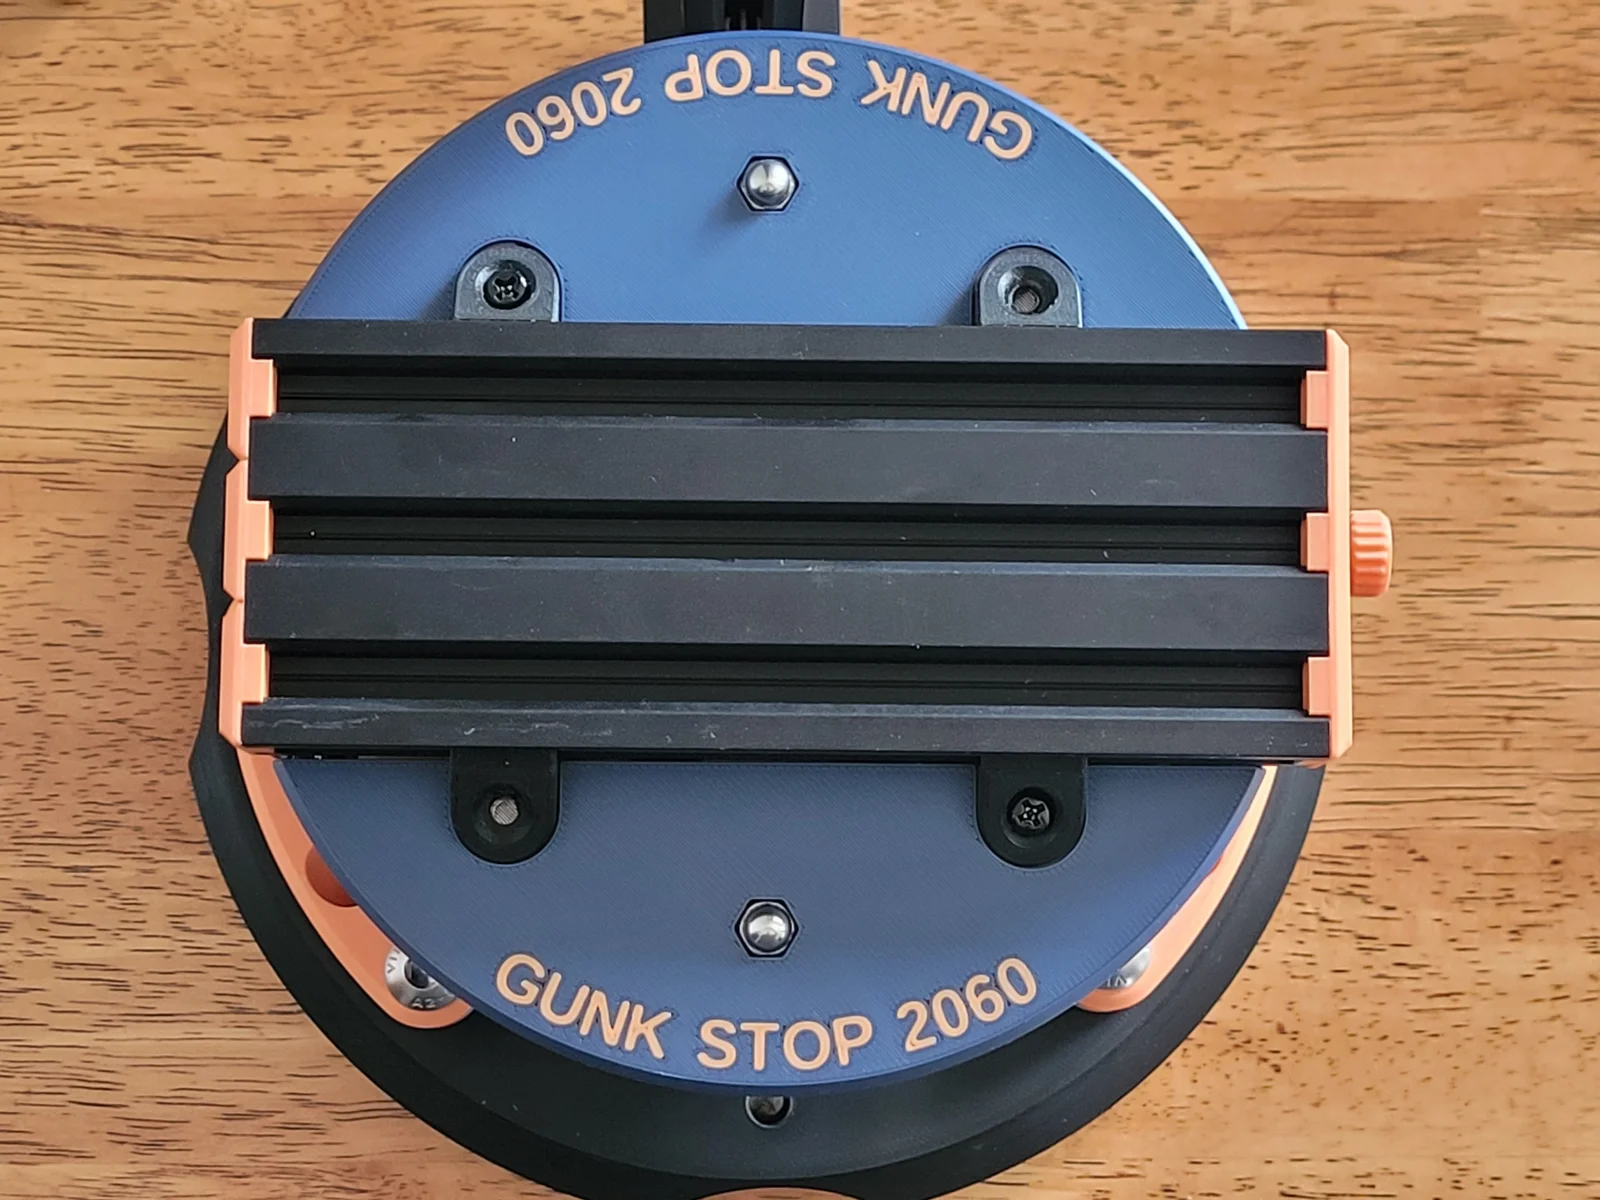
150mm x 2060 Extrusion
Print List:
Print in your filament of choosing, except where a filament type is specified. eg. "PETG" these parts will need to slide over other parts of the same filament type, so choose your filament wisely for these parts, avoid matte or filled filaments, as these will be abrasive.
One of each file, except where an item count is specified at the end of the file name. eg. "_x3"
the tolerances are very tight (0) on the 2-part items, my printer can handle this, but you might need to modify the .step files slightly to work for you.
Assembly Notes:
Read the instruction.pdf for an overview of how to put this together;
Use CA glue to hold 4xM5 Nuts to the underside of the BIP.
Use CA glue to install 2x Washer to the cutout in the underside of each Gunk Stop shield.
The holes that hold the detent and locking pawls have M3x0.5 printed threads. I recommend running a Tap through these to clear them out.
The front hole of the locking pawl has a M4 thread to add a bit of friction to the rather loose M4 nut/bolt i had on hand.
I've updated this to add a lot more adaptability and potential functionality, including a lot of place to add M3 and M4 heat inserts, as 6x3mm magnets into the index plate.
ByfifindrLikes500Downloads4K

 ByVC_DesignLikes679Downloads3.6K

 ByDan Schwartz SchwartzLikes744Downloads3.4K

 Bychubbs8697_2027893Likes585Downloads1.7K

 Byquibeck_3353173Likes965Downloads1.9K

 ByChris_17729Likes138Downloads307

 ByRungeKuttaLikes229Downloads1.2K

 ByEadubsLikes228Downloads1.3K

 ByJeremyVillalo_760366Likes68Downloads767

 ByZED4EverLikes313Downloads5.2K

 Bykjus_448782Likes314Downloads673

 BySchmitzBertLikes95Downloads629