



Thể Thao & Ngoài Trời
Hộp đựng Bộ so sánh Hornady
- Downloads
- 637
- Likes
- 91
- Views
- 3,020
- Remixes
- 0
- Comments
- 0
Files 14 55.3 MB
- Box_1766141664.stlSTL · 312.6 KB
- Lid_-_no_logo_1766141664.stlSTL · 8.8 MB
- Lid_1766141666.stlSTL · 8.9 MB
- Hornady_Comparator_Set_1766141667.f3dF3D · 15.6 MB
Make a variant with AI
Build another version of this model.
Details
- Model ID
- #161256
- Category
- Thể Thao & Ngoài Trời
- Published
Description
A remix of IOI671701's Hornady Comparator Set Organizer Box.
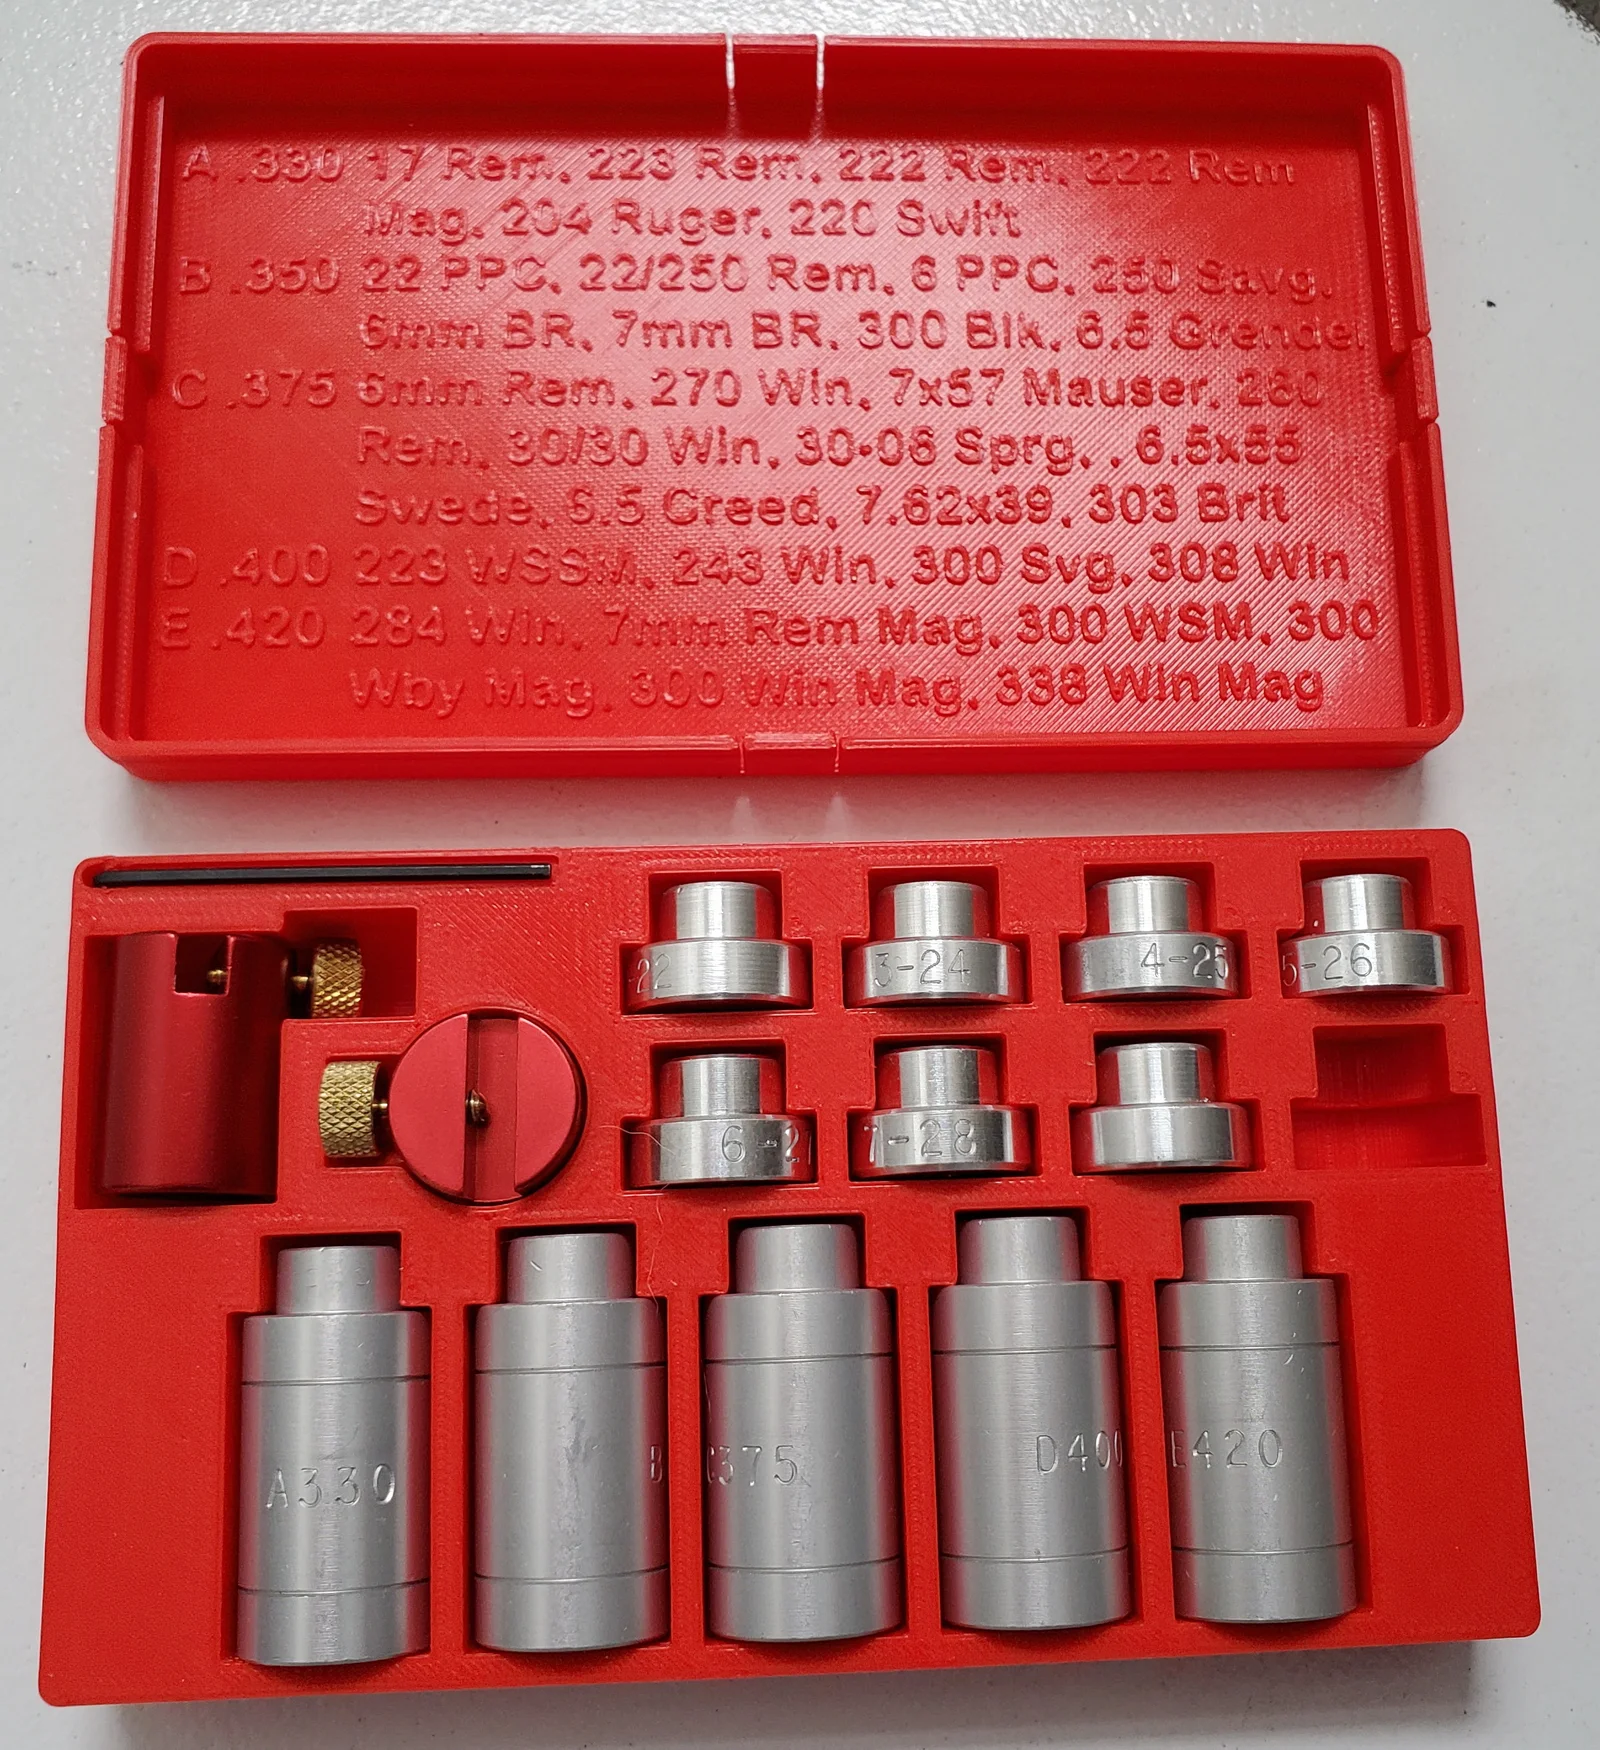
This box will hold:
- 5 headspace comparator inserts (A, B, C, D, E)
- 8 bullet comparator inserts
- 1 anvil
- 1 spare grub screw (under the anvil)
- 1 comparator body
- 1 1/16" hex key
Changes from the original:
- Hornady's basic bullet comparator set now comes with 7 inserts instead of 5. Plus they offer 7 more individual inserts for less common bullet sizes. I enlarged the box to hold 8 inserts.
- Locking tabs on the lid.
- Reference table for the headspace comparator inserts embossed inside the lid. I chose what I guessed were the most popular calibres.
- IOI671701's description and photos mentioned a spot for a spare grub screw under the anvil, but it is not present in the STL files. I added it. But instead of using tape to hold the screw in, I made the hole smaller than the threads. Screw it in.
- Rounded the corner in the recess for the hex key. Without that, the key doesn't fit well.
- Filleted edges.
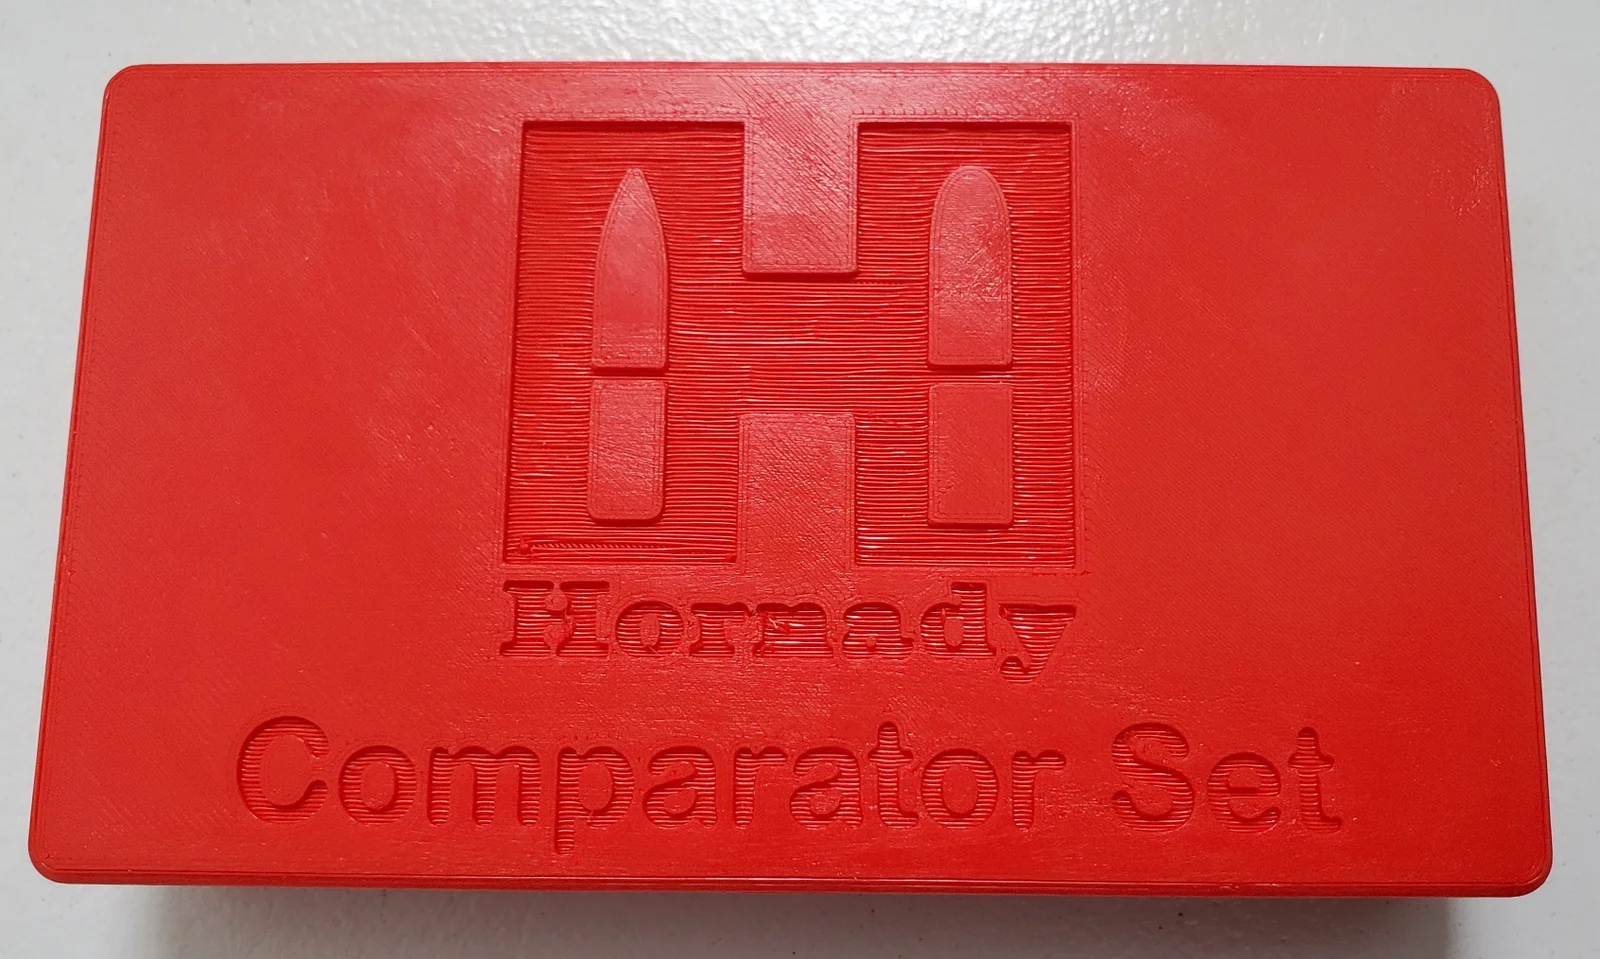
- Fancy lid graphics. I added the Hornady logo.
I think the Hornady logo looks mighty fine on there, but if Hornady's lawyers don't like it, I'll delete it. I don't want no trouble, mister. I've also provided a version without the logo, just the name "Hornady Comparator Set".
This is kind of a work-in-progress. After I printed mine, I tightened up the lid fit a bit more, and that's what's provided here. But haven't reprinted it myself with the tighter fit. Also, I find the components difficult to get a grip on. In the future, I may add some sort of grooves for easier access.
Printing Notes
The lid should be printed with the top surface down. Some of the fine details of the lettering are very troublesome to get to stick to the bed. I ended up resorting to glue stick, but it leaves an impression in the surface finish. I believe turning on "External perimeters first" in PrusaSlicer (it's an Advanced setting) for the first 1mm of print height might also help.
Print spec
- Formats
- 3mff3dgcodestl
- Model files
- 14
- Total size
- 55.3 MB
- Largest file
- 15.6 MB
0 comments
You may also like 12 models
See all-
-
Kẹp giữ gậy golf cho túi đựng gậy
 ByCubaLibreee_2869176Likes125Downloads1K
-
 New
My First AR
 By3d-finesseLikes0Downloads144
-
Giá treo băng đạn súng Glock gắn tường
 ByXDr4g0nXLikes198Downloads831
-
Khóa cài tháo nhanh cho dây
 ByGerhard_48223Likes240Downloads471
-
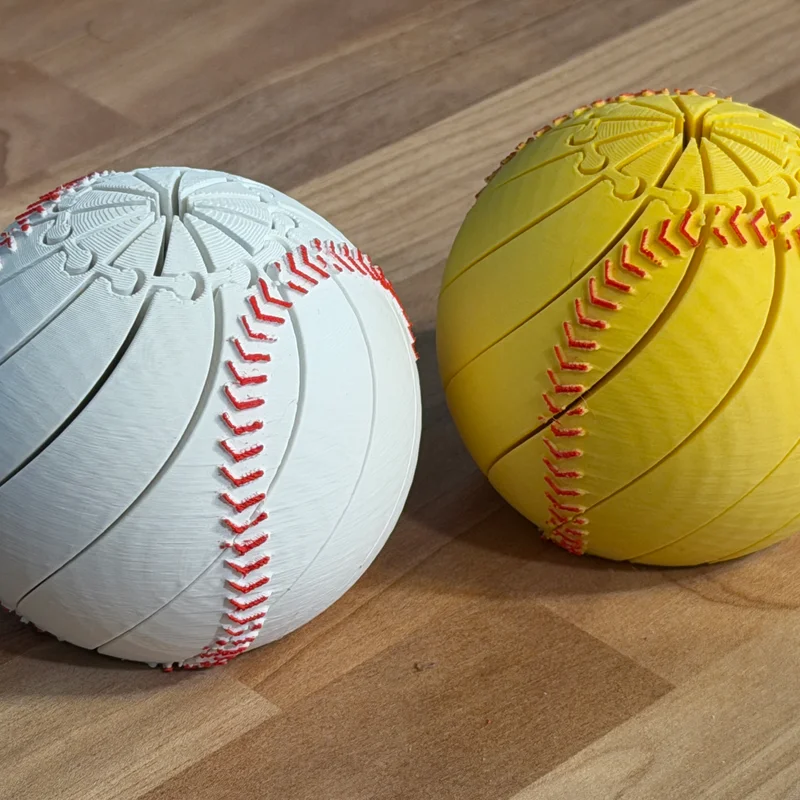
Đồ chơi Fidget xoắn ốc hình bóng chày/bóng mềm
 ByBillRichardsLikes32Downloads389
-
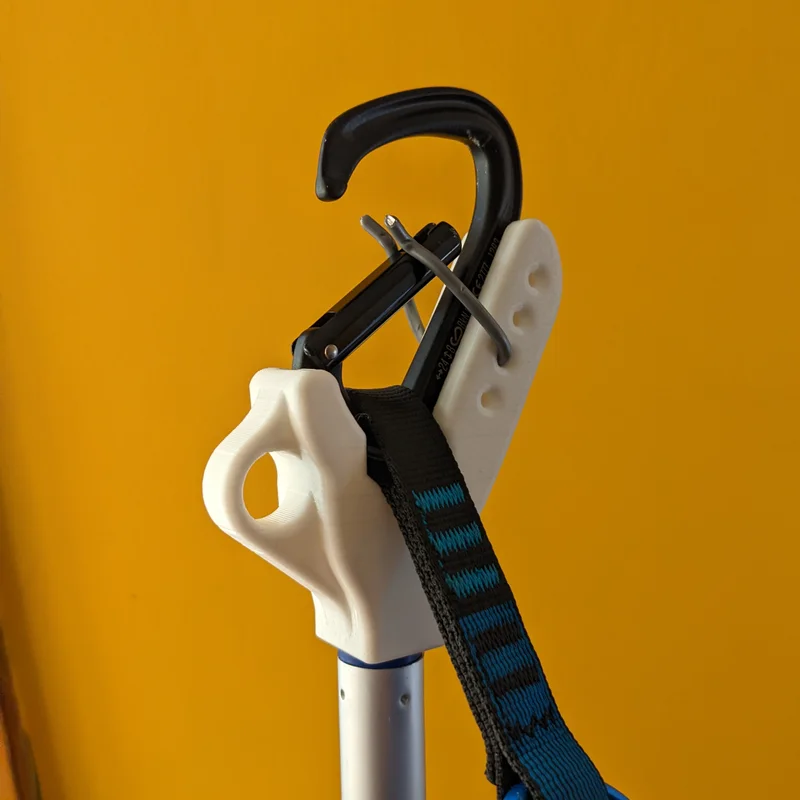
Đầu kẹp Stick Clip siêu bền gắn vừa cán chổi/gậy lau kính
 ByKorriLikes60Downloads619
-
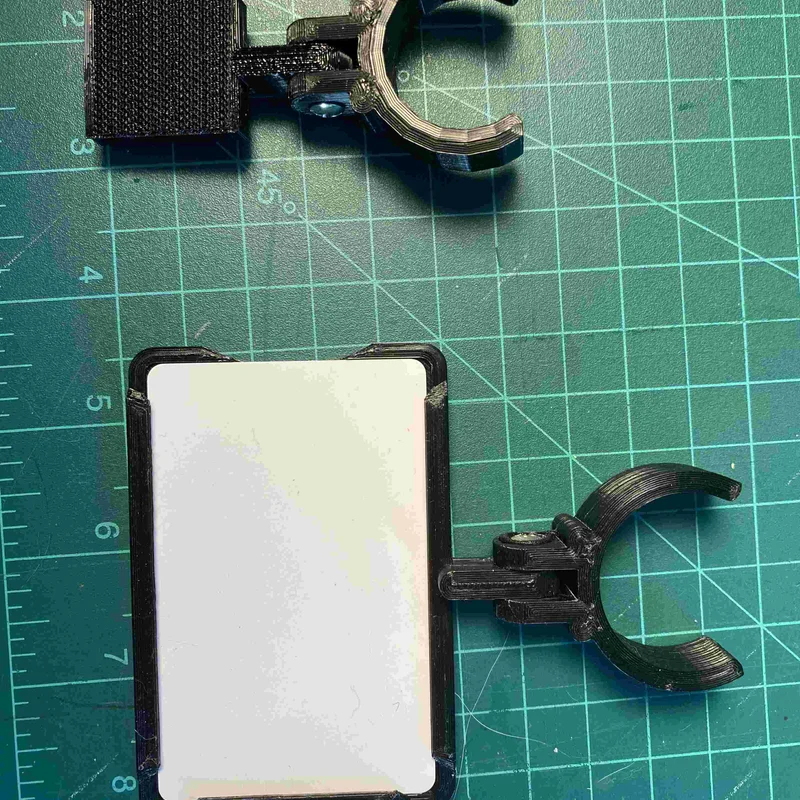
Giá đỡ thẻ DOPE Data Card Holder cho ống ngắm
 ByTarzLikes28Downloads583
-
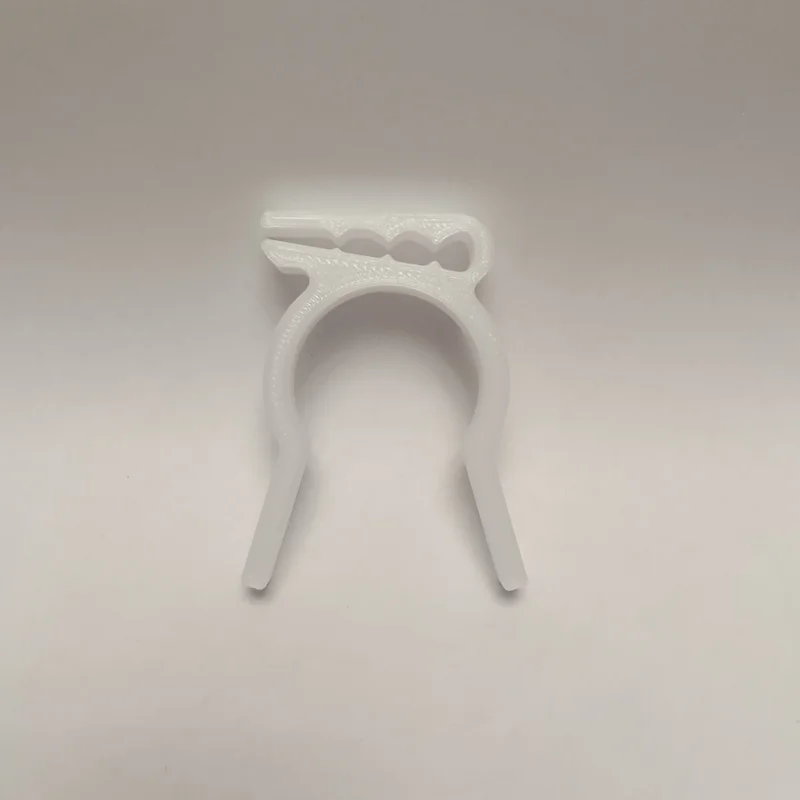
Giá đỡ mái chèo cho ván SUP
 ByMachaki_1134160Likes36Downloads371
-
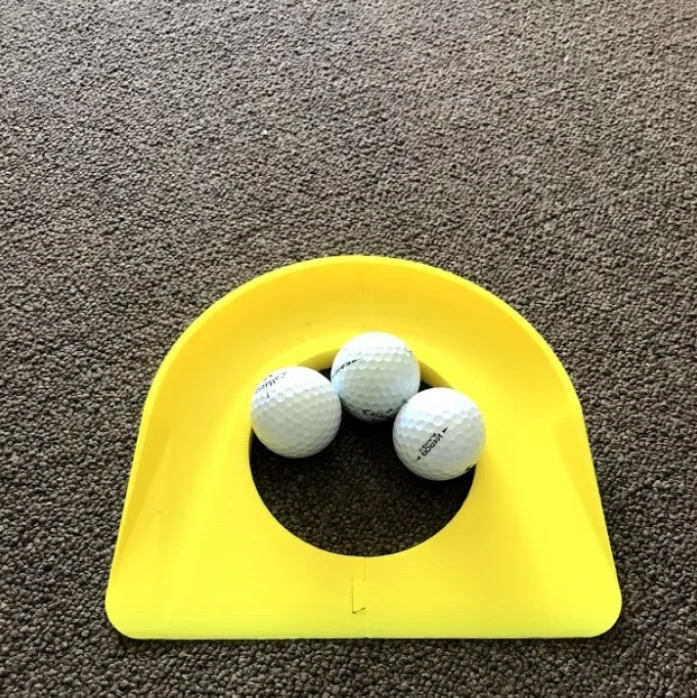
Lỗ Golf Trong Nhà (Indoor Golf Hole)
 ByMauroVanDerG_4110408Likes378Downloads2.7K
-
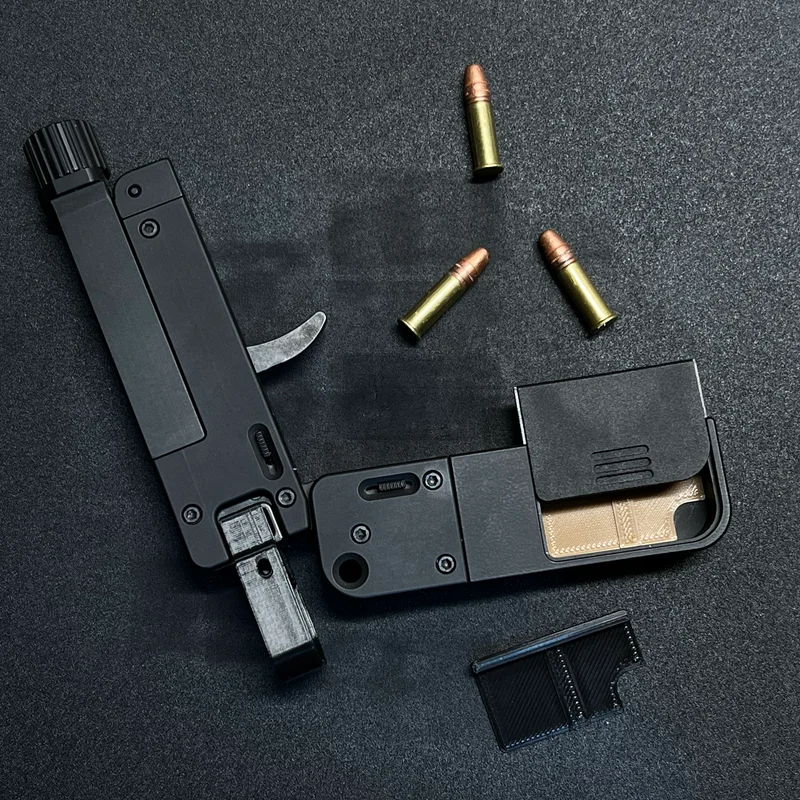
Miếng đệm gia cố ngăn chứa đạn cho LifeCard (Mag Compartment Stiffener)
 By3DGearSupplyLikes26Downloads448
-
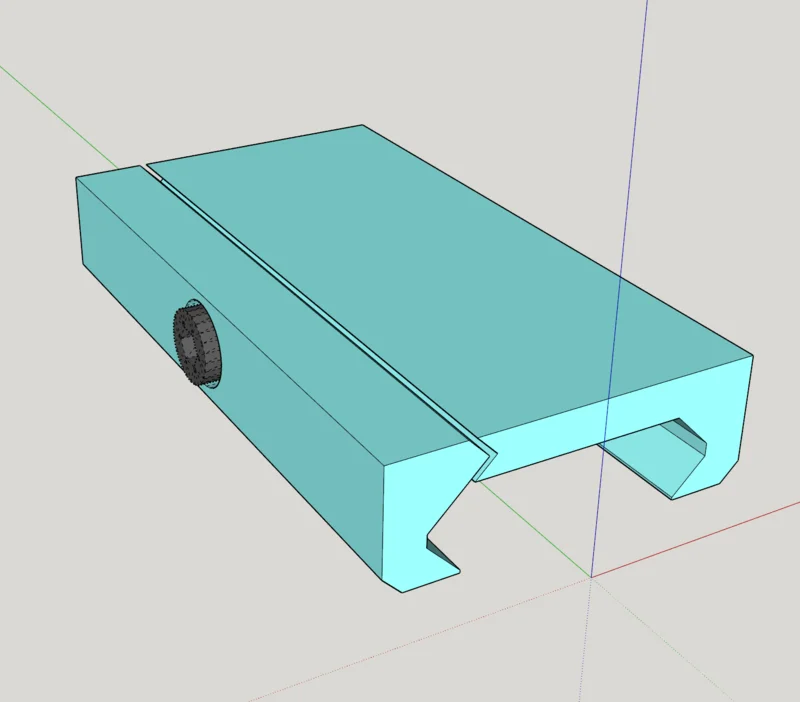
Bộ sưu tập ray Picatinny và kẹp lắp đặt cho mô hình in 3D
 ByMFTuningLikes153Downloads1.8K


