

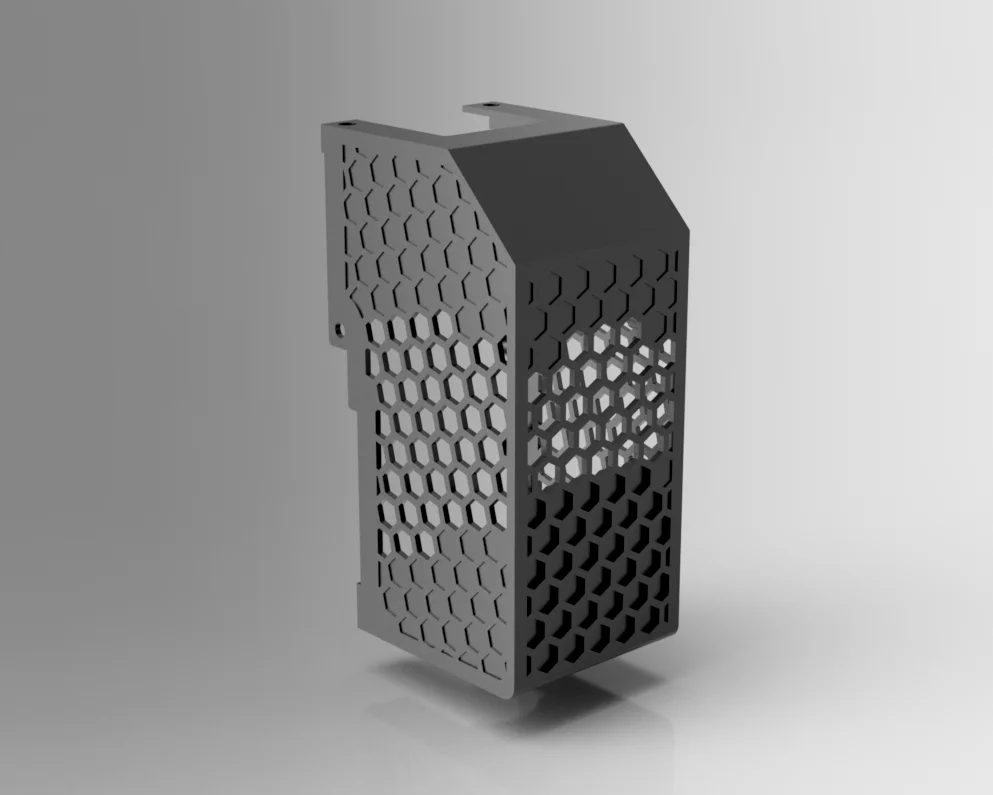
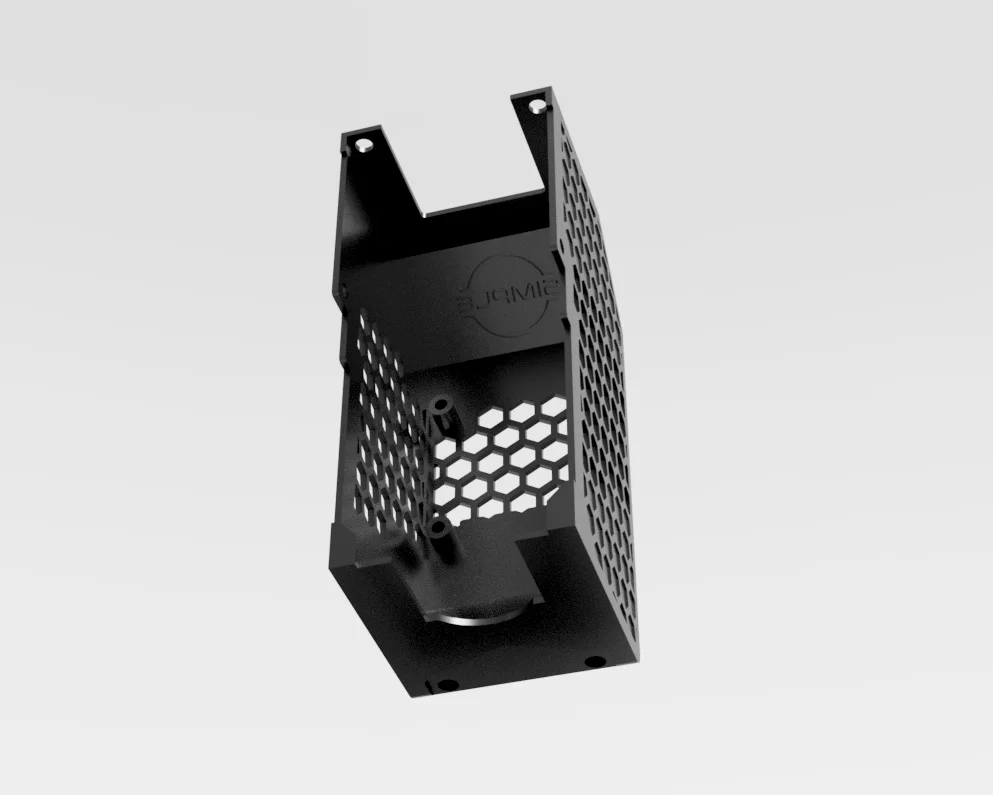


Kẹp giữ sợi Filament
 Bytinx_1344834Likes1.2KDownloads6K
Build another version of this model.
This fan shroud is for use with the Ender 5 Max only, and for use with the Simple AF custom firmware and a Cartographer or Beacon eddy current probe
This model should be printed in ABS/ASA for the best results
23/04/2025: Added .f3d file
If you are mounting a Cartographer or Beacon probe, you will need:
2x Voron M3x5x4 heatset inserts (M3 x 5mm OD x 4mm L )
Everything else uses either the stock parts or parts that come with the Cartographer.
Assembly
Then, visit the SimpleAF discord for help with firmware install: https://discord.gg/tGGVn5qjgv
Pre-rooted firmware for those who prefer to roll their own solution:
https://github.com/zevaryx/ender-5-max-firmware
Thanks to @tbkMaker for helping me learn how to model this, as well as providing the renders
Bytinx_1344834Likes1.2KDownloads6K

 Byprusa-researchLikes0Downloads2.7K

 Bydamian-dabrowskiLikes0Downloads368

 Bydet-manLikes0Downloads178

 Bygummiegecko8477Likes0Downloads169

 Bychukwufumnanya-arinzechukwuLikes0Downloads154

 BydalleLikes0Downloads152

 Bychris-barwickLikes0Downloads133

 ByBrokentooth_designsLikes17Downloads159


 BynasikLikes0Downloads124

 Byarhi_585078Likes64Downloads547