



New
Clean Storage Boxes | 16 Sizes
 BymoonyxLikes0Downloads698
Remix of Thể Tích Bên Trong Bosch / Sortimo L-Boxx Mini By 6d6178
Build another version of this model.
There are quite a few insets for the Sortimo L-Boxx Mini out there but none of
them fitted my needs:
My design is only possible due to the great work of member 6d6178
who provided a full inner volume model of the L-Boxx Mini under
a Creative Commons license.
I used OpenSCAD, so if you want to configure stuff to your own
needs, a little basic knowledge is helpful.
Basic Idea
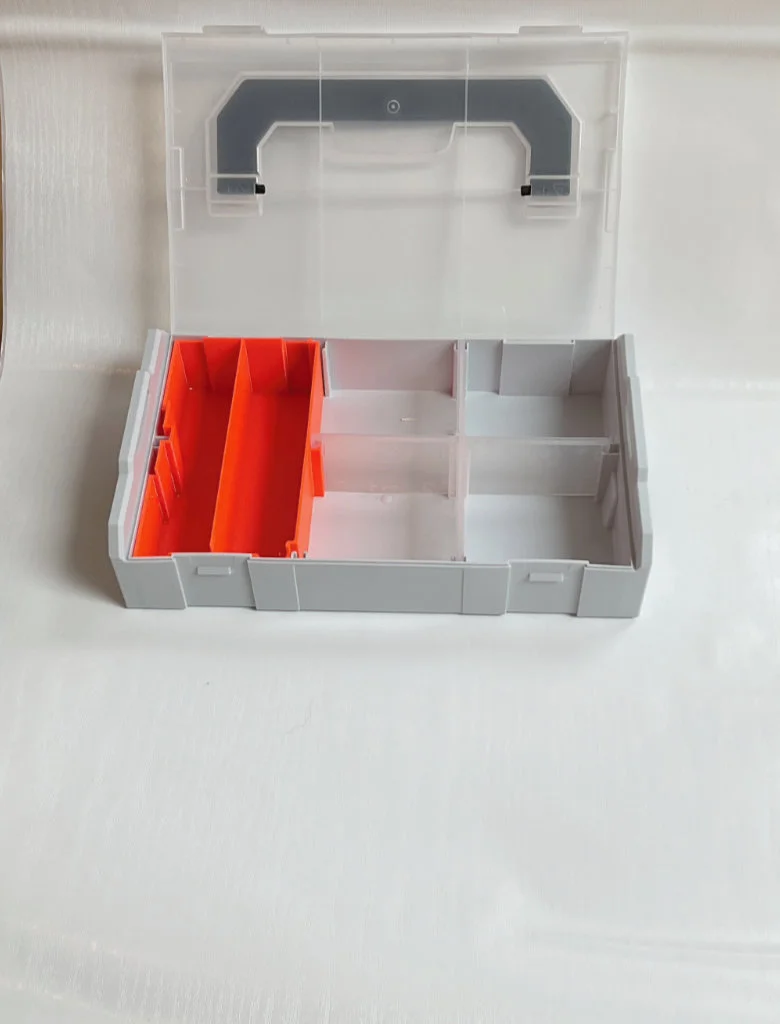
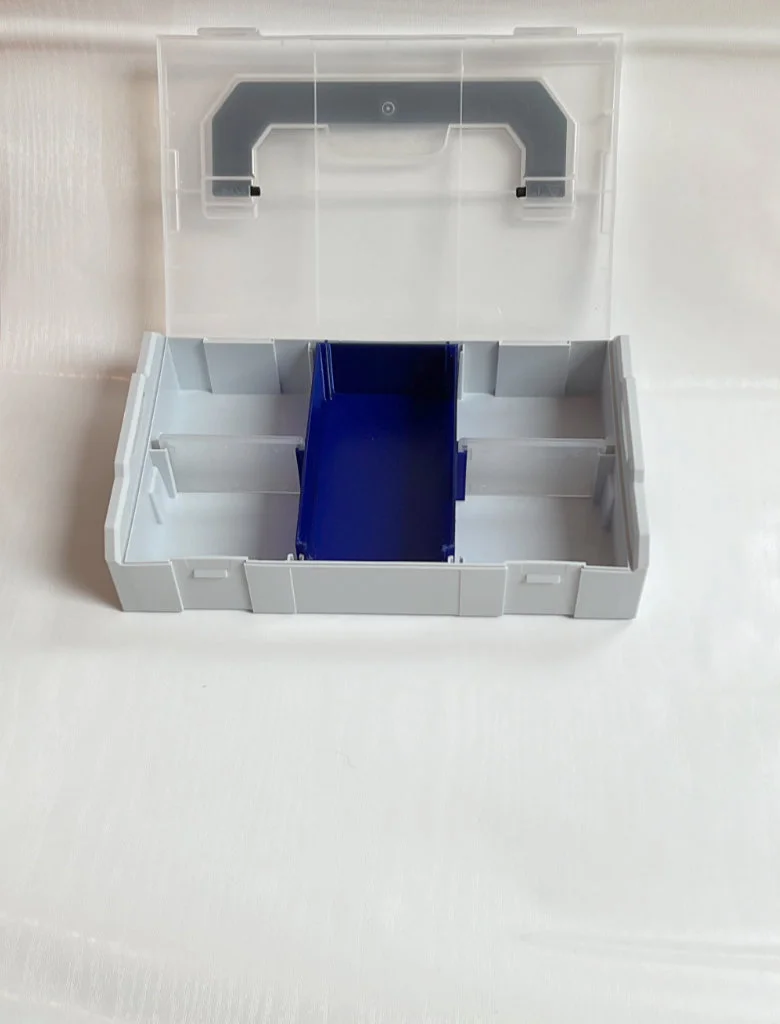
The orignial L-Boxx Mini is divided in three sections: left, middle and right.
For each section, there is a volumetric (filled) model available and the cutouts
are created as needed.
The Insets
There are six types of insets:
For each inset, there is an OpenSCAD module that takes two parameters to
further configure the basic shape:
// example:
module left_inset(part=PART_FULL, connector=false) { … }
The parameter part defines the height of the inset. Available
options are:
- "full" (or constant PART_FULL): complete height
- "lower" (or constant PART_LOWER): the lower part of a stacked assembly
- "upper" (or constant PART_UPPER): the upper part of a stacked assembly
If the parameter connector is set to true, a structure will be added to
the inset to attach an original divider from the L-Boxx Mini.
I strongly suggest, to print any upper inset without connector, even if you
have a lower inset with connector - it will be easier to take out the upper
inset and access items in lower one.
The Cutouts
For each inset, there are eight cutouts defined:
- WELL_LEFT_1 to WELL_LEFT_8
- WELL_MIDDLE_1 to WELL_MIDDLE_8
- WELL_RIGHT_1 to WELL_RIGHT_8
The module well_form(…) creates the cutout model (with a nicely rounded
bottom) to be subtracted from the inset.
// example for the top left cutout form:
well_form(WELL_LEFT_1)
You can also specify a parameter to to created large (merged) cutouts:
// example for a large cutout form:
well_form(from=WELL_LEFT_4, to=WELL_MIDDLE_6)
Finished Models
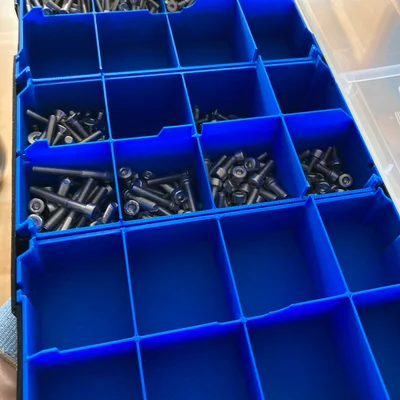
To get you started easily, there are already over 100 finished models ready to
be printed. Ok, I cheated a little bit. There are over 100 different variations
of basic models to get you started.
Please have a look in the folder "models"
Customizations
If you are not happy with the predefined models, you can (and should) create
your own.
A good starting point is to open playground.scad and play around with
the different modules and settings.
You can achieve quite interesting cutout shapes by defining different from
and to parameters. Have a look at example_inset_mixed.scad and the
corresponding stl file.
If you want to build up something from an empty base inset, the upper surface
of the cutout floor is conveniently located at z=0.
Have a look at the sortimo-insets.scad file, if you want to dig deeper.
Everything is defined there. It might not be pretty but it works.
Printer and Slicer Settings
The prints above where made with 0.4mm nozzle and PETG filament.
I changed the default "0.25mm Draft @Mini" a little bit for this prints:
BymoonyxLikes0Downloads698

 ByVC_DesignLikes721Downloads2.9K

 ByUpcrid3D_1585693Likes808Downloads2.1K

 ByWilko_SLOLikes935Downloads2K

 ByshoheiyLikes0Downloads429

 ByRobertoGalloc_356815Likes549Downloads1.8K

 ByTater_364200Likes486Downloads1.6K

 ByfifindrLikes709Downloads1.7K

 Bywhilex_1739192Likes644Downloads1.1K

 ByGi_TLikes801Downloads1.3K

 ByzeroflowLikes186Downloads1.2K

 ByMatthew_GhostLikes350Downloads943