




Bộ sưu tập 11 nhân vật mô hình Mecca Chameleon in 3D vui nhộn
 ByZED4EverLikes313Downloads5.2K
Build another version of this model.
The FIFA Worldcup 2022 in Qatar is mere hours away, as I'm uploading the last files of this project. This worldcup is the first of its kind to take place in autumn, when the temperatures in most of the western football watching world usually start dropping below 0.
A time to huddle in front of the TV with friends and a few drinks instead of outside.
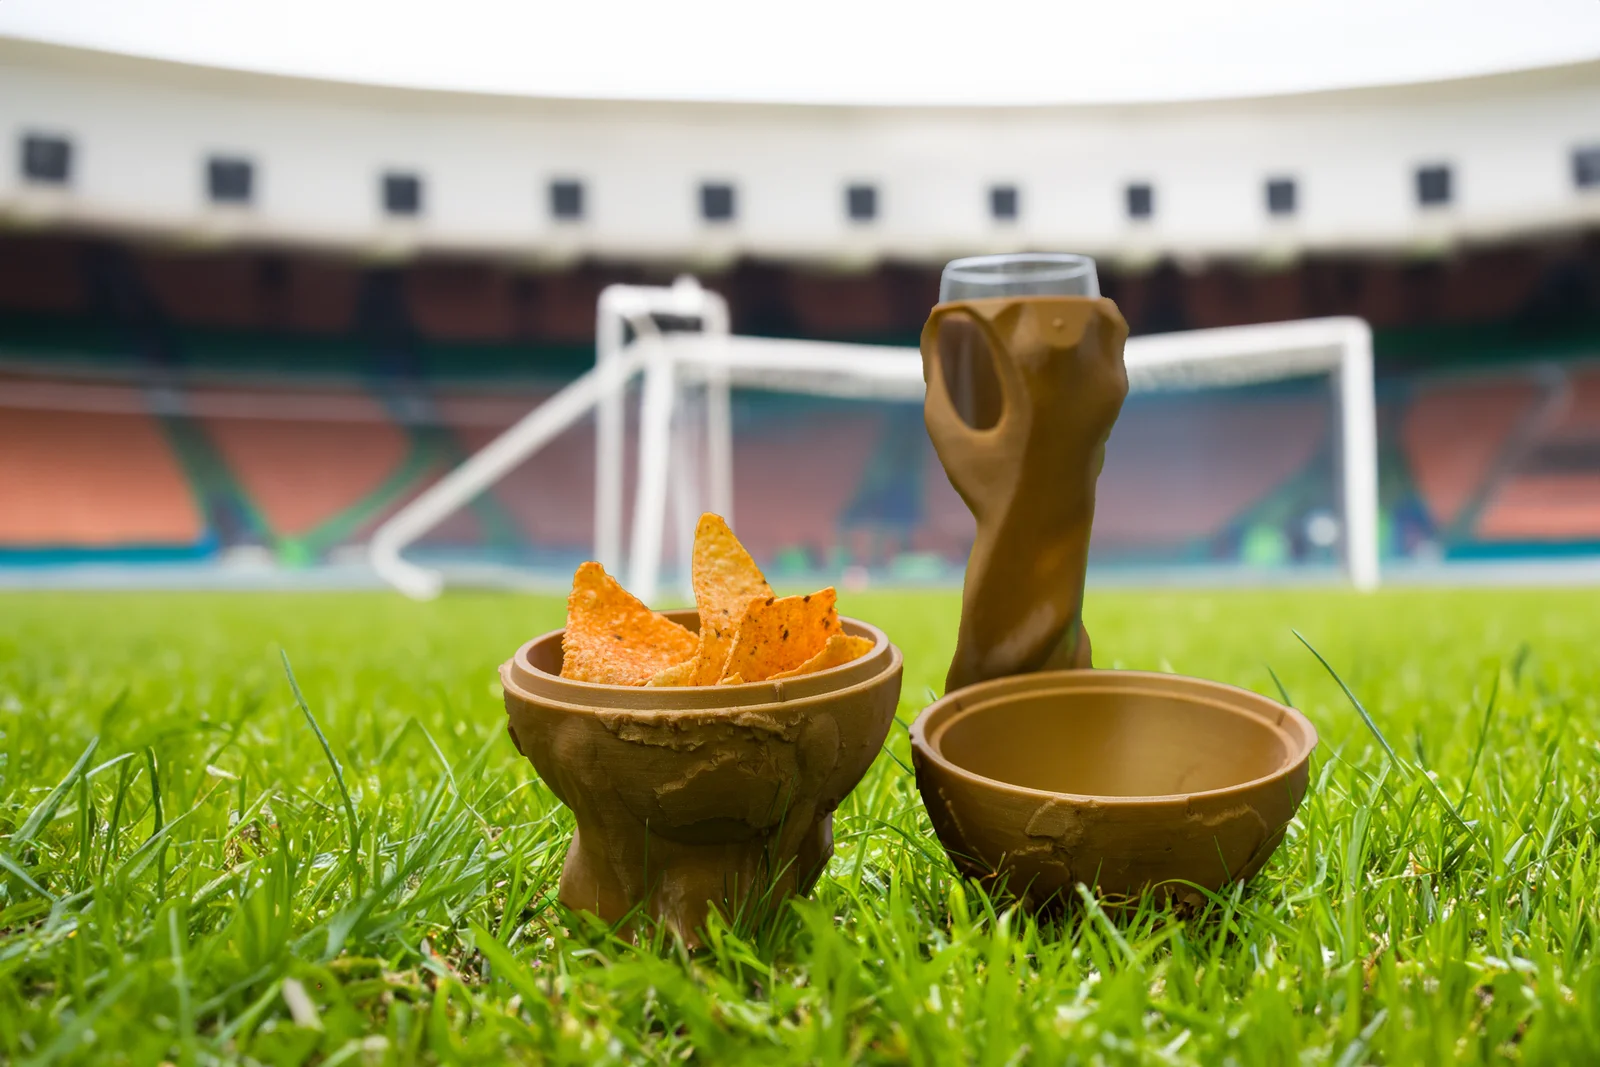
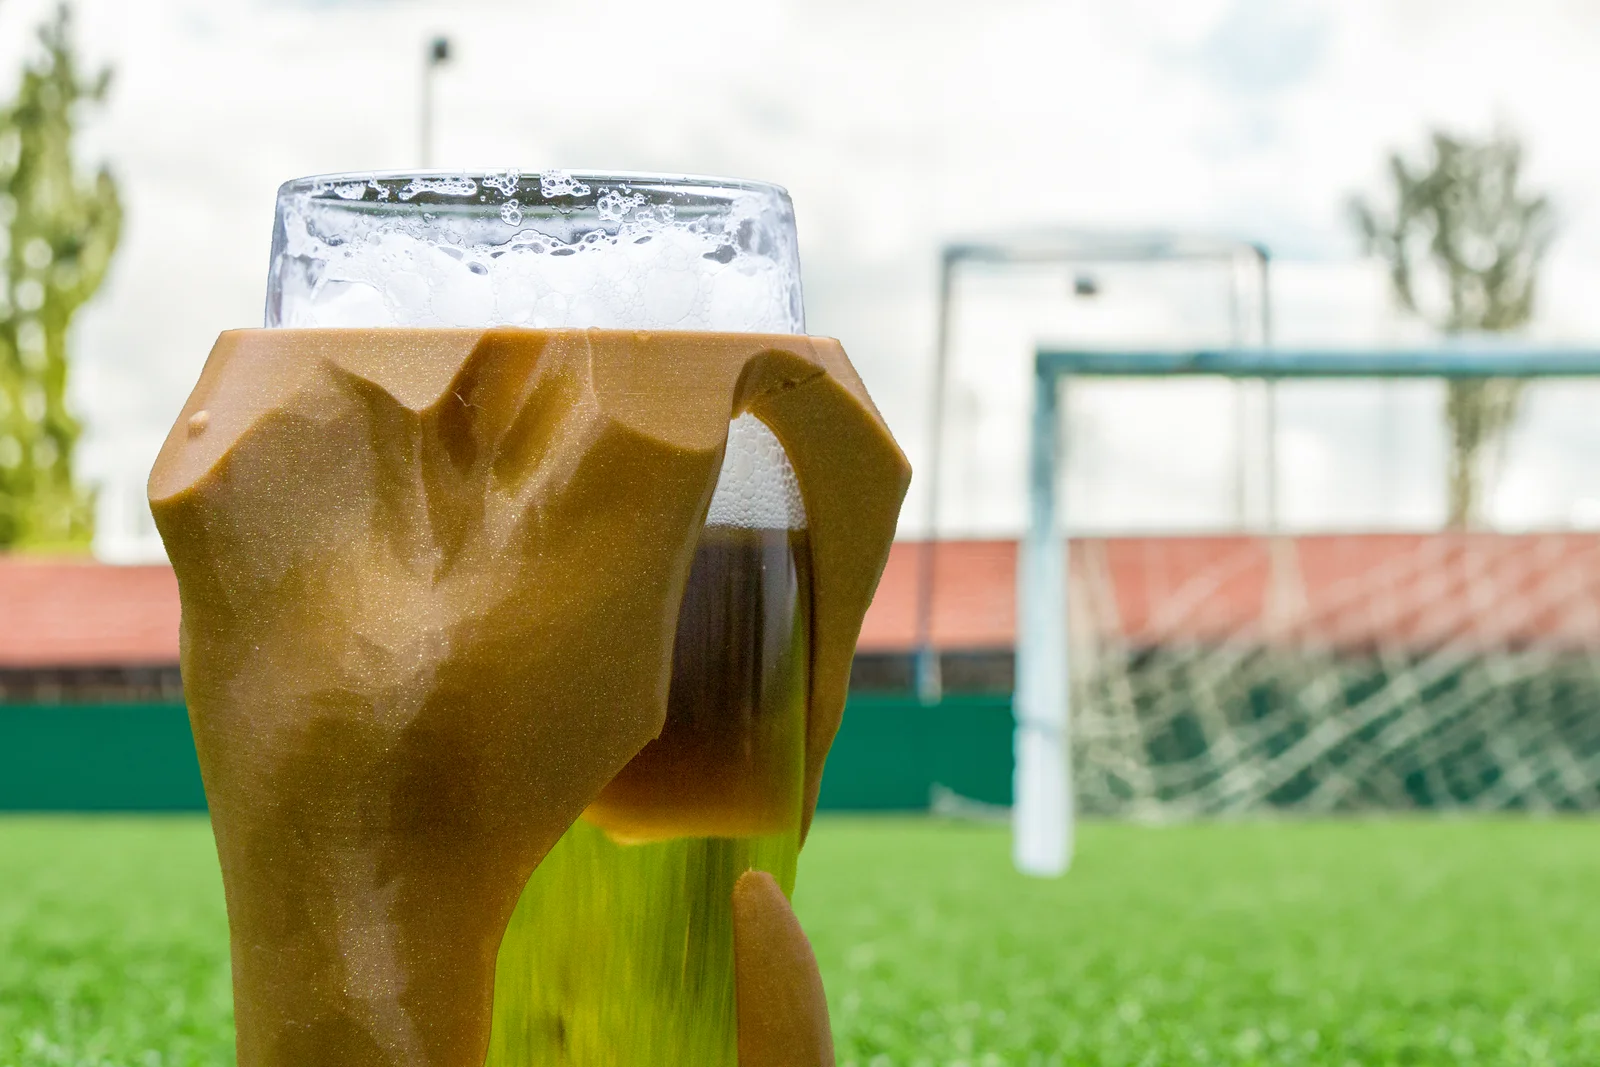
I used the beautiful world cup trophy by Andreas Kahler from thingiverse and adjusted it a little bit to accommodate a 0.5l beer glass from glassmaker Rastal (Model "Monaco Slim").
In addition I've added room in the top to store your favorite snacks, like nachos or skittles for example.
Note: The images above are merely bad renders and images of an earlier version, I'm currently printing the final version and will update the images as soon as the print is done.
Apart from filament and the proper glassware you'll need
I recommend printing the mug in DasFilament PLA gold v2, Prusament PLA Viva La Bronze. Supports are encouraged but not strictly necessary.
Be aware this will take a considerable amount of time to print, especially at 0.2mm layers.
So while you will probably not drink from the trophy for the first rounds of the tournament, you'll certainly have enough time to print this for the finals celebration.
After printing, first insert the 4 heatset inserts into the designated holes in foot_b.
Begin the assembly by inserting the glass into the main printed parts (main_a and main_b) and glue both parts together using superglue on the mating surfaces of parts A and B on the top of the print.
Continue the assembly by clamping the bottom ends together and fixing the bottom of the glass with the foot_a and foot_b parts. A small notch in the foot will help you orient the parts correctly.
Use the 4 M3x8/M3x10 screws to secure both foot halves in place and press the whole assembly together. You might need a ball-end allen-wrench attach the bottom screws.
Then push the two screw-plugs (l and r) into place to hide the screws. Depending on your printers tolerances, you might need to sand the plugs a bit to fit.
Finally top it all of by setting the head onto the glass body and putting the cap (or the northern hemisphere) on the top.
Simple - fill the glass with your favourite beverage, store your preferred snack choice in the top and you are ready to enjoy the next game in style.
ByZED4EverLikes313Downloads5.2K

 ByBasementLABLikes888Downloads1.5K