



Bộ sưu tập 11 nhân vật mô hình Mecca Chameleon in 3D vui nhộn
 ByZED4EverLikes313Downloads5.2K
Build another version of this model.
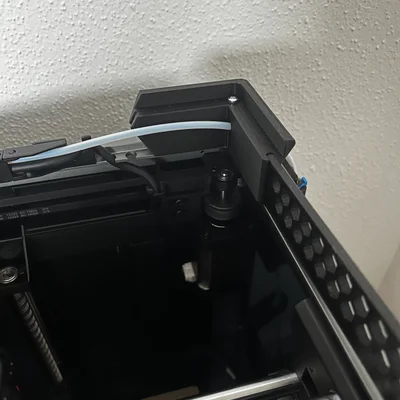 Góc nâng nắp K1 có khe đi ống bowden - MOD JC-Creality K1 Lid RiserByhumvee95_799647 · 11/05/2026
 Riser Creality K1 cho LED ModBythe1maximus_477803 · 11/04/2026
 Khung nâng nắp (Riser) cho máy in 3D Creality K1 thẩm mỹ và tiện dụngBymv83_966167 · 04/26/2026
 Khung nâng nắp Creality K1 Lid Riser giúp xích cáp vận hành mượt màByMarkus_1397163 · 04/26/2026
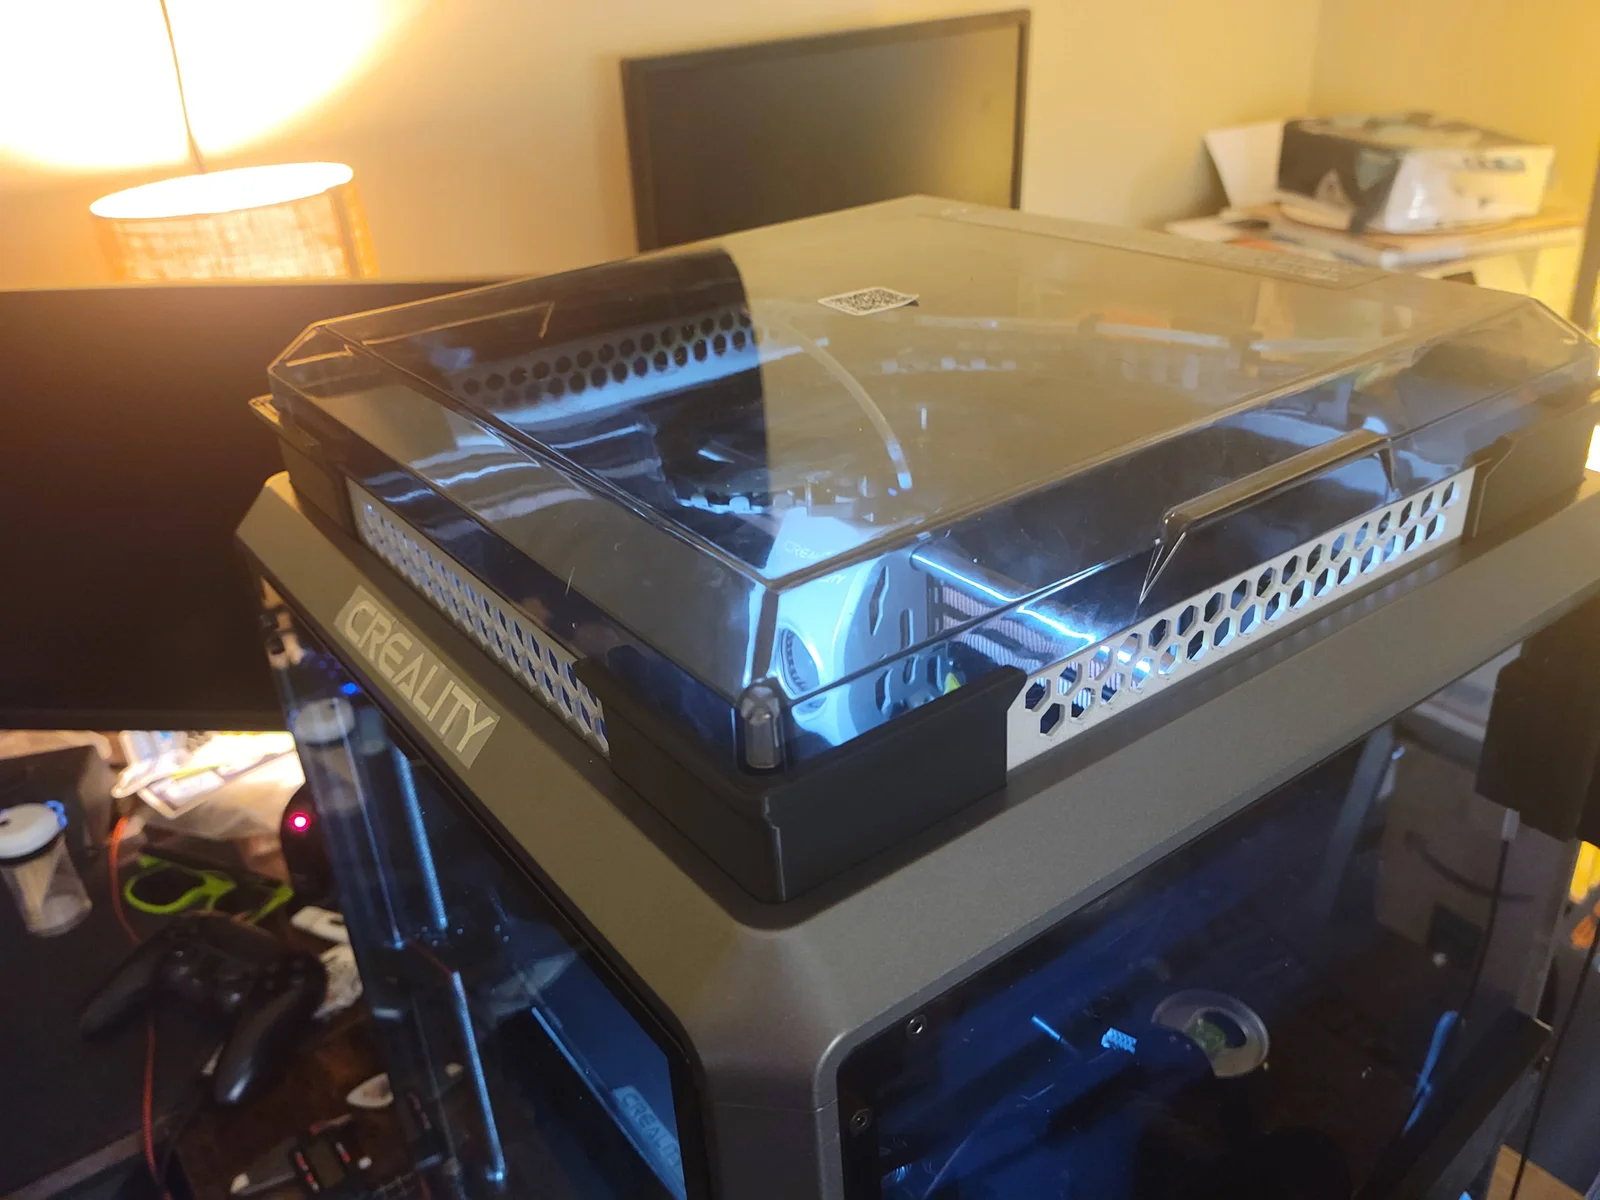
Creality K1 Lid Riser. I didn't really care for any of the other lid risers out there. They were frequently huge and had sharp angles that needed supports, so I set out to design a modular lid riser system.
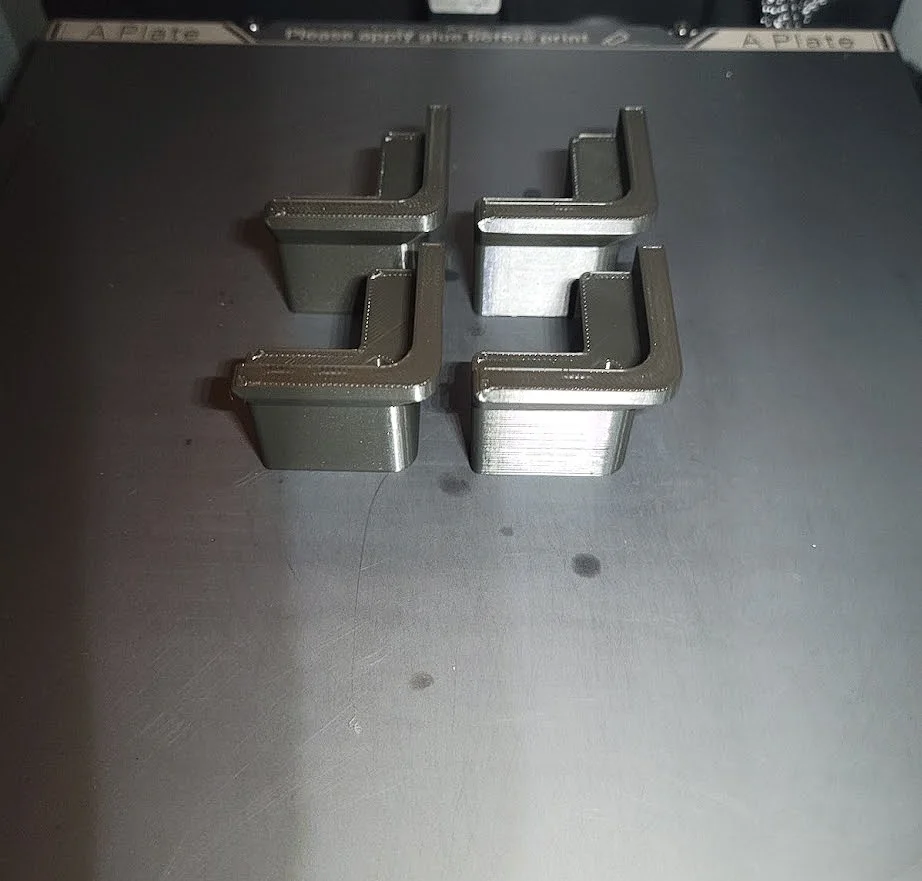
It consists of 4 supports that either screw (recommended) or magnet to the top of the K1. These alone will support the lid and keep it away from the PTFE tube. However, each bracket is designed with a slot to allow you to add more quiet and customization! In between each bracket is a BETWEENER. Betweeners are specifically designed to allow you to print it broad side flat to the bed. This allows for almost any design imaginable for the betweeners! I've initially included a solid and a hexagon (MORE JUST ADDED). I've also included the brackets without slots for those bias against Betweeners.
Features:
- Print full kit on 1 bed - and only 35mm tall
- NO SUPPORTS
- Easy on filament, full kit = 100g
- Each bracket installed with m3x30mm or magnets
- Fully switchable, customizable, and interchangeable Betweeners!
Installation:
Brackets to K1
OPTION 1 (Recommended)
- Remove existing lid attachment screw and attach each bracket with your own m3x30mm screw. Don't worry those screws do nothing but provide a place for the lid to magnet on to. If you use round-head m3x30 then lid will automatically magnet attach to it.
OPTION 2
- Glue 6x2 magnets into underside of each bracket. Place on top of correct corner and it should hold down to the existing screw.
Betweeners
- Just print and slide them in-between the brackets.
Make-your-own Betweener:
- Betweeners are 190.5x27x3.5mm
- Each end corner must be chamfered to 30 deg
- You can dip the Betweener into the bed of your slicer half way to make a print just 1.75mm thick!
New Hinged Riser
https://www.printables.com/model/525295-jc-creality-k1-hinged-lid-riser
ByZED4EverLikes313Downloads5.2K

 ByBasementLABLikes888Downloads1.5K