

Large file collection
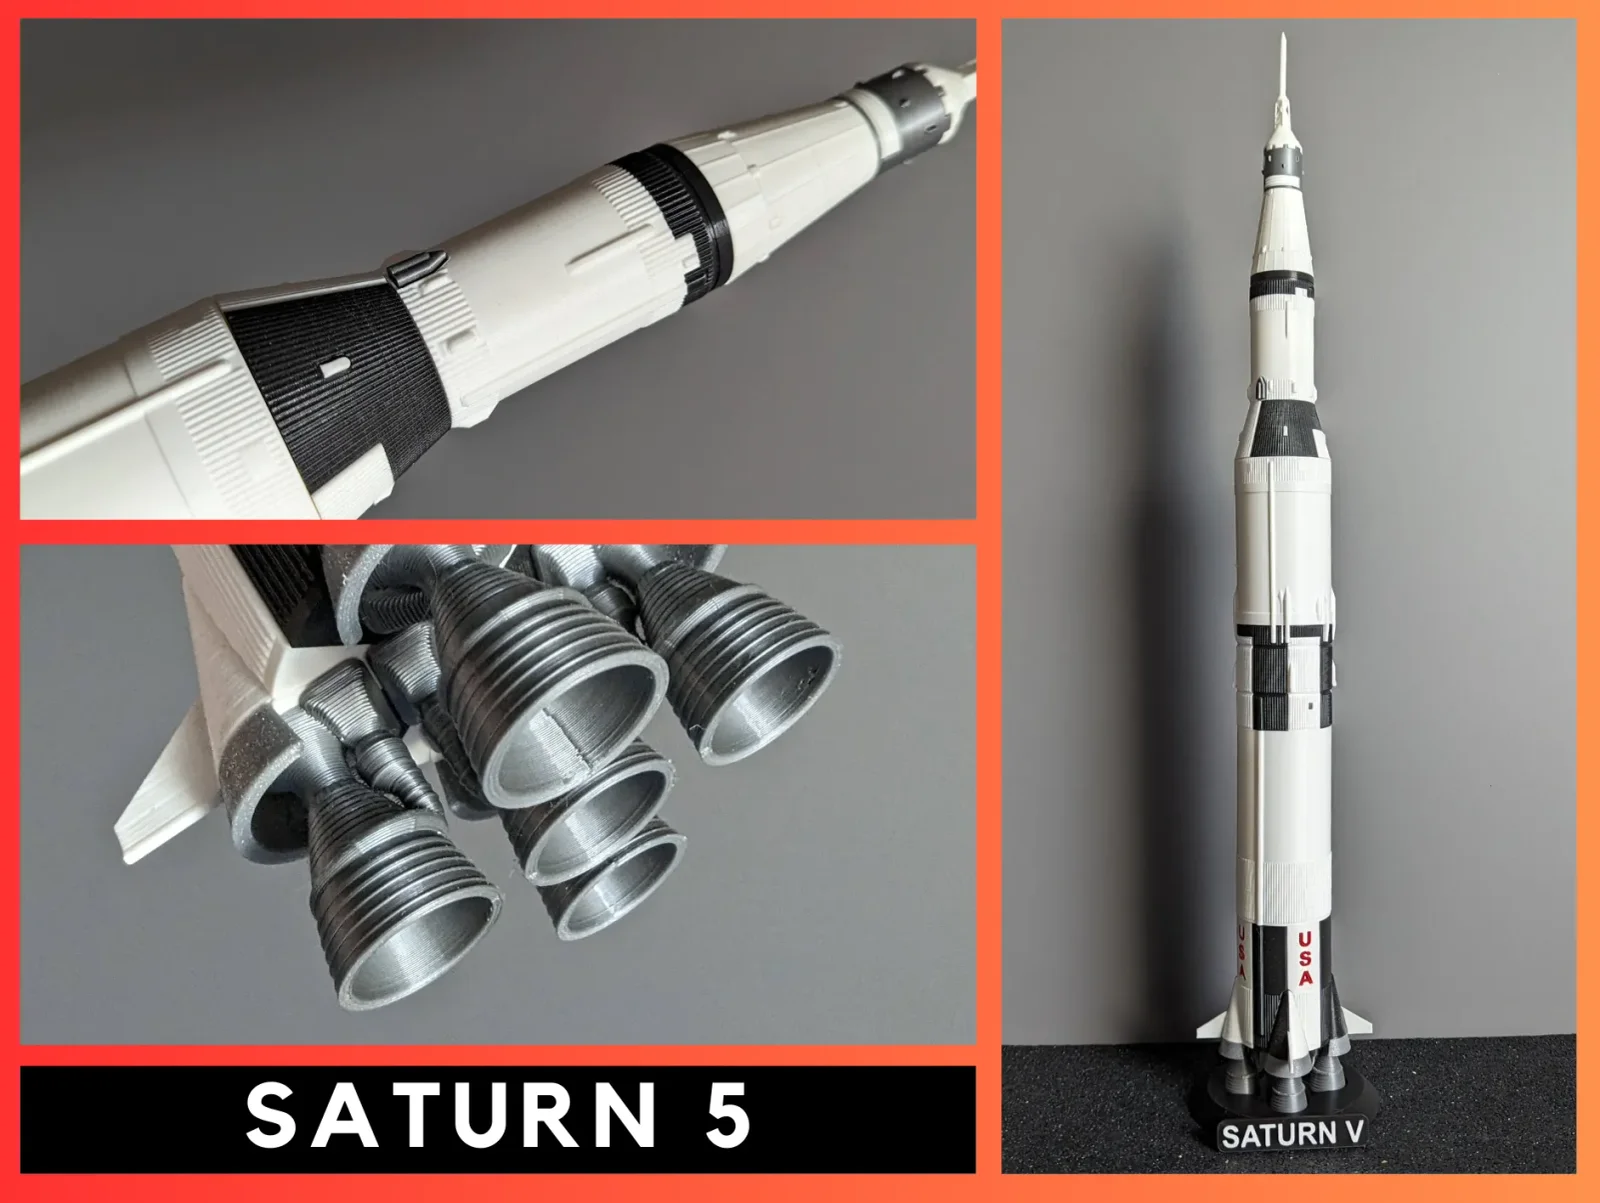
Mô hình tên lửa Saturn V tỉ lệ 1:200 chi tiết

- Downloads
- 0
- Likes
- 0
- Views
- 62
- Remixes
- 3
- Comments
- 0
Files 46 19.7 MB
- S-1C_Engine_Fairing_Black_x4_1766962921.stlSTL · 525.1 KB
- S-1C_Engine_Fairing_White_x4_1766962923.stlSTL · 415.8 KB
- S-1C_Engine_Fairing_Metal_x4_1766962924.stlSTL · 469.4 KB
- S-1C_A_Red_x4_1766962925.stlSTL · 9.9 KB
Make a variant with AI
Build another version of this model.
Remix versions 3
 Mô hình tên lửa Saturn V (phiên bản in 3D liền khối)ByKleinerLateiner · 05/03/2026
 Bệ đỡ rocket phiên bản cũ (Old rocket stand)ByKmobrain · 04/24/2026
 Mô hình tên lửa Saturn V - Phiên bản EnhancedByNicolaSotira_2519681 · 04/18/2026
Details
- Model ID
- #153333
- Published
Description
Support Me
Support my work by subscribing to my Printable club to have access to my new model, my first lander, the Starship V2.

Updates
- 02/08/2024
- Add part S-1C_Full_Thrust_Structure_White_x1 for a new configuration.
- 17/02/2024
- Stand redesigned with two versions, AMS/MMU and Multi parts.

Description
The Saturn V model is a highly detailed 1:200 scale reproduction of the historic NASA vehicle that flew for the Apollo program for the first flight in 1967 for 13 flights. The model consists of several pieces printed separately, which are easy to print and assemble.
The finished model dimensions are approximately 56cmhigh and 5cmwide for the Saturn V.
Printing
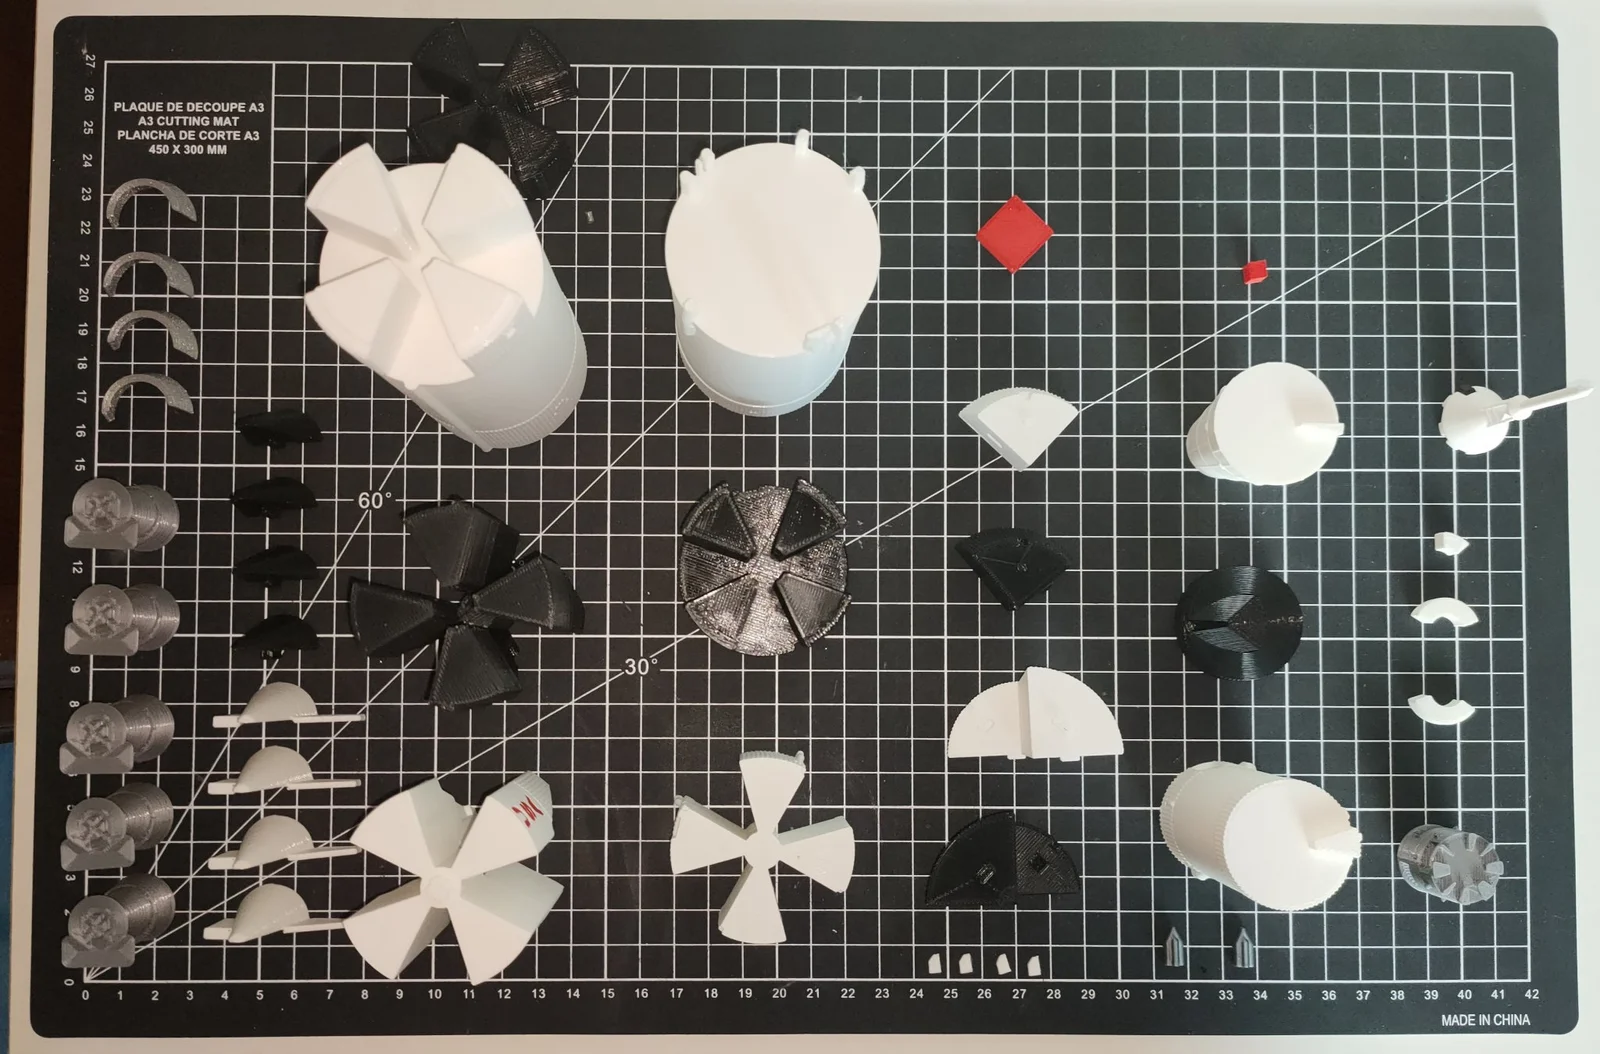
- There are 58 pieces to print for the Saturn V.
- The total printing time for the entire model is approximately 39 hours.
Choosing your Spacecraft configuration
There are multiple configuration options available for this model, depending on your printing and assembly preferences.
We offer two assembly configurations:
- Spacecraft_Full_White_x1: Full tower on the top of the capsule (Simple settings)
- Spacecraft_Empty_White_x1 : Empty tower on the top of the capsule (Complex settings)

- S-1C_Thrust_Structure_White_x1: Parts with space for red USA letters.
- S-1C_Full_Thrust_Structure_White_x1 : Pieces without lettering USA red

Tips
Settings
- For infill, 10% is sufficient for a decorative object, and you can also use PrusaSlicer's "Lightning" infill settings.
- For some parts, support will be necessary.
Printing
- For a better final result, I recommend printing the Terminal_Block last so that you can adjust their size according to your print and have a better fit during assembly.
- If some parts are loose or don't fit, you can change the scale by +/- 1% in the slicer to get a better fit.
- The parts are positioned in the optimal direction for printing.
- For the base, it is recommended to print with 4 perimeters to avoid visible infill.
Post Printing
- You may need to sand the junction areas between the parts for a smoother finish.
- Additionally, I recommend using glue for better strength and durability.
- Use the assembly guide for assembly and printing advice.

Print spec
- Formats
- 3mfpdfstl
- Model files
- 46
- Total size
- 19.7 MB
- Largest file
- 4.3 MB