



Grippy Broom Holder
 Byvc-designLikes0Downloads3.2K
Remix of Tệp mô hình Multiconnect cho Multiboard By DavidD
Build another version of this model.
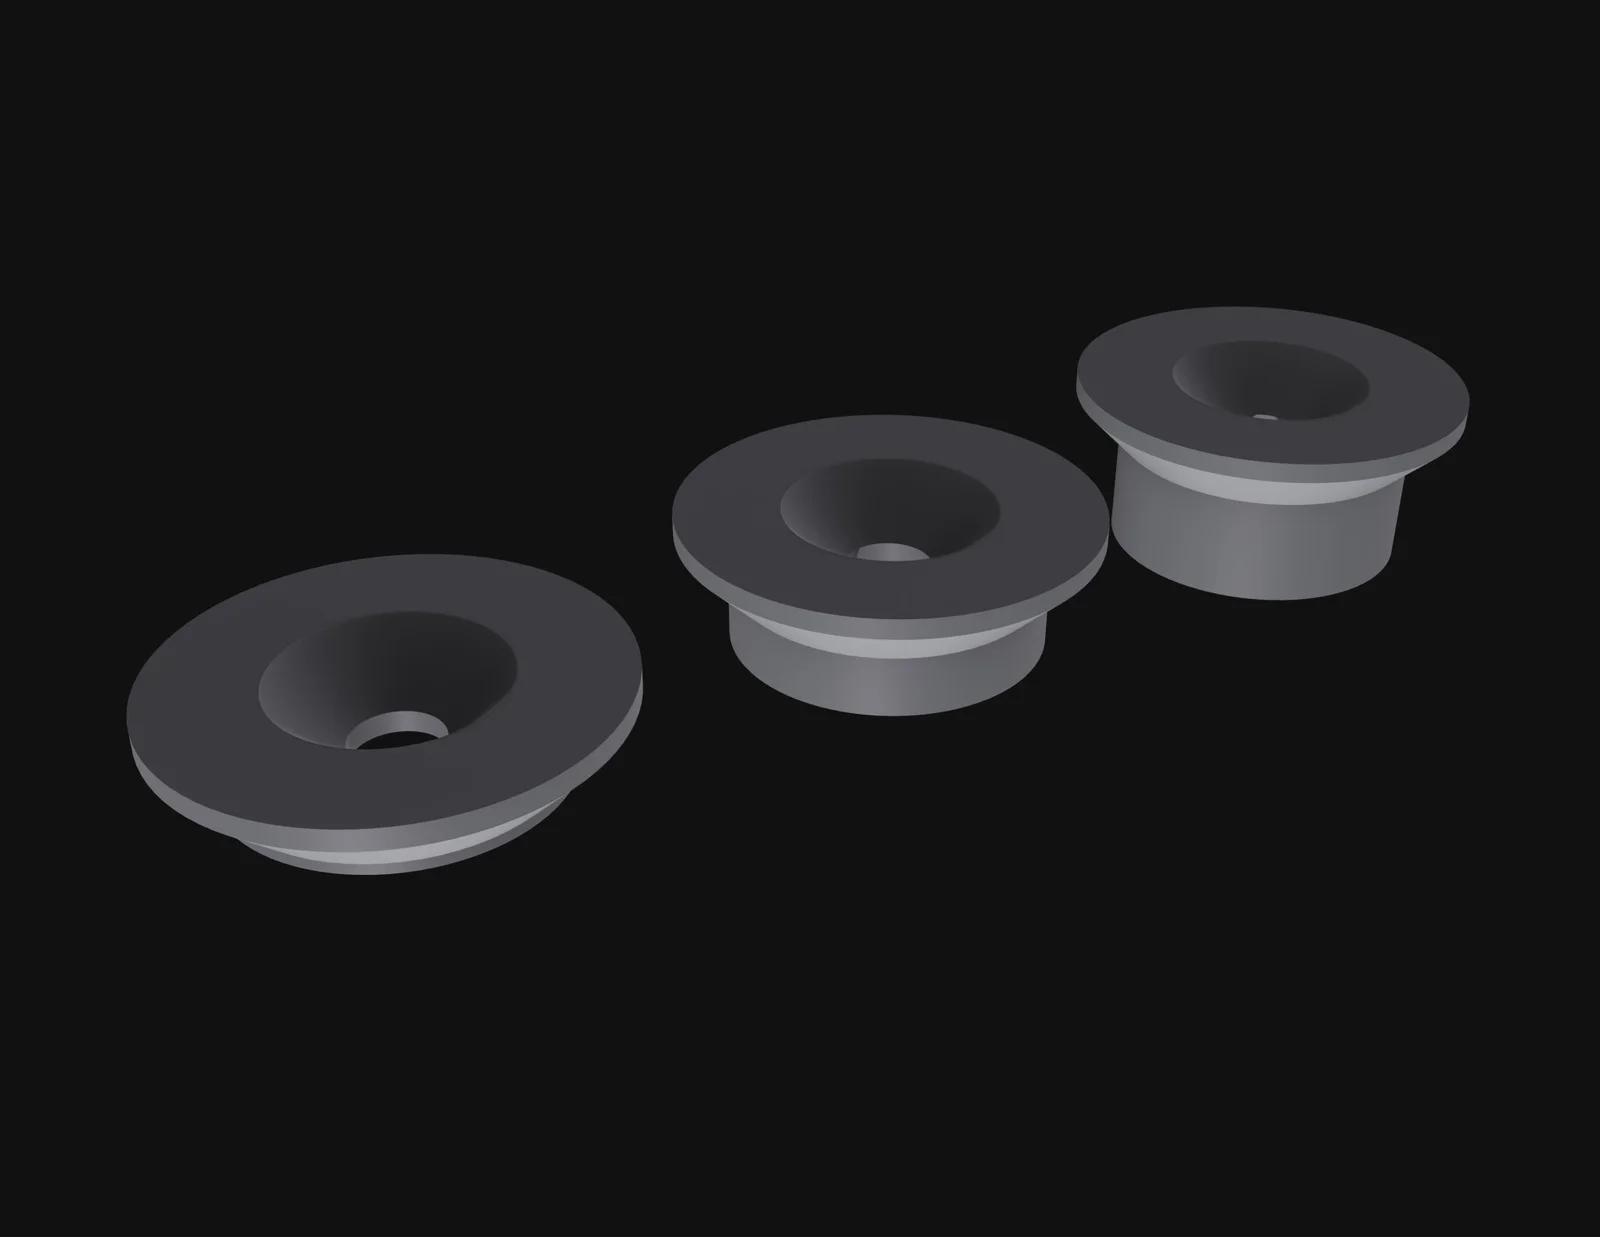
Use multiconnect to hang anything to your wall. Those connectors can just be screwed to the wall using normal screws.
Why use this connector: The connector is universally usable and allows for fast and easy installation and removal of anything you want while still being pretty sturdy. Also the connector will be invisible when something is attached, which leads to a nicer overall look.
Compatibility with shelves/bind/…: As you can place those connectors in any distance and orientation you will be able to use any models compatible with the multiboard and/or honeycomb storage wall (HSW). Just place the wall mounts in the appropriate distance to each other.
(25mm for multiboard and 40.88mm for honeycomb)
About the connector system: The connector design/dimensions are actually pretty simple. You can look into the provided dimension PDF to create your own models using the same connector. There are also STEP files which includes just the connector head and a bin/shelve back to be used for your own creations. Feel free to just use those.
Printing instructions: All connectors are provided in the orientation they should be printed. Use at least 3 perimeters and I suggest at least 20% infill. I'm using the grid infill pattern, but others might just be fine. Please don't print in “superfast” mode, use “STRUCTURAL” for Prusa printers for example.
Howto use for your own models: If you like the connector you can easily create your own models based on the connector system. All you need is the back to be placed on your model. See multiconnect modeling files here on printables. This also includes negative/cutout version of the connector back, you can just apply to any existing model.
If you want to create your own connectors you may also use the provided STEP files. Those just include the head.
Byvc-designLikes0Downloads3.2K

 ByWolf_115355Likes513Downloads8.4K

 ByZED4EverLikes313Downloads5.2K

 ByowlartLikes30Downloads227

 ByfifindrLikes500Downloads4K

 ByVC_DesignLikes679Downloads3.6K

 ByDan Schwartz SchwartzLikes744Downloads3.4K

 ByUpcrid3D_1585693Likes808Downloads2.1K

 ByWilko_SLOLikes935Downloads2K

 ByBrokentooth_designsLikes83Downloads448

 Bychubbs8697_2027893Likes585Downloads1.7K

 Byquibeck_3353173Likes965Downloads1.9K