




Kẹp giữ sợi Filament
 Bytinx_1344834Likes1.2KDownloads6K
Build another version of this model.
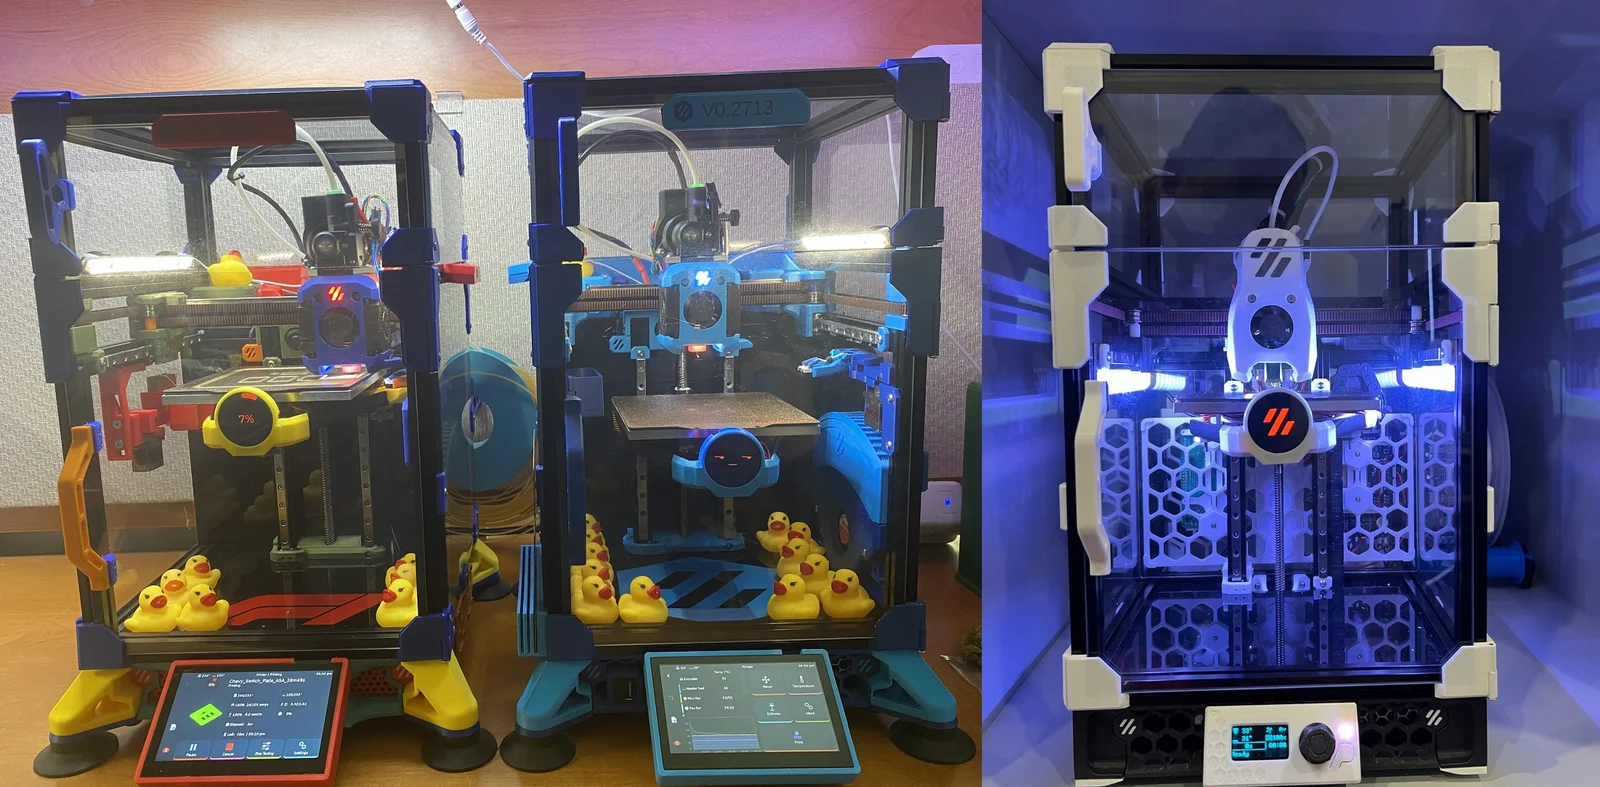
With the release of BTT's Knomi screen there has been a lot of demand to get it installed onto pretty much every printer. For the V0.2 the location that seems best is on the Kirigami bed. We have been prototyping this with many version until we landed at the current design. Big thanks to Robert who is the first to deploy it on his 2 V0.2's in main picture.
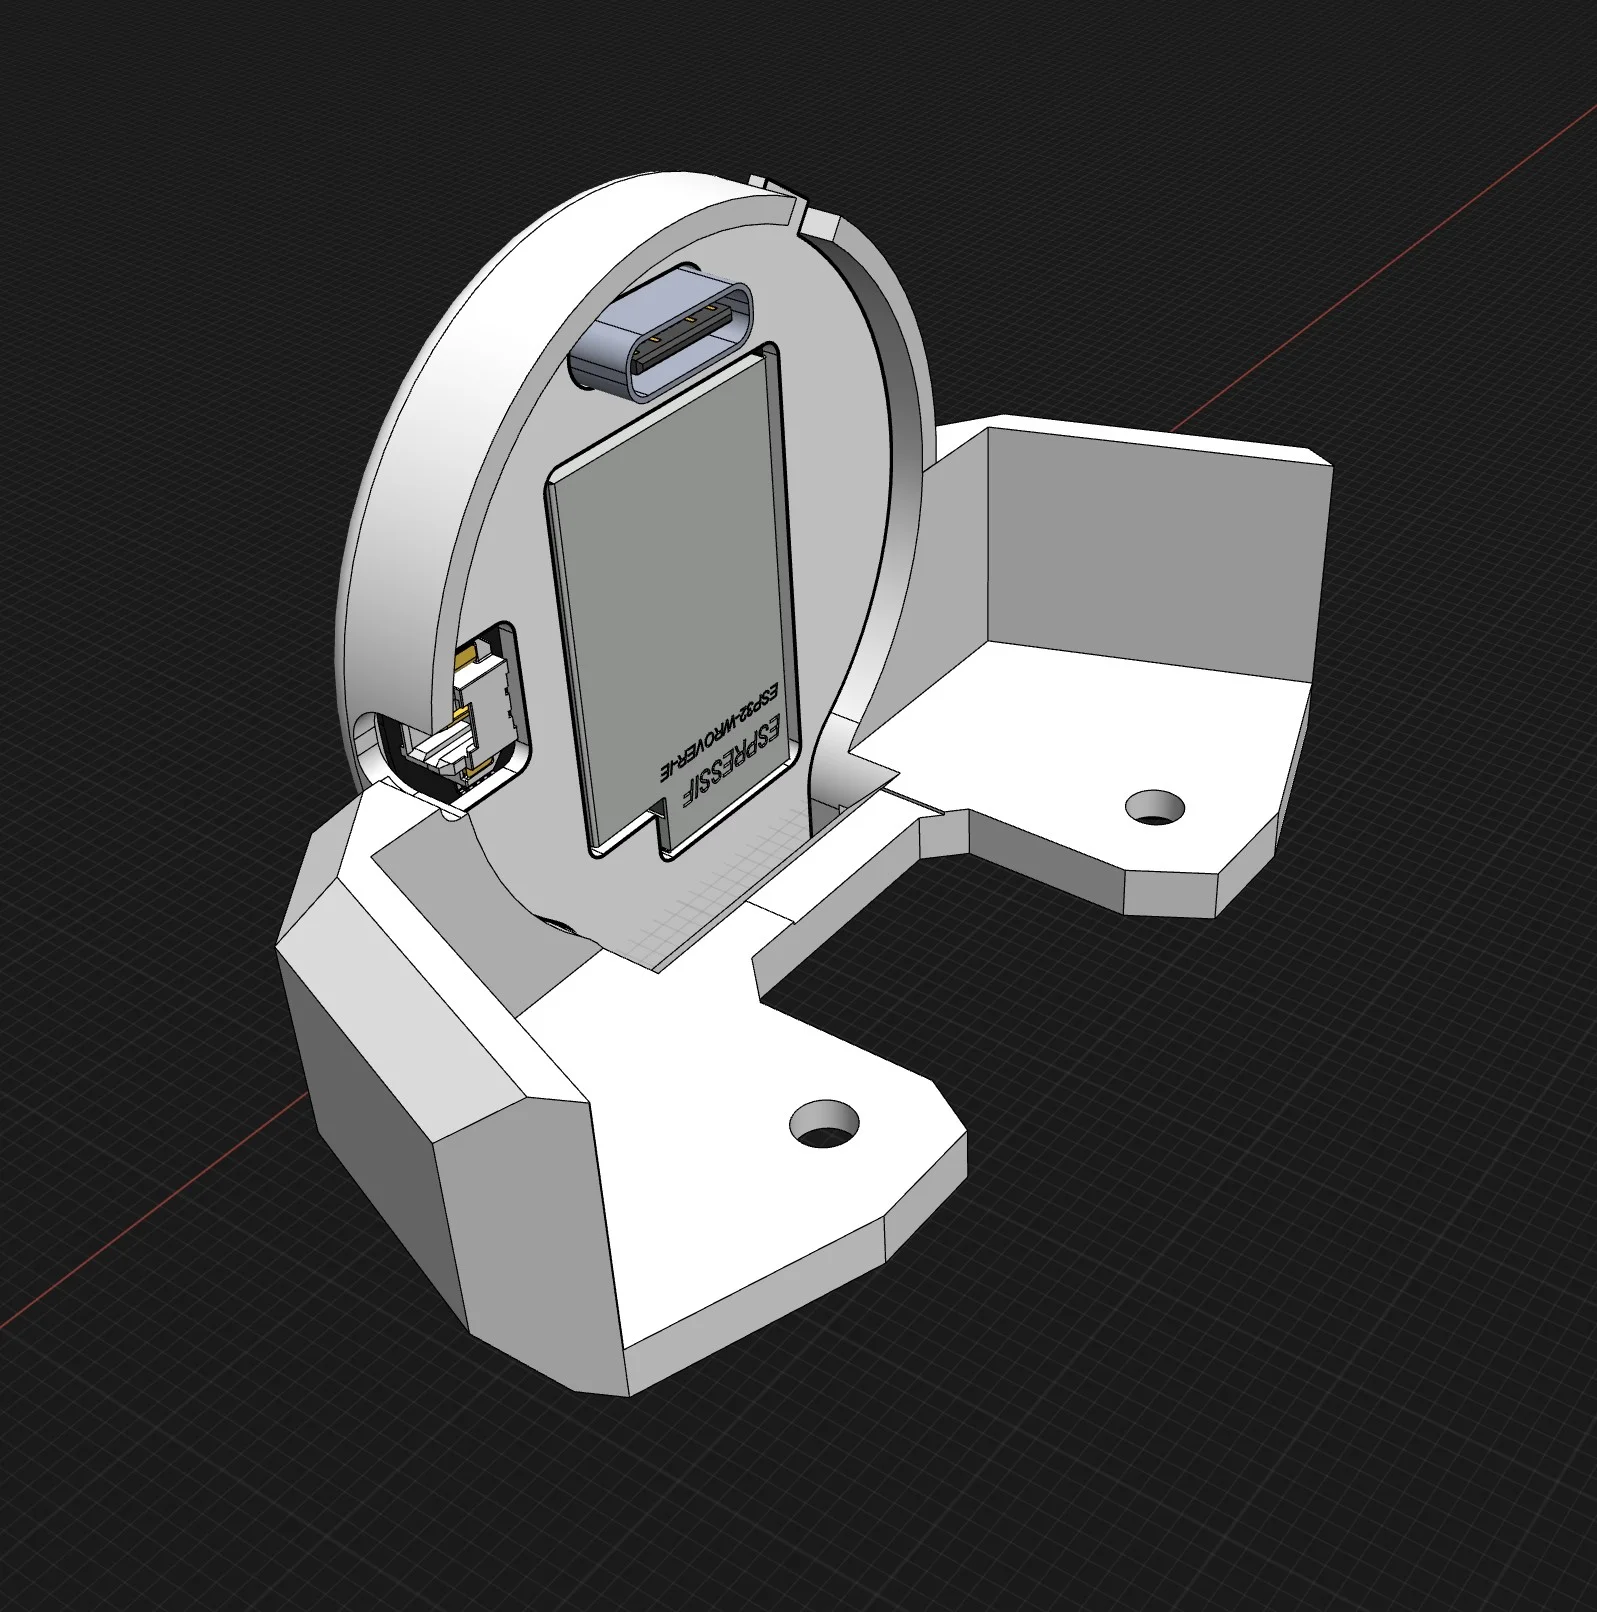
The design although it may look relatively straight forward took many revision as there is not a lot of space in the V0.2 enclosure. The knomi mount has been been dropped down into a position where it does not interfere with the toolhead nor the Z end stop. Many prototypes were developed to get it first functional then to beautify the design. Let us know your thoughts on the release.
CAUTION: There has been feedback that other models that have been mounted on the front of the kirigami bed have had their Knomi screens fail due to the heat the bed pushes out - so use it at your own risk.
This upgrade requires the following parts. If you already have the LDO kirigami kit then it uses the same parts.
If you like my designs and would like to contribute to fund filaments and other equipment required for prototyping, please do so at my paypal.me or Ko-fi. Your support is greatly appreciated :)
Should you have any questions you can reach out to us via Discord - https://discord.gg/fizzystech
10-Oct-23
Bytinx_1344834Likes1.2KDownloads6K

 ByreddLikes216Downloads2.2K

 ByJasonOlliff_519145Likes241Downloads2K

 ByAnthonyDouri_1604724Likes24Downloads214

 Byarhi_585078Likes64Downloads537

 ByhartkLikes59Downloads115

 ByHanzo3dLikes155Downloads411

 ByGeek5DLikes147Downloads482

 ByNadirLikes25Downloads110

 BySmolboiLikes39Downloads118

 ByBrokentooth_designsLikes23Downloads403

 By3DSourcererLikes48Downloads374