



Còi Tàu Hơi Nước Mini
 ByfifindrLikes500Downloads4K
Build another version of this model.
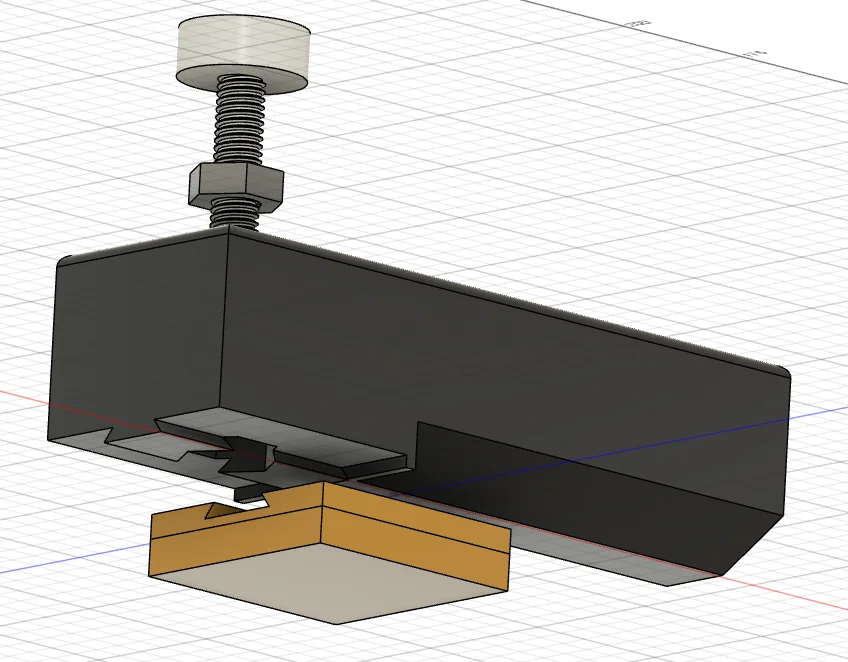
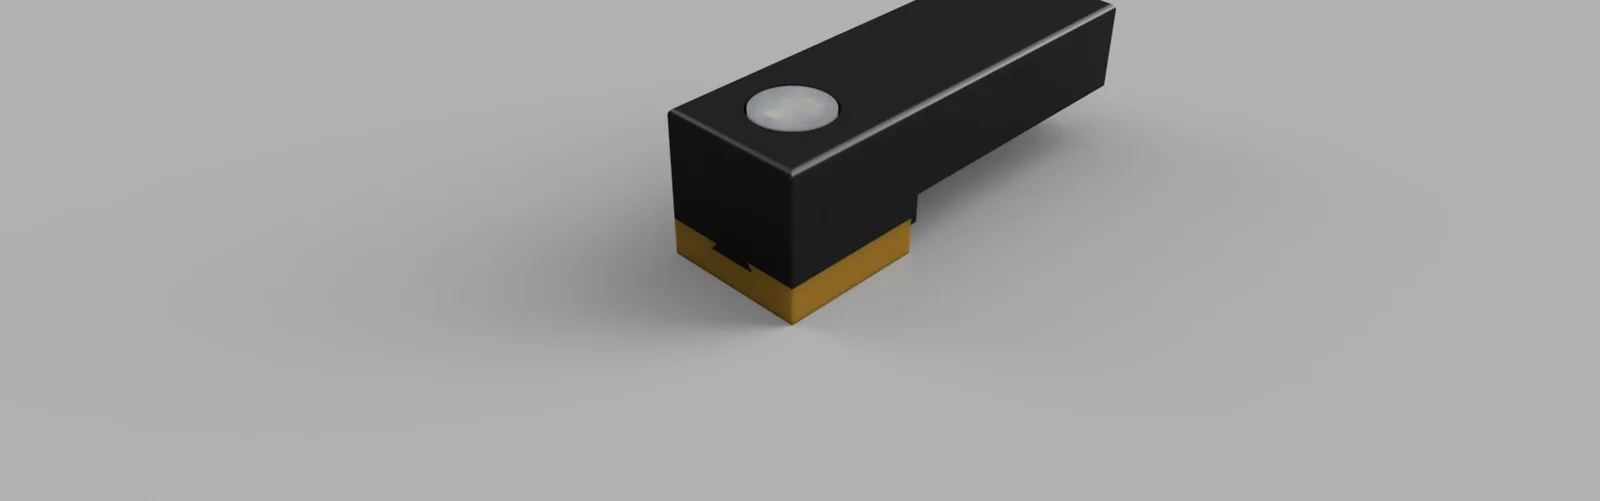
I have created a small trowel designed to ensure a precise distance between the bottom of the tile and the surface of the plaster (eg https://www.pinterest.it/pin/21532904457891450/). This tool ensures a uniform and leveled plaster surface, without deformations or depressions, creating the 'plaster lists' and allowing for an accurate laying of tile adhesive.
Print the trowel and one of the 'pressors' according to the necessary dimensions.
Use an M8 nut and bolt, or print them from the same '3mf' file.
Recommended: glue the nut to the trowel in the designated seat.
The images should clearly illustrate their use. If not, feel free to ask for clarification.
During your DIY projects, select the appropriate thickness based on the toothed trowel (6mm, 8mm, 10mm) and the thickness of the tiles you plan to use.
Printing recommendations
The trowel requires 4 hours of printing with a 0.4 nozzle, but you can use the other file "rapid.3mf" to take inspiration from the settings I use for my personal prints. In summary, I increase the extrusion width, the infill printing speed, and I raise the nozzle temperature to 240°C when the volumetric flow rate exceeds 8-10 mm^3/s. Therefore, pay attention and always check the printer. This way, the print will last less than 2 hours.
ByfifindrLikes500Downloads4K

 ByVC_DesignLikes679Downloads3.6K

 ByDan Schwartz SchwartzLikes744Downloads3.4K

 Bychubbs8697_2027893Likes585Downloads1.7K

 Byquibeck_3353173Likes965Downloads1.9K

 ByRungeKuttaLikes229Downloads1.2K

 ByEadubsLikes228Downloads1.3K

 ByWolf_115355Likes513Downloads8.4K

 ByJeremyVillalo_760366Likes68Downloads763

 ByZED4EverLikes313Downloads5.2K

 Bykjus_448782Likes314Downloads673

 BySchmitzBertLikes95Downloads627