



Cable Mount - Kẹp Giữ Dây Cáp (Có Lỗ Bắt Vít)
 ByVC_DesignLikes271Downloads752
Build another version of this model.
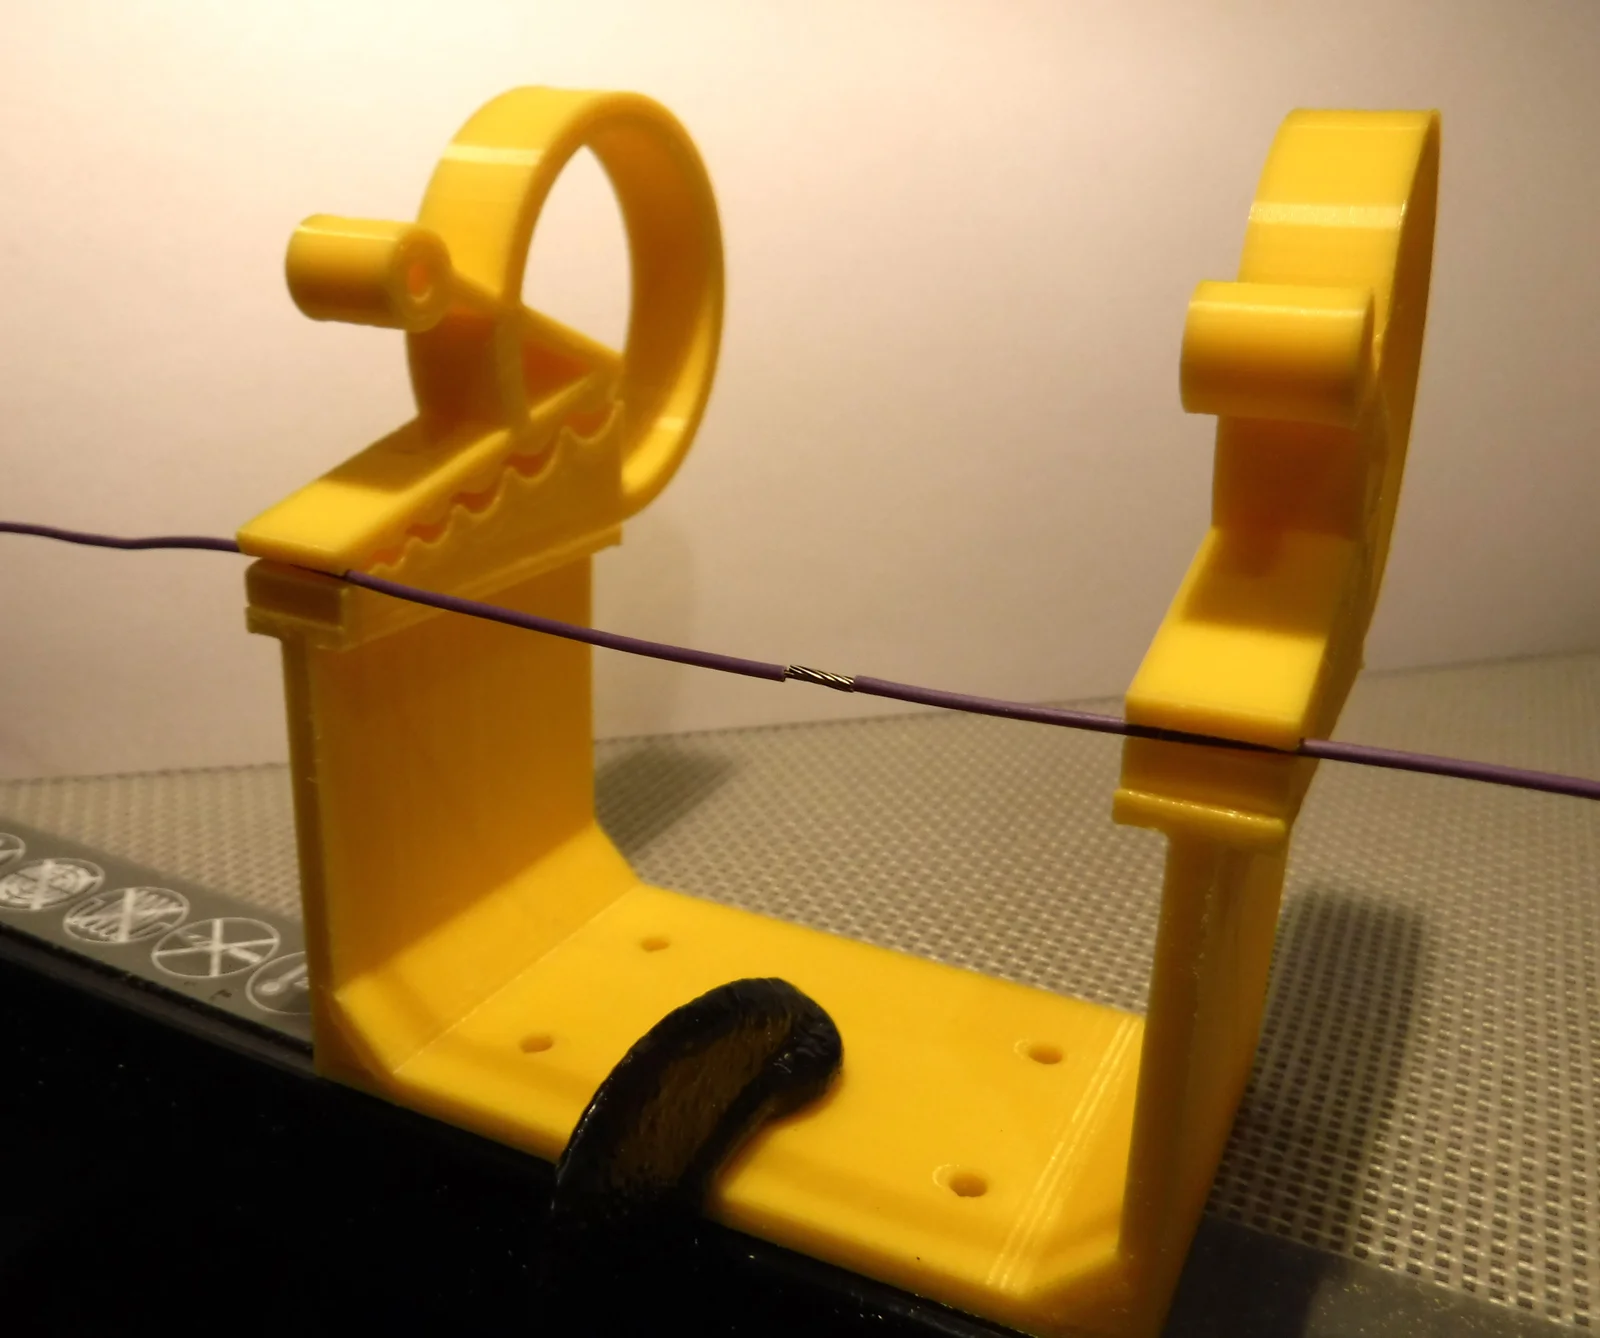
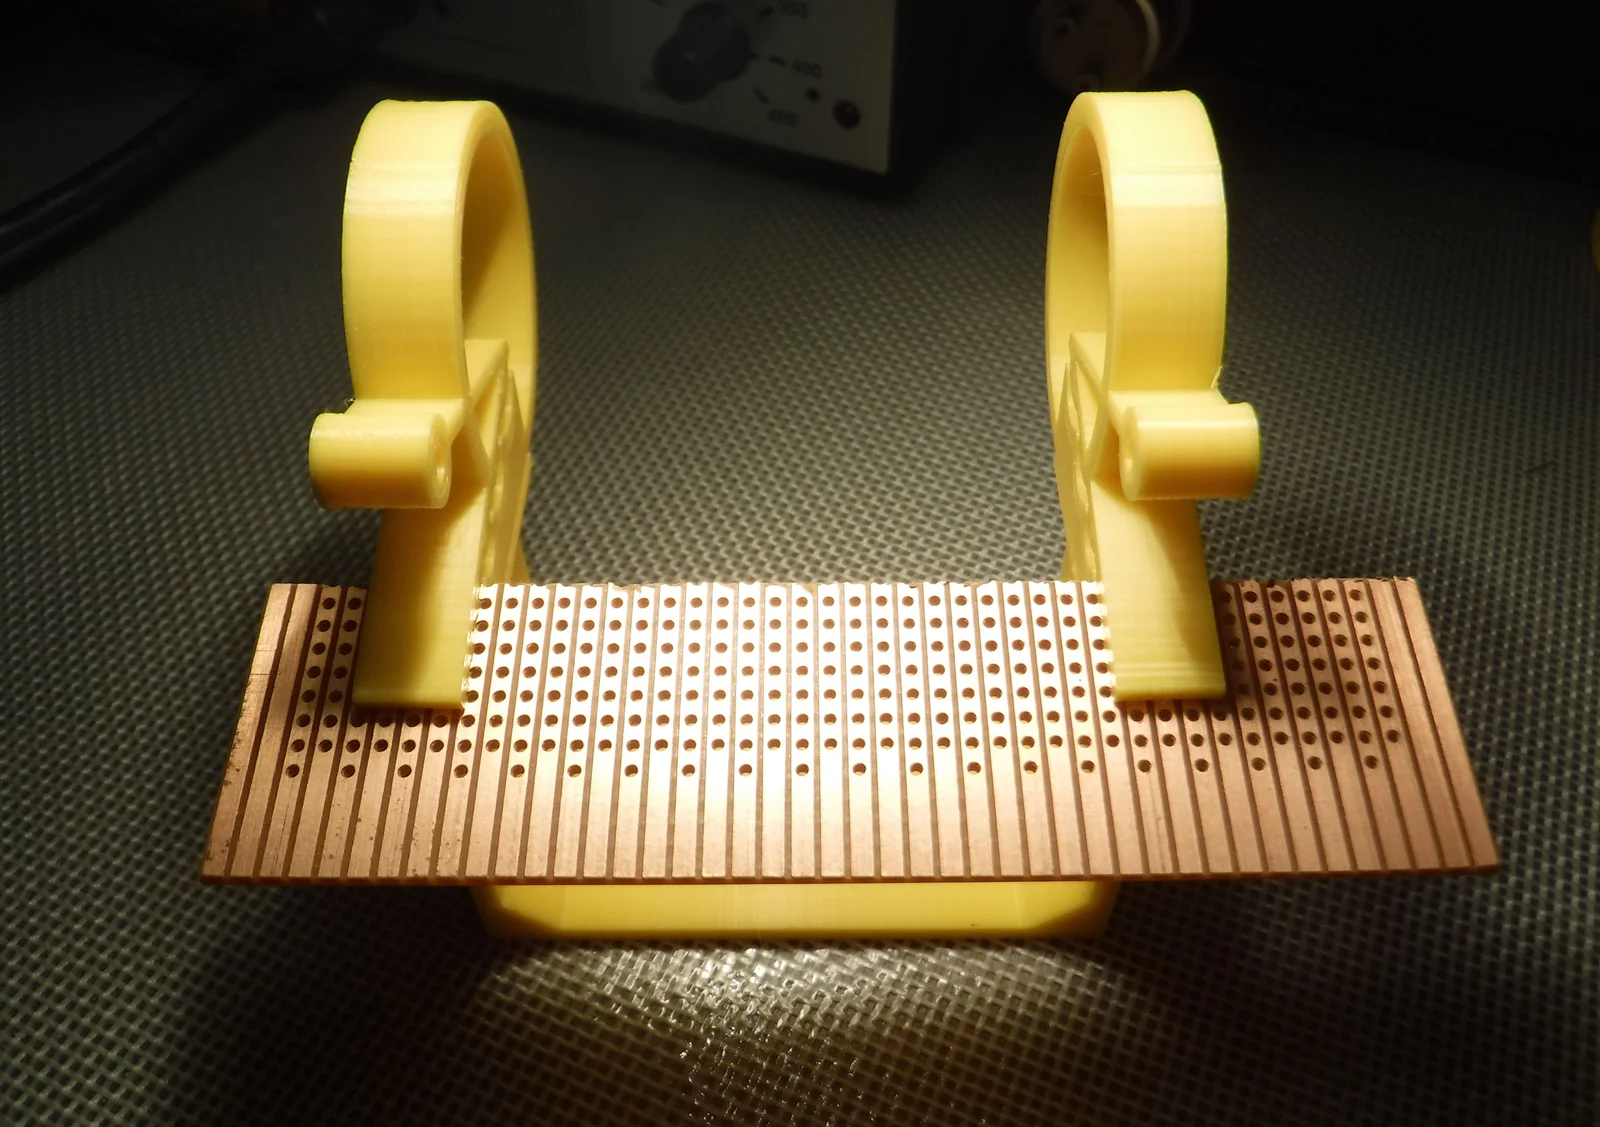
A soldering aid and bending jig with six cutouts (nominal segment widths 0.55, 1.4, 2.25, 3.1, 3.95, 4.8 mm)), to accommodate components or wire of different diameters.
An additionally, the clips can be securely mounted (adhesive/double sided fixing), vertically on a flat surface, jaws up for a hook to hand tools or utensils and jaws down to clamp stationary or pictures.
Printing
Filament: PLA Yellow
Layer Height: 0.15mm
Wall thickness: 2mm
Infill Density: 100%
Build Adhesion: Skirt
No supports
Size: 79(W) x60(D) x 82(H) mm
Weight: ~43g
The files are supplied orientated for printing directly.
Two versions of the clips are provided, one with a flat upper jaw with more component clearance and one with meshing elements for greater clamping retention.
Additional supplies
Brass rod: 3(dia) x 74(L) mm [handle], a rod or tube of another material could be used.
Fixing options
M3 screws/bolts [for securing to a suitable work surface] - Qty 5
Disc countersunk hole magnets 10(dia) x 3(H)mm with 3mm hole. [fixed to base to attach to metal surface] - Qty 5
Gclamp [if not using screws or magnets]
May prove more cost effective to buy a range of values rather than individual values unless you already have them available. Some components may also have a MOL greater than the quantity specified in the component list.
No affiliation to any of the suppliers, feel free to obtain the supplies from your preferred supplier if applicatble.
Links valid at the time of publication.
Post Processing
Remove any aberrations with sanding paper and/or file.
The clearance between the jaws is set to prevent fusing although strings could form that can be broken by slight twisting/opening of the jaws or if necessary inserting a scalpel in to the gap to cut the strings.
If the brass rod is to be fitted as a handle use a 3mm drill bit to open up the holes in the clip.
Prepare the brass rod by cutting to a length of 74mm and rounding the ends with a file to aid insertion. Check the fit and ensure the clips sit on the pedestals squarely.
Assembly
Prepare the base subject to the chosen method with which it will be attached.
To simplifying the opening of the jaws a brass rod is used to connect the two clips together, this allow the jaws to be opened with one hand.
If this is to be fitted it need to be done prior to fitting the clips to the pedestals.
Orientate the clips facing the same way with the flat face of the clip coincident with the flat face of the pedestal and using a suitable plastic adhesive stick the clips to the pedestals.
Attach the base to the work surface if not already done so.
Operation
With the soldering aid firmly attached to the work surface.
Soldering
Open one of both (subject to fitting the handle], of the clips and insert the wire [subject to size], in the appropriate cutout in the jaws and release the handle.
Position the ends of the wires to be soldered overlapping in the centre of the gap between the clips and solder together.
Open the clips to release the wire.
Bending
For components smaller or equal to the width of a jaw.
Component wires can be easily bent by placing the component between the jaws of a clip in the appropriate cutout and bending the wire either side of the jaws.
For components larger than the width of a jaw.
1: Insert the component part way into the jaw and bend at the component end closest to the jaw.
2: Insert the lead into the jaw such that the component is butting against the jaw and bend the wire were it exits the jaw.
Clamping tension
The clamping tension can be increases with the addition of elastic bands.
Stretch a single elastic band horizontally across the width passing over the two clips at the stub handles and around and under the loop forming the spring.
ByVC_DesignLikes271Downloads752

 ByFredlPrintLikes144Downloads179

 ByZED4EverLikes313Downloads5.2K

 ByMatthew_GhostLikes350Downloads939

 ByfifindrLikes500Downloads4K

 Bymrfixit_324954Likes65Downloads473

 ByDan Schwartz SchwartzLikes744Downloads3.4K

 ByBrokentooth_designsLikes83Downloads449

 Bydawid-ku-akLikes0Downloads103

 Byvc-designLikes0Downloads3.2K

 ByUpcrid3D_1585693Likes808Downloads2.1K

 ByAdam Záhořák ZáhořákLikes39Downloads256