



Còi Tàu Hơi Nước Mini
 ByfifindrLikes500Downloads4K
Build another version of this model.
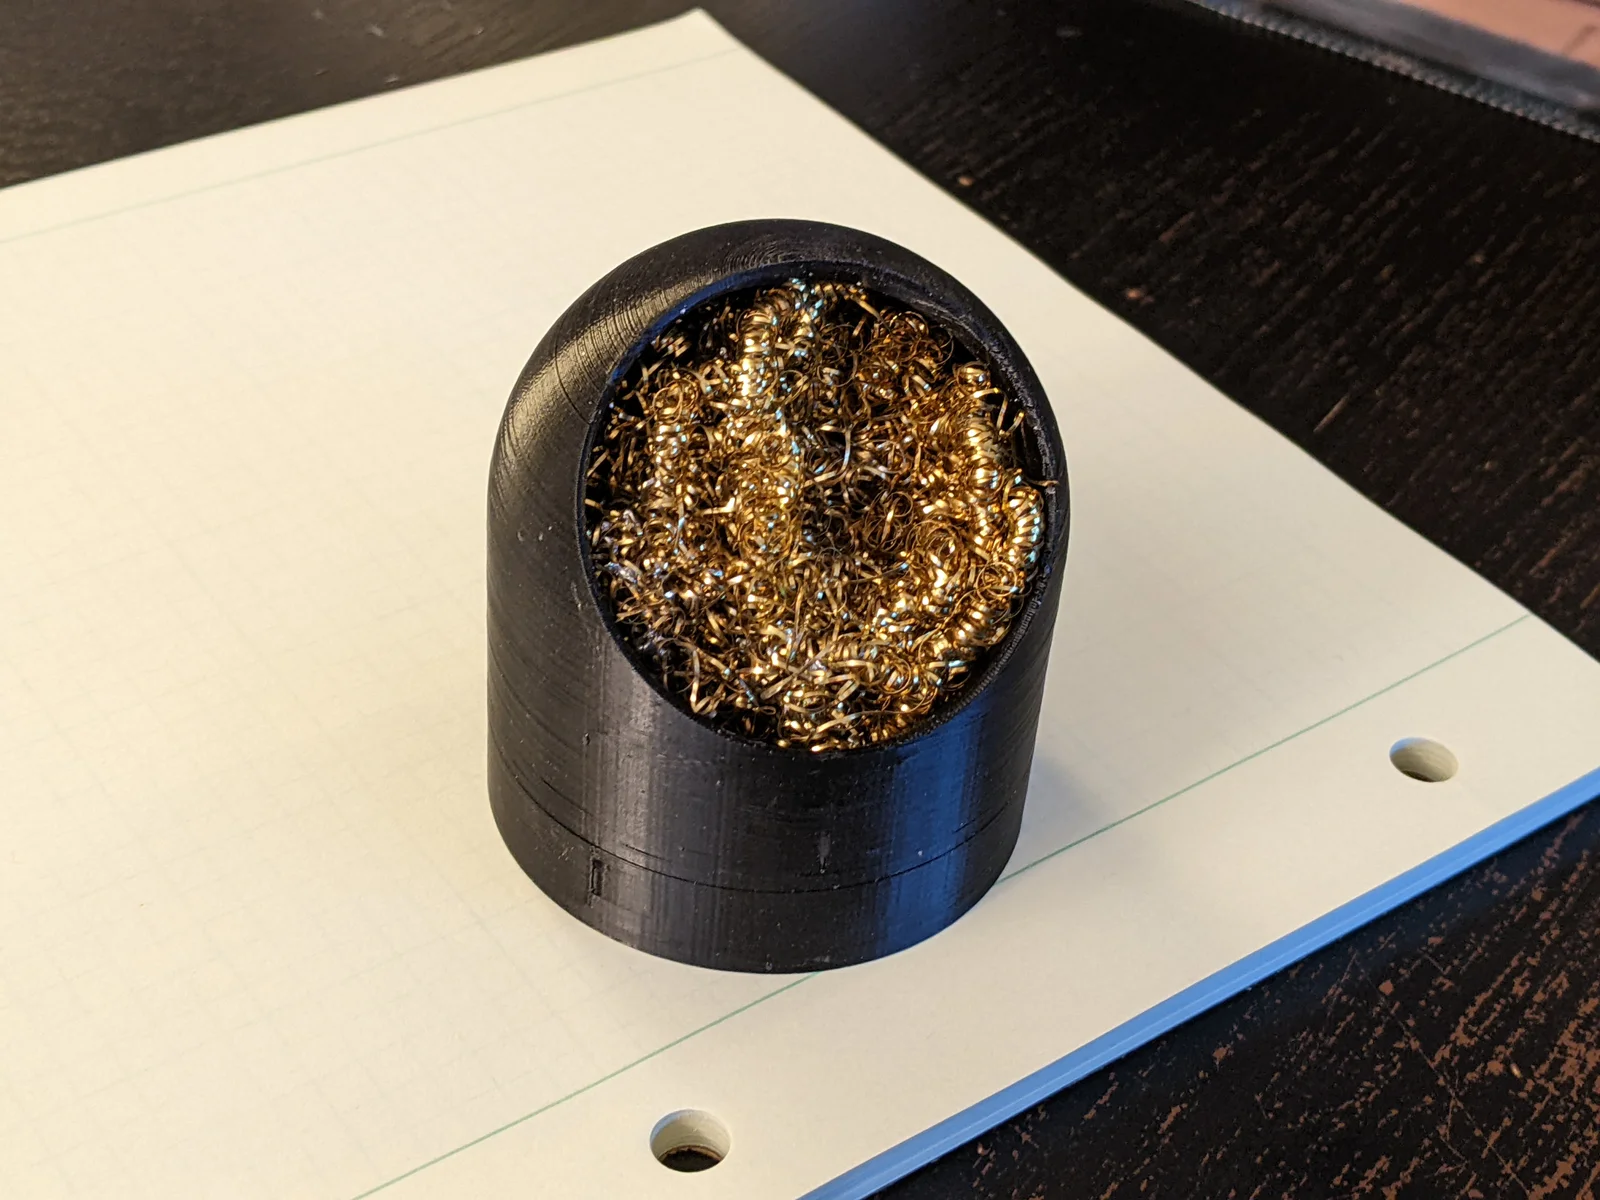
I modeled this after the Hakko 599B soldering iron tip cleaner. I've been using it for several years and it's worked quite well for me. The biggest feature is how the base of this model has plenty of space for weights to be inserted so that the assembly doesn't slide across the desk when you try to clean your iron.
Any rigid material should work fine (PLA, PETG, ABS, etc.) The temperature resistance of the print is largely irrelevant; I solder at 350C which is already hotter than most normal printing materials, so the soldering iron itself should just never directly touch the print in use. I haven't had issues in 4 years of using this model so it shouldn't be a problem.
Originally, I did print mine with some support under the top of the lid. In reviewing this model to upload it I don't think this was actually necessary, especially if you use a lower layer height in that section. If you give it a print and think this area needs redesign leave a comment and I can make improvements as necessary.
Think about how you want to add weights to the base in case you want to modify the file before printing. You can:
After inserting your weights in the base the top and bottom pieces should simply screw together. I definitely recommend putting some weight in because it does make the whole thing much easier to use than if it's just super lightweight. It can also be nice to add a non-slip pad to the base to help it stay put even better. Then just insert a suitable brass wire thingy and start enjoy!
ByfifindrLikes500Downloads4K

 ByVC_DesignLikes679Downloads3.6K

 ByDan Schwartz SchwartzLikes744Downloads3.4K

 Bychubbs8697_2027893Likes585Downloads1.7K

 Byquibeck_3353173Likes965Downloads1.9K

 ByRungeKuttaLikes229Downloads1.2K

 ByEadubsLikes228Downloads1.3K

 ByJeremyVillalo_760366Likes68Downloads767

 ByZED4EverLikes313Downloads5.2K

 Bykjus_448782Likes314Downloads673

 ByNathanKun_342409Likes132Downloads590

 ByJMV38_1430123Likes162Downloads396