



Đầu dò cảm biến lực tự chế giá $10 cho Ender 3
 ByBrokentooth_designsLikes17Downloads147
Build another version of this model.
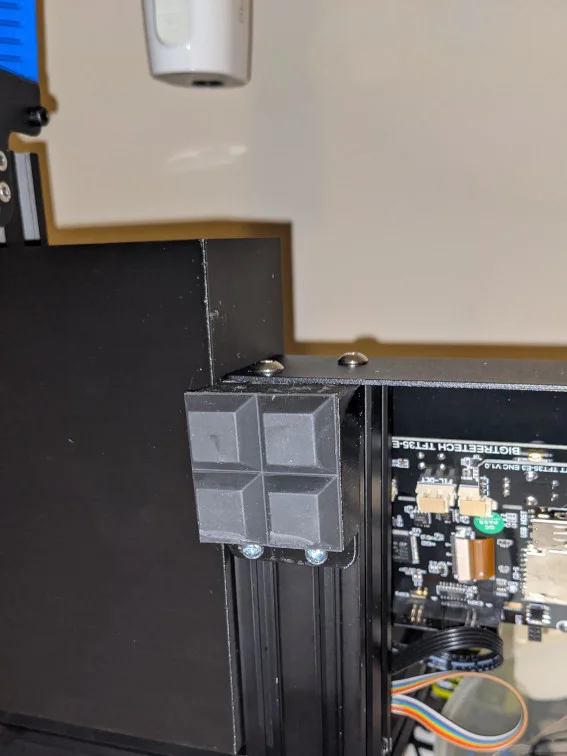
After moving my Ender 3 Pro power supply to the rear of the machine, I needed to elevate the machine a little to be able to ensure there is enough clearance to give better airflow to the fan.
Took inspiration from the model “Ender 3 Pro Feet using Nerf Rival Balls” by MoJee3D which is licensed under CC BY 4.0, but I do not have any Nerf Rival Balls.
Ended up purchasing rubber feet from Jaycar and used 4 small squares in one piece and then stuck it onto the bottom of the print. https://www.jaycar.com.au/rubber-feet-small-stick-on-pack-of-4/p/HP0815
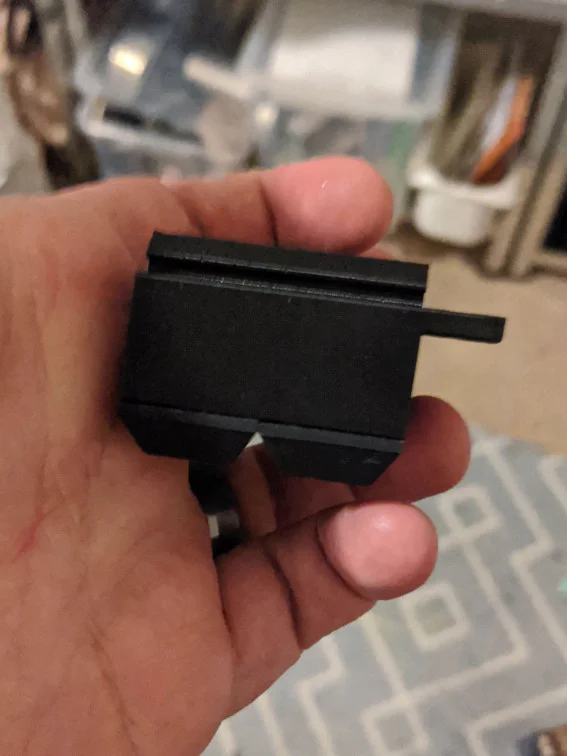
Tab is then screwed in with M4 screws. If you have T-Slot Nuts, this will help, but I ended up just screwing it into the metal with an M4 screw.
Print standing up with tab in the air. No supports needed. I went with 55% infill to ensure it was durable to hold the printer. You can print with less if you wish but YMMV.
This object was remixed in Tinkercad. Edit it online: https://www.tinkercad.com/things/0wnRHsszDI5
Printer Brand:
Creality
Printer:
Ender 3 Pro
Rafts:
No
Supports:
No
Resolution:
0.2
Infill:
55%
Filament: Cheap Stuff from eBay PLA+ Black Post-Printing =============
4a. (optional) drill out using size 3 drillbit holes into the metal
or
4b. (optional) slide in T-Slot Nuts in before you slot in the printed object 4. Screw in M3 screws into holes in object either into the metal hole/T-Slot Nut/Metal 5. Enjoy!
Category: 3D Printer Parts
ByBrokentooth_designsLikes17Downloads147

 Bytinx_1344834Likes1.2KDownloads6K

 Bygafyx3dLikes0Downloads120

 ByWyomingWolf_261196Likes52Downloads429

 Byprusa-researchLikes0Downloads2.7K

 ByBlackky98Likes25Downloads209

 Byarhi_585078Likes64Downloads540

 ByExagono3D_4006360Likes1Downloads6

 ByTeamJesus_1604048Likes6Downloads30

 ByHanzo3dLikes155Downloads413

 BydarienLikes0Downloads1K

 ByGeek5DLikes147Downloads484