



Bộ sưu tập 11 nhân vật mô hình Mecca Chameleon in 3D vui nhộn
 ByZED4EverLikes313Downloads5.2K
Build another version of this model.
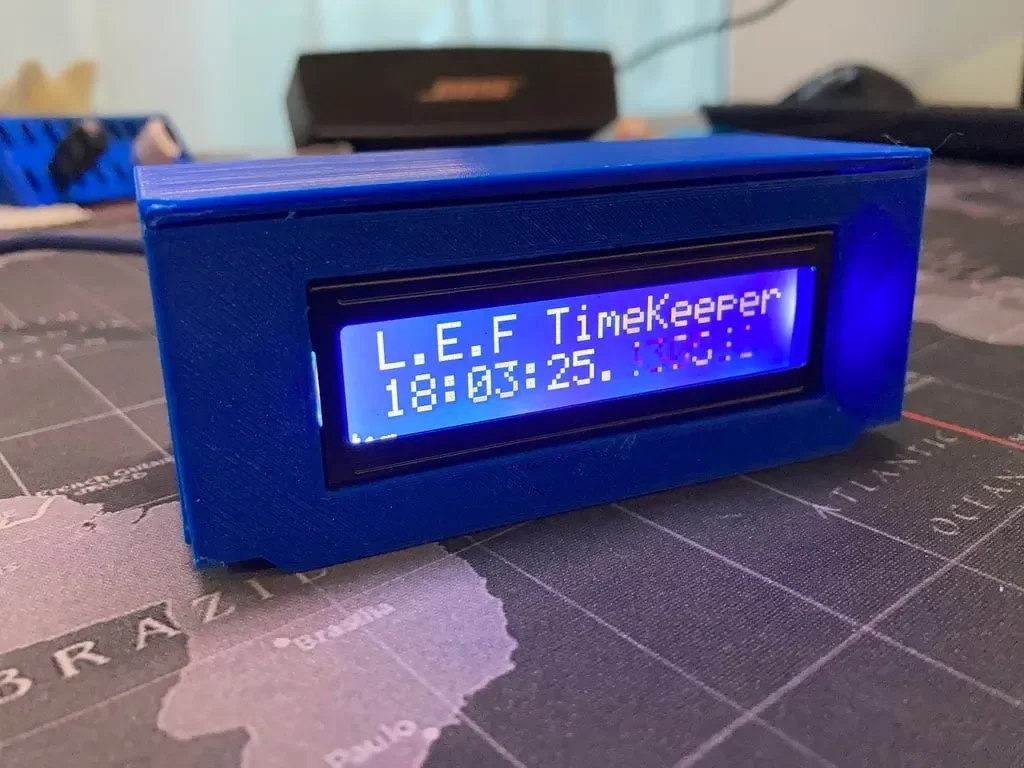
This is a PiClock it's job is to display stuff or be a clock in this case.
It uses a raspberry pi zero or zero w (wifi edition)
Screws are not needed you can just lightly glue the components in place but you can use them if you want to
For the display it uses a mini 16 x 2 lcd display which has an iic module mounted to the back of it
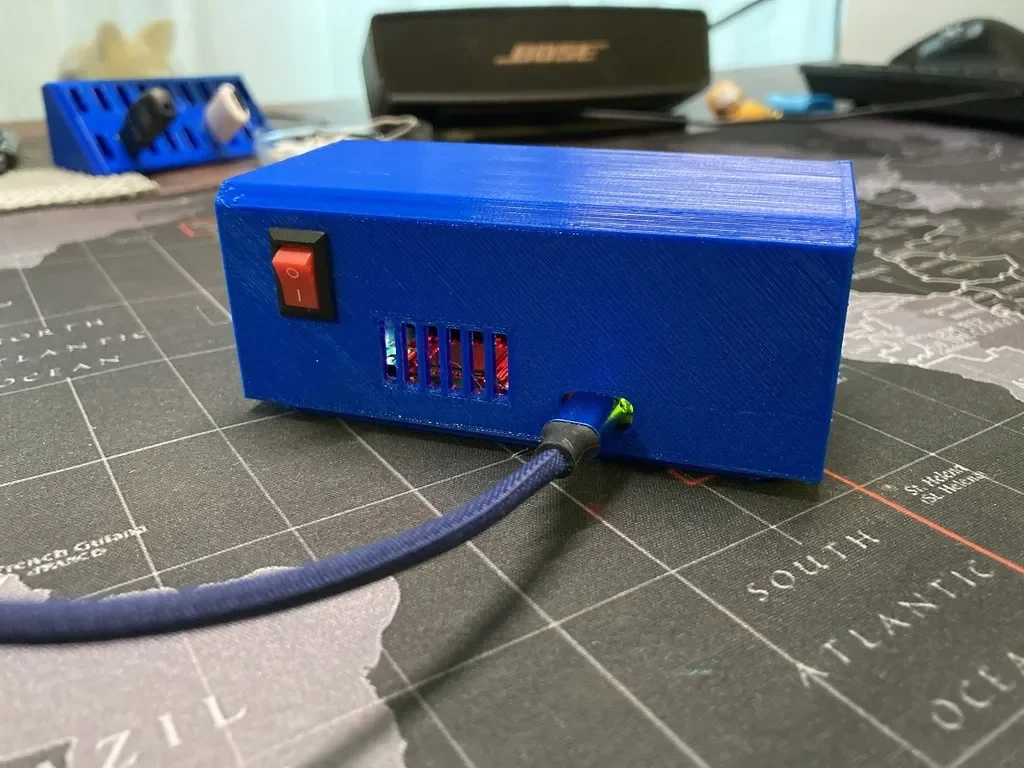
The slot is for a small 2 pin switch, dimensions for hole 14.5 x 8mm, for me the switch is used to turn on and off the baclight for the 16x2 display to prevent burn in
As it is a raspberry pi zero you can actually display anything you want on it but I have chosen to display the time as I do not have a dedicated clock at my desk (my pc does not count). On my raspberry pi zero w I installed Raspbian lite 32 bit edition without desktop environment. Then I used Putty to communicate with it over the network to install git python and more using 'sudo apt'. Then I made it run a python code for the clock and looped it forever. As it is connected to the internet I could run a command to disable it and display something elseweather?. I have used command 'nohup' so it runs even as I closed the putty ssh window
NOTE: There are probably better ways to make a DIY clock at a cheaper cost or more efficient but I had a raspberry pi zero w lying around doing nothing.yes I know I could have used it for pi hole but no cos I don't actually have an cheap arudino yet.
Category: 3D Printing
ByZED4EverLikes313Downloads5.2K

 ByBasementLABLikes888Downloads1.5K

 Bydan-sabauLikes0Downloads2.5K

 ByLadyCamille_261526Likes41Downloads190

 ByEduardoGomes_515288Likes14Downloads197

 ByGradyEnglish_575309Likes30Downloads114

 ByfifindrLikes500Downloads4K

 ByVC_DesignLikes679Downloads3.6K

 ByDan Schwartz SchwartzLikes744Downloads3.4K

 Byvc-designLikes0Downloads3.2K

 ByUpcrid3D_1585693Likes808Downloads2.1K

 ByWilko_SLOLikes935Downloads2K