



Thùng rác in Vase Mode
 BybobmakesLikes2.5KDownloads17.5K
Build another version of this model.
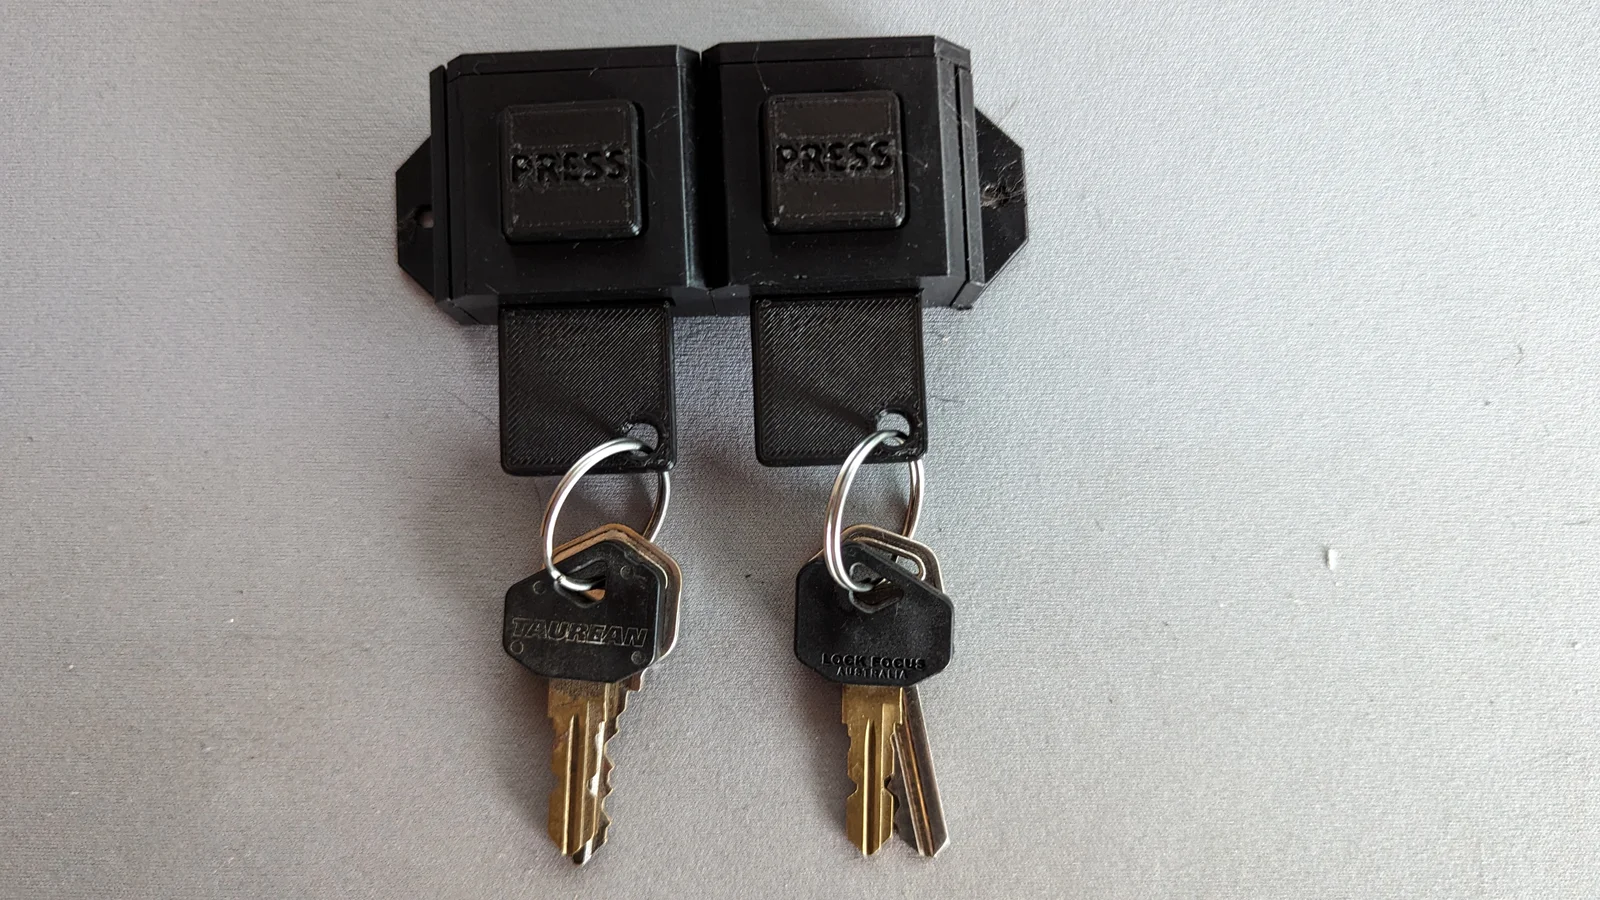
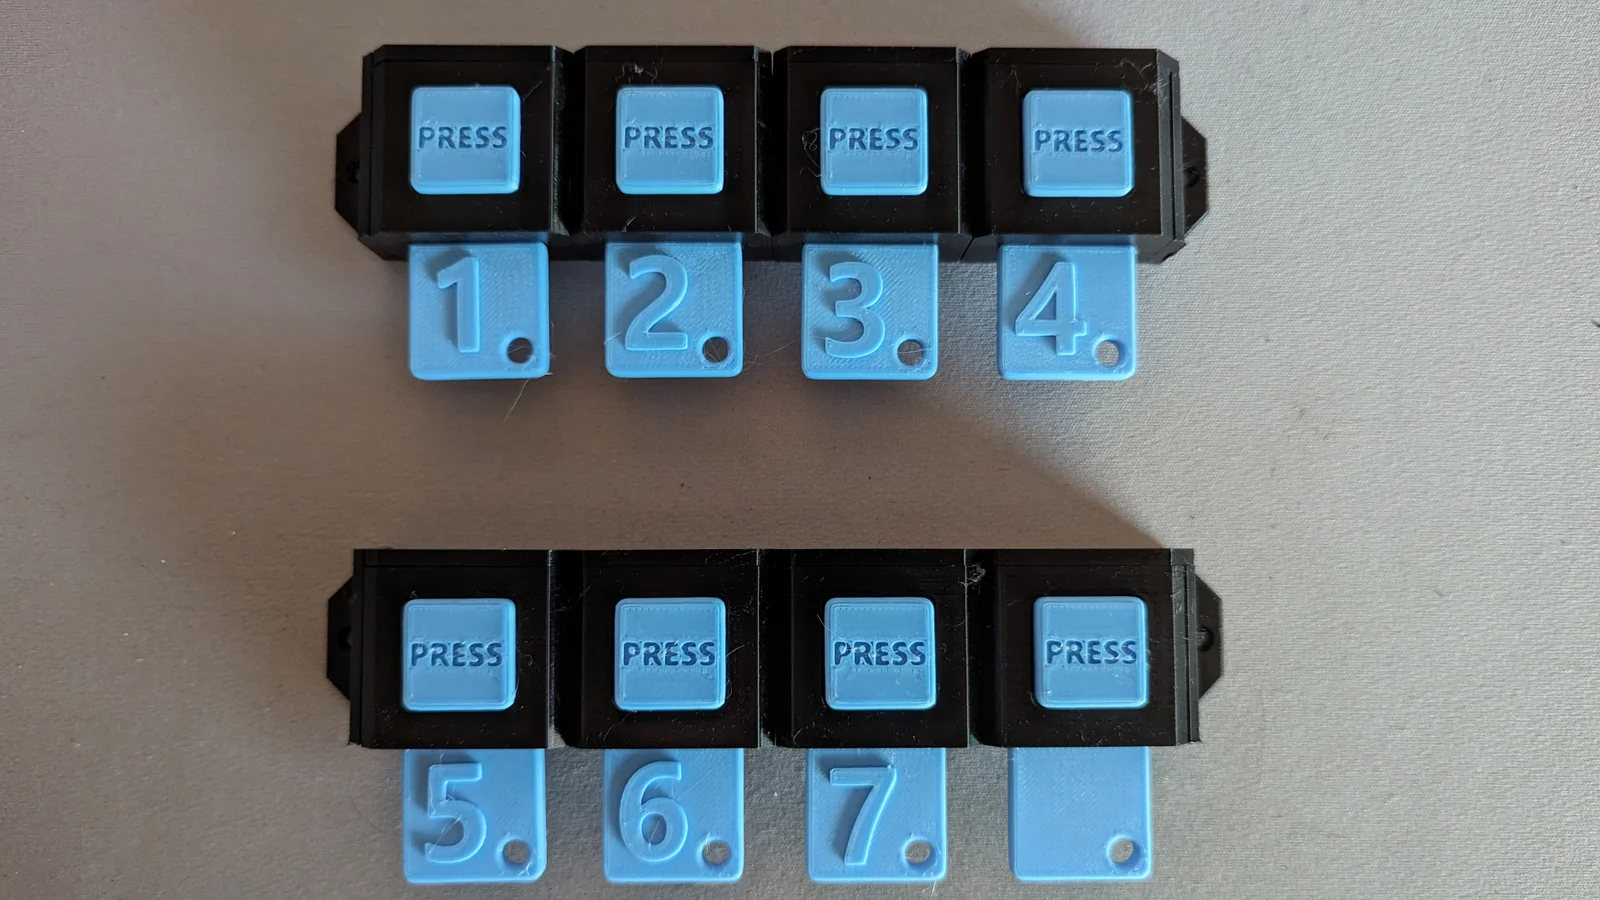
This was created for a small hotel to organise their keys and room numbers were added to the key fobs, but the space could be used to add text to label the keys. The key fobs and parts of the holder could also be colour coded to help identify which keys do what.
I printed everything in PLA with a layer height of 0.2mm except for the Catch Plate which was printed with a height of 0.1mm. The catch should be as smooth as possible to allow the key fob to slide in easily so the back of the plate can be printed at 0.2mm with only the extended catch printed at 0.1mm if you prefer. This could be made smoother using sandpaper if required, but it works fine for me at a 0.1mm layer height.
I was able to print everything without supports, although the button was printed with the “press” text facing up meaning there was a long bridge created. I was able to print this without supports, but it wasn't the best print, you may find it work better with supports.
The back spring and two end pieces (EndLeft and EndRight) were printed standing vertically with a brim. The EndRight piece could be printed flat, but I found that the inside of the sliding clip wouldn't print smoothly, and it wouldn't attach it to the main body when printed that way.
The back spring will need to move within the case and so needs to have a smooth base and sides. If you find the spring sticks in place when the button is pressed, using sandpaper to smooth the outside edges should fix this issue (it did for me).
Assembly
Each holder is made up of the MainCase, Button, CatchPlate and BackSpring with one of either the Lid or LidEnd.
The button should be pushed in first, this is a tight fit and might take a bit of effort to get into place, but it does fit, honest!
Next, the catch plate and back spring are added, see the image for where they sit. I found it easiest to partially add the catch plate so that the spring could be slid in behind and then both parts pushed into place. They should fit in easily, it's just a bit awkward making them both slide in.
Once the inside is assembled, this is a good time to press the button a few times and make sure it all moves smoothly and the button returns without any issues. If the spring is sticking, get the sandpaper out!
The lid will lock everything in place, and this can be clipped into place. It should click into place and hold firmly.
If you are adding multiple cases together, slide them together before adding the lids as each case is held to the next using the lid to stop it from falling out.
The left and right ends can be added to allow the unit to be screwed to a wall. These are connected to the case by sliding them into place and they are also held in place by the lid on the case. The right end case will need to be the “LidEnd” as this is extended to hold the end in place.
I have included files for the main case with the clips removed, these are MainCase Blank Left/Right/Both. These can be used if you prefer to stick the cases to a wall using something like Command Strips instead of screws.
I've used these with a few keys on a fob, they might not hold if you've got a lot of heavy keys, but it would be good to hear what they can hold.
BybobmakesLikes2.5KDownloads17.5K

 Bymoleculecrtr_1215658Likes544Downloads2K

 Byquibeck_3353173Likes1.5KDownloads11.5K

 ByVaclav_ZahradkaLikes181Downloads1.2K

 BybigcookiedaddyLikes0Downloads825

 Byaditya-mani-kataraLikes0Downloads918

 Byh3li0Likes145Downloads486

 ByEmilySpencer_1496565Likes151Downloads509

 Bym-collectableLikes0Downloads3.9K

 ByPiotrRagoLikes161Downloads449

 By3dprintables_4343369Likes250Downloads393

 ByAndrei_817503Likes319Downloads724