Magnetic Hygrometer-Thermometer Bracket for RepRack

Một khung kế hoạch từ/nhiệt kế đơn giản (hình chữ nhật) cho hệ thống giá dây sợi.

Mô tả
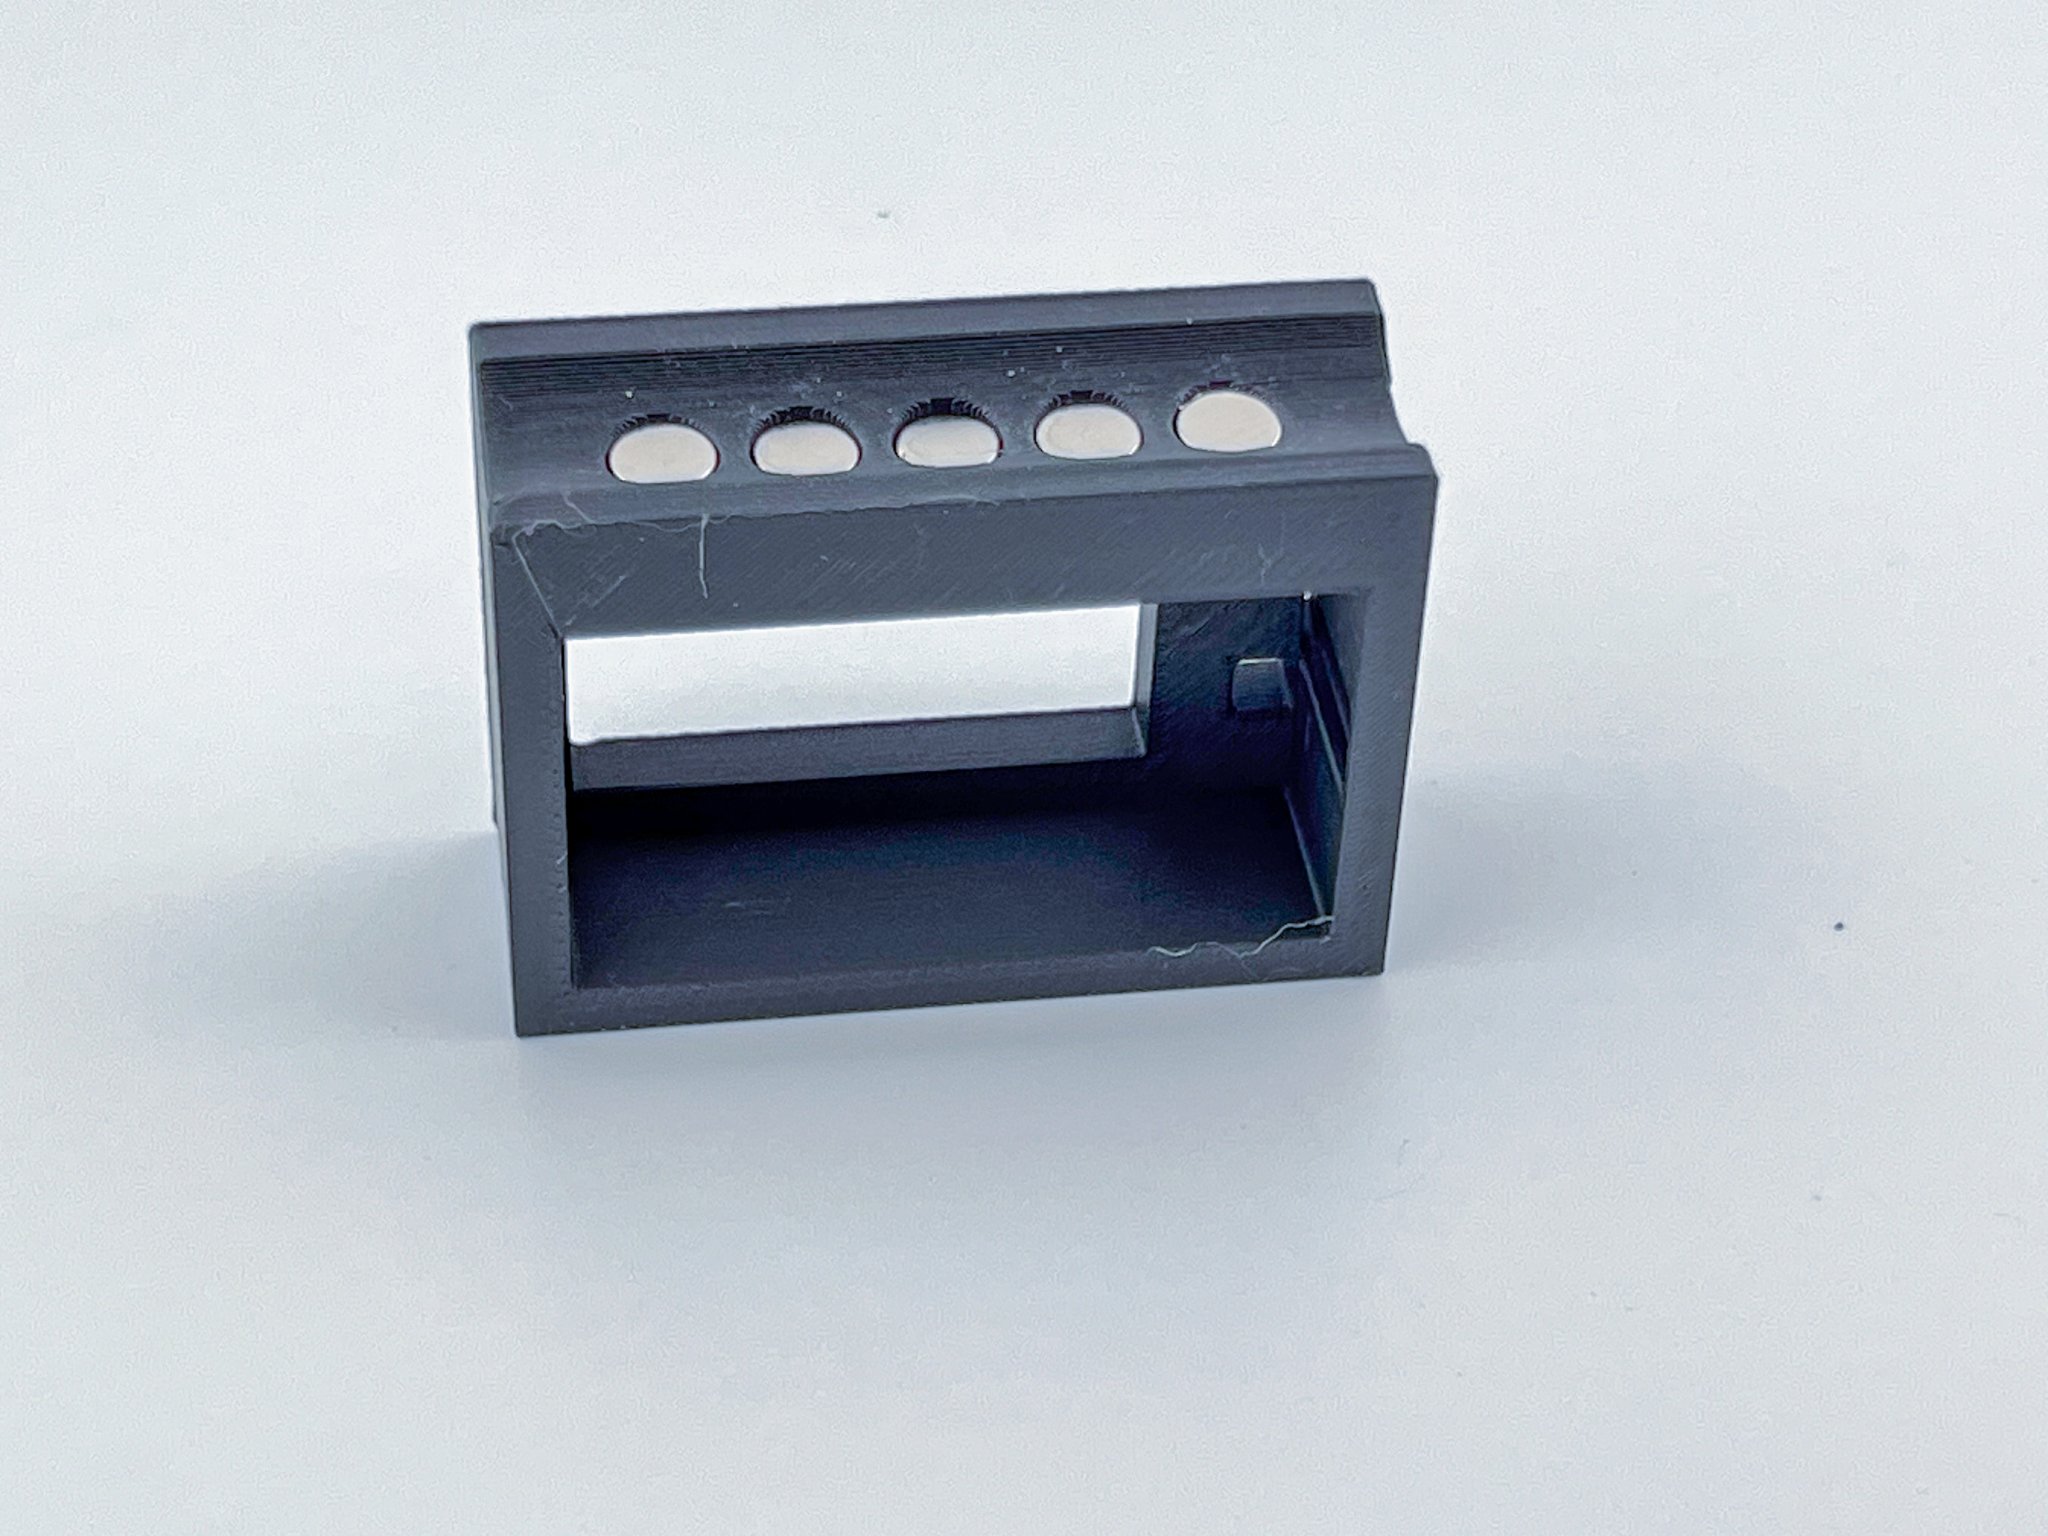
UPDATE 03NOV2023: The original location for the magnets did not work out as well as I had hoped. The bracket's weight causes it to slide down on the EMT conduit, making it hard to read in some applications. So I updated the model. I removed the holes at the top and bottom of the bracket (I wasn't sure what they were for, and they don't seem to serve much purpose) and moved the magnet holes to the top. I also moved the groove for the EMT to the top as well and made it a bit deeper. After some playing around with the tolerances for the magnet holes, I think I finally got them to where the magnets fit snuggly without the need for glue, but are not so tight as to be impossible to press the magnets in there.
------
I'm pleased to finally feel like I've got something to offer to this community. I couldn't find a simple hygrometer bracket already modeled for the RepRack system that met my needs. I didn't want to have to screw in or retool anything. It seemed to me that these rectangular hygrometers are a perfect size to attach to the aluminum EMT conduit, but nobody seems to have already modeled a bracket that has magnets in it. So I made my own.
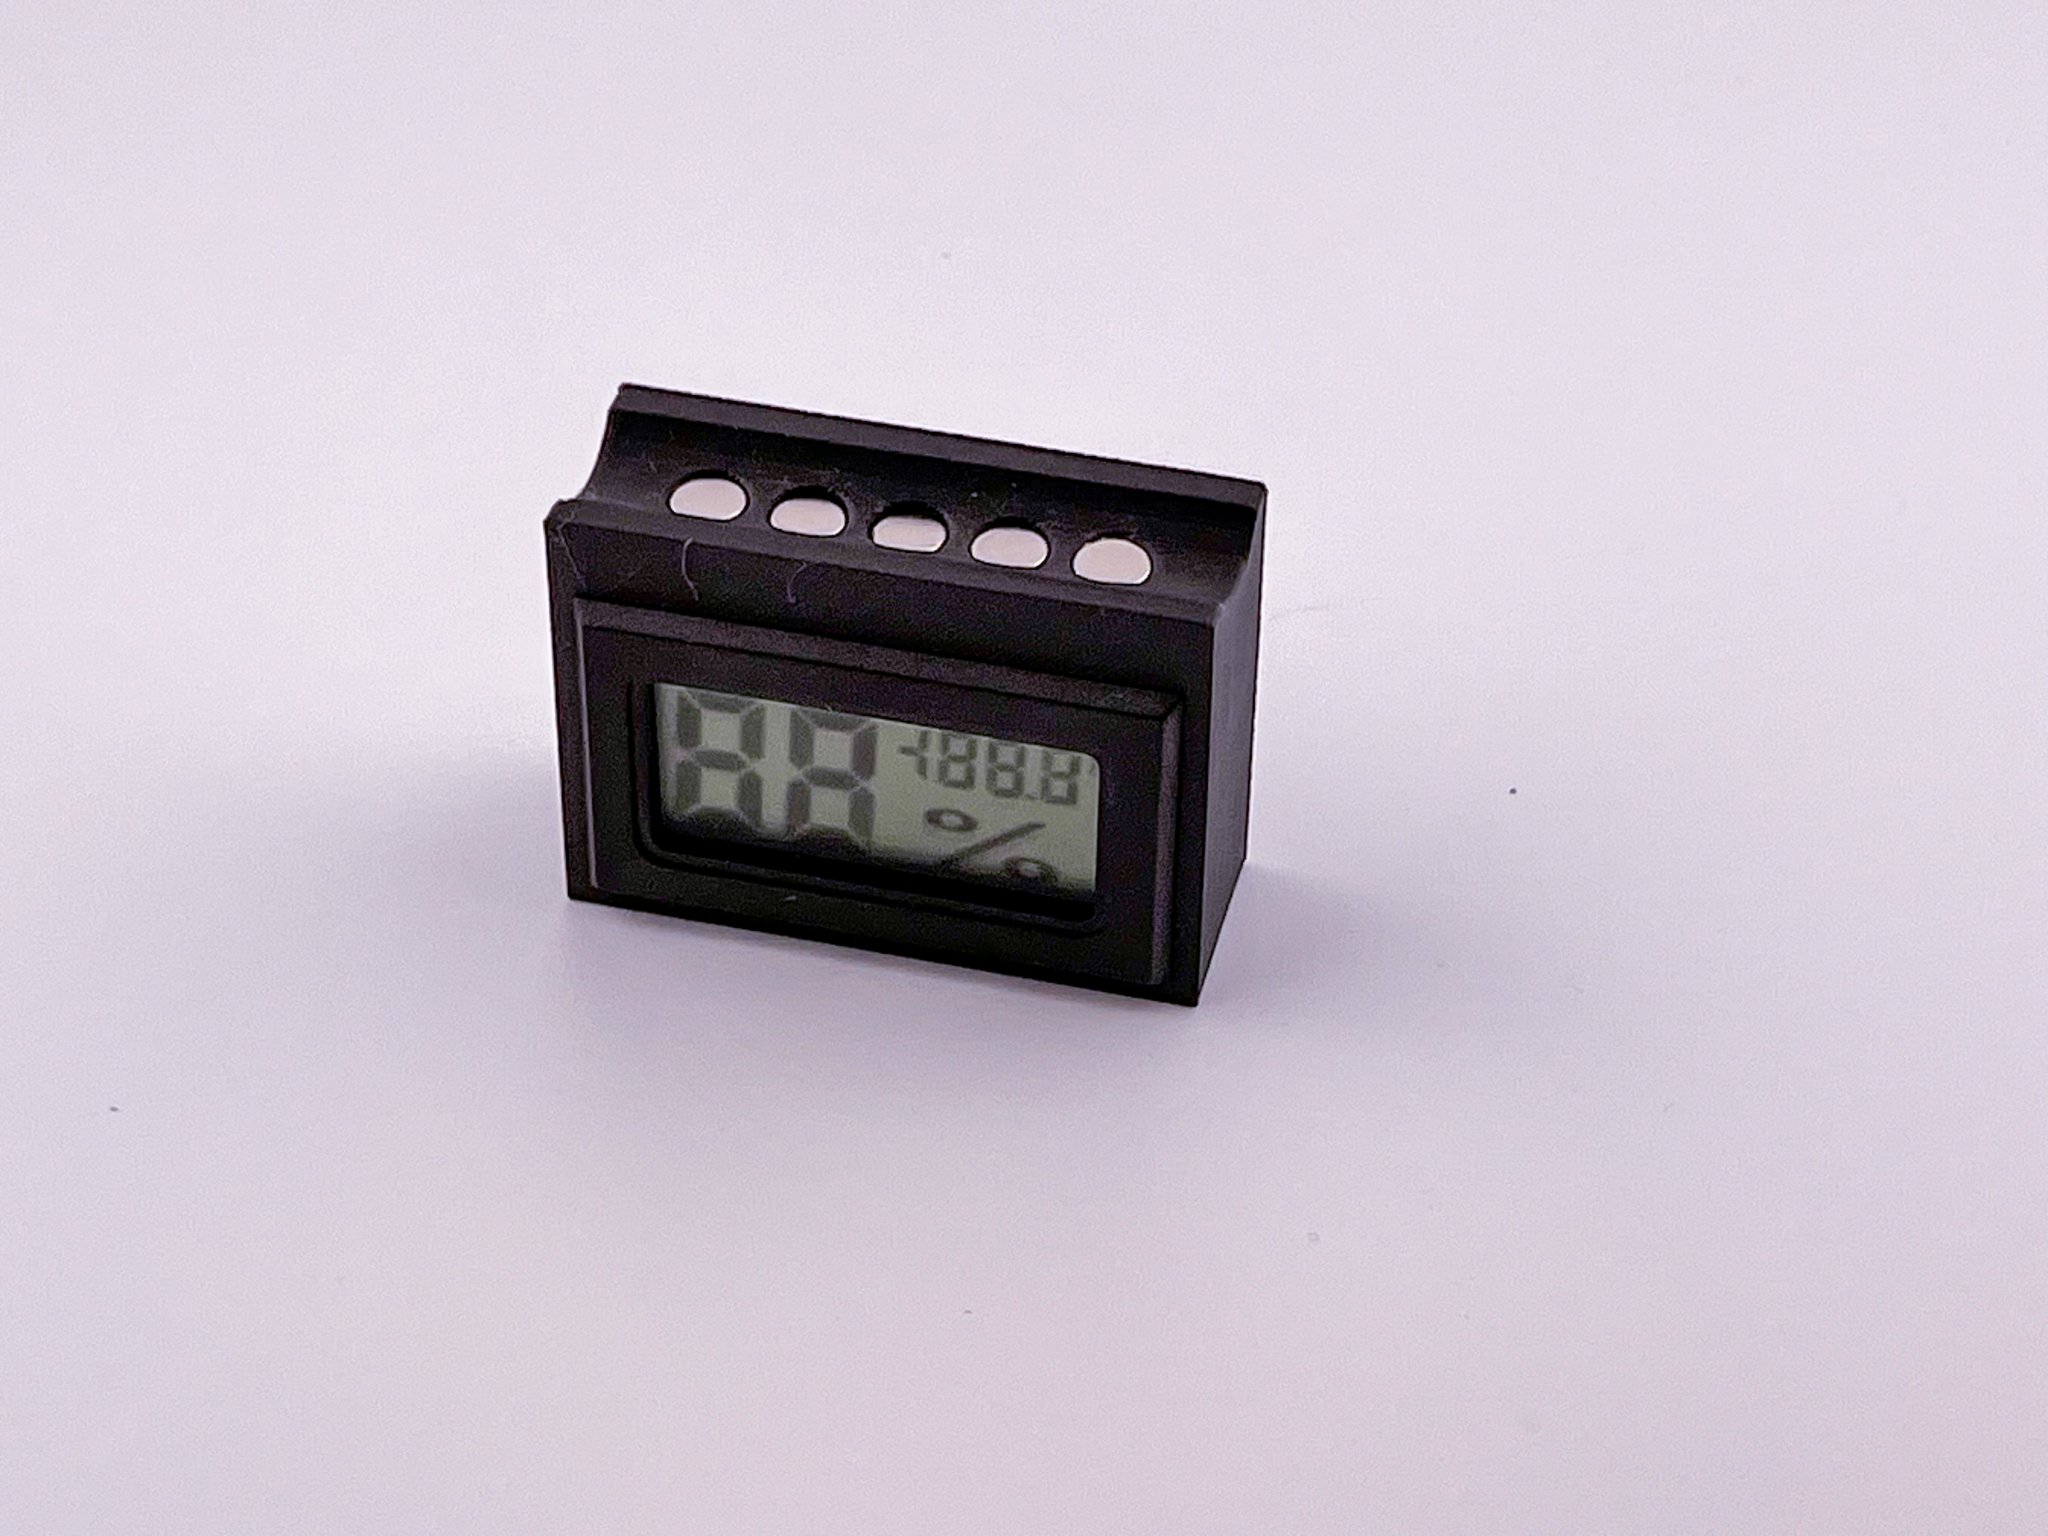
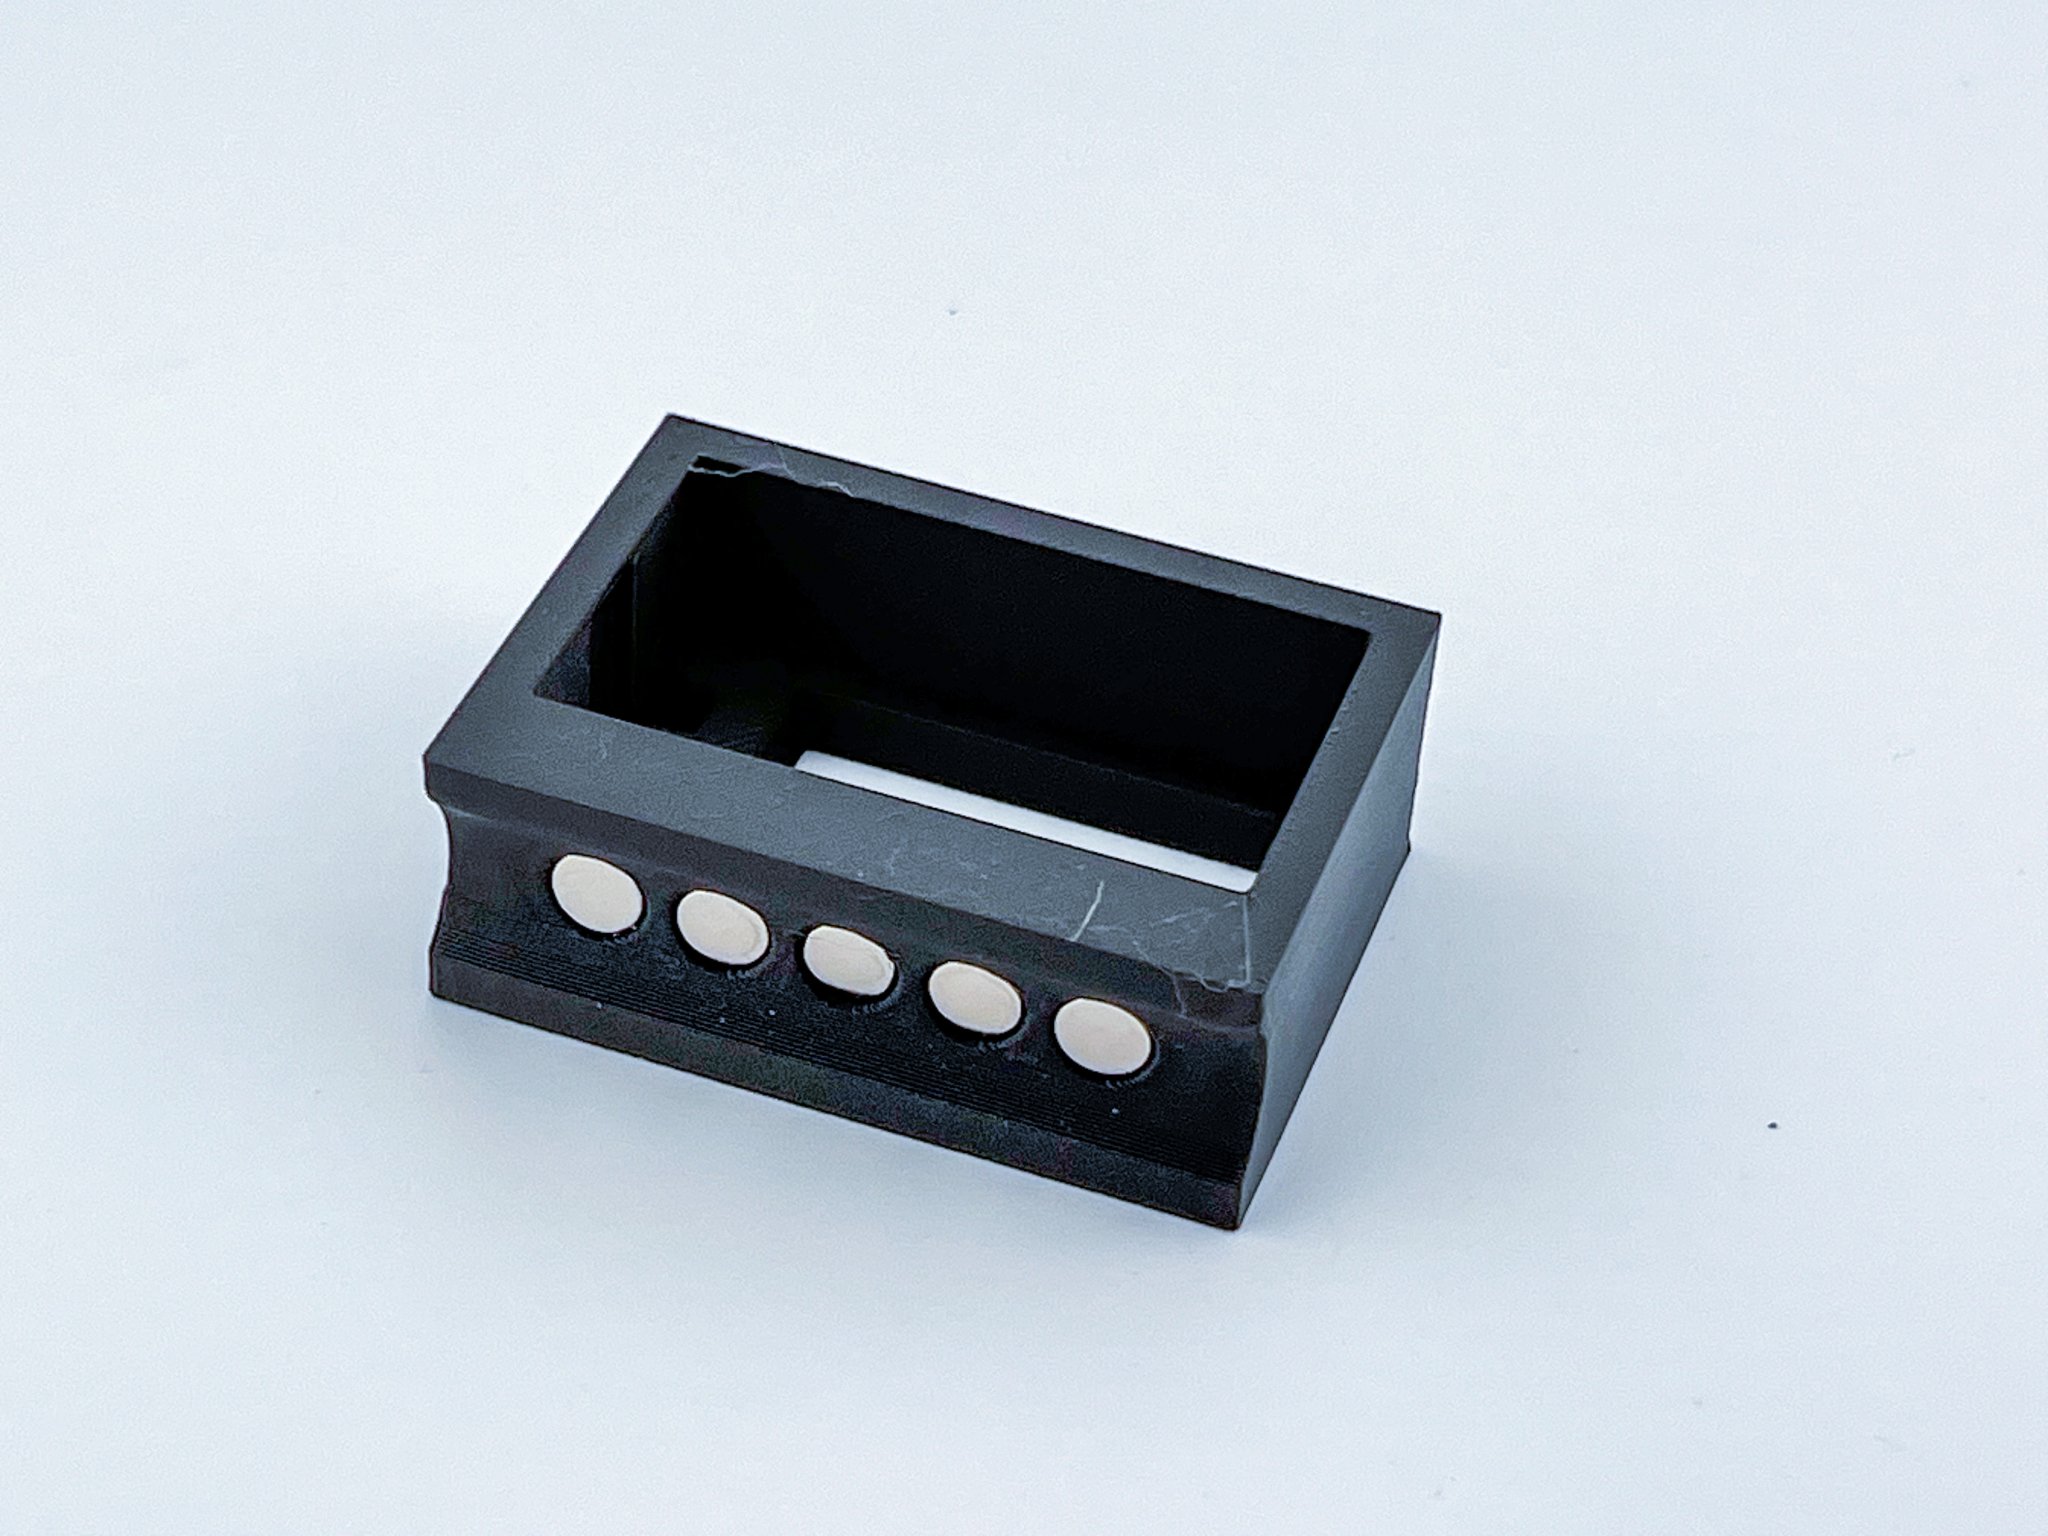
I remixed the Thermometer/Hygrometer for IKEA lack enclosures model by Kronflux. This model is sturdy, already perfectly sized for my model of hygrometer, and has openings for easy access to the battery without having to take the device out of the enclosure. I increased the thickness of the back and added space for 5 6X2 magnets along with a slight path for the EMT to “sit in”.
This is my first version. I may remodel this into something more original later. So far it works great. The magnets are tiny, so I had to use 5 of them to get them to grip strongly enough so the bracket doesn't slip.
Speaking of the magnets, they can be a little tricky to get into the holes. They press fit, and should have no need for glue. However, they are tight. I may have to play with the tolerances, a bit.
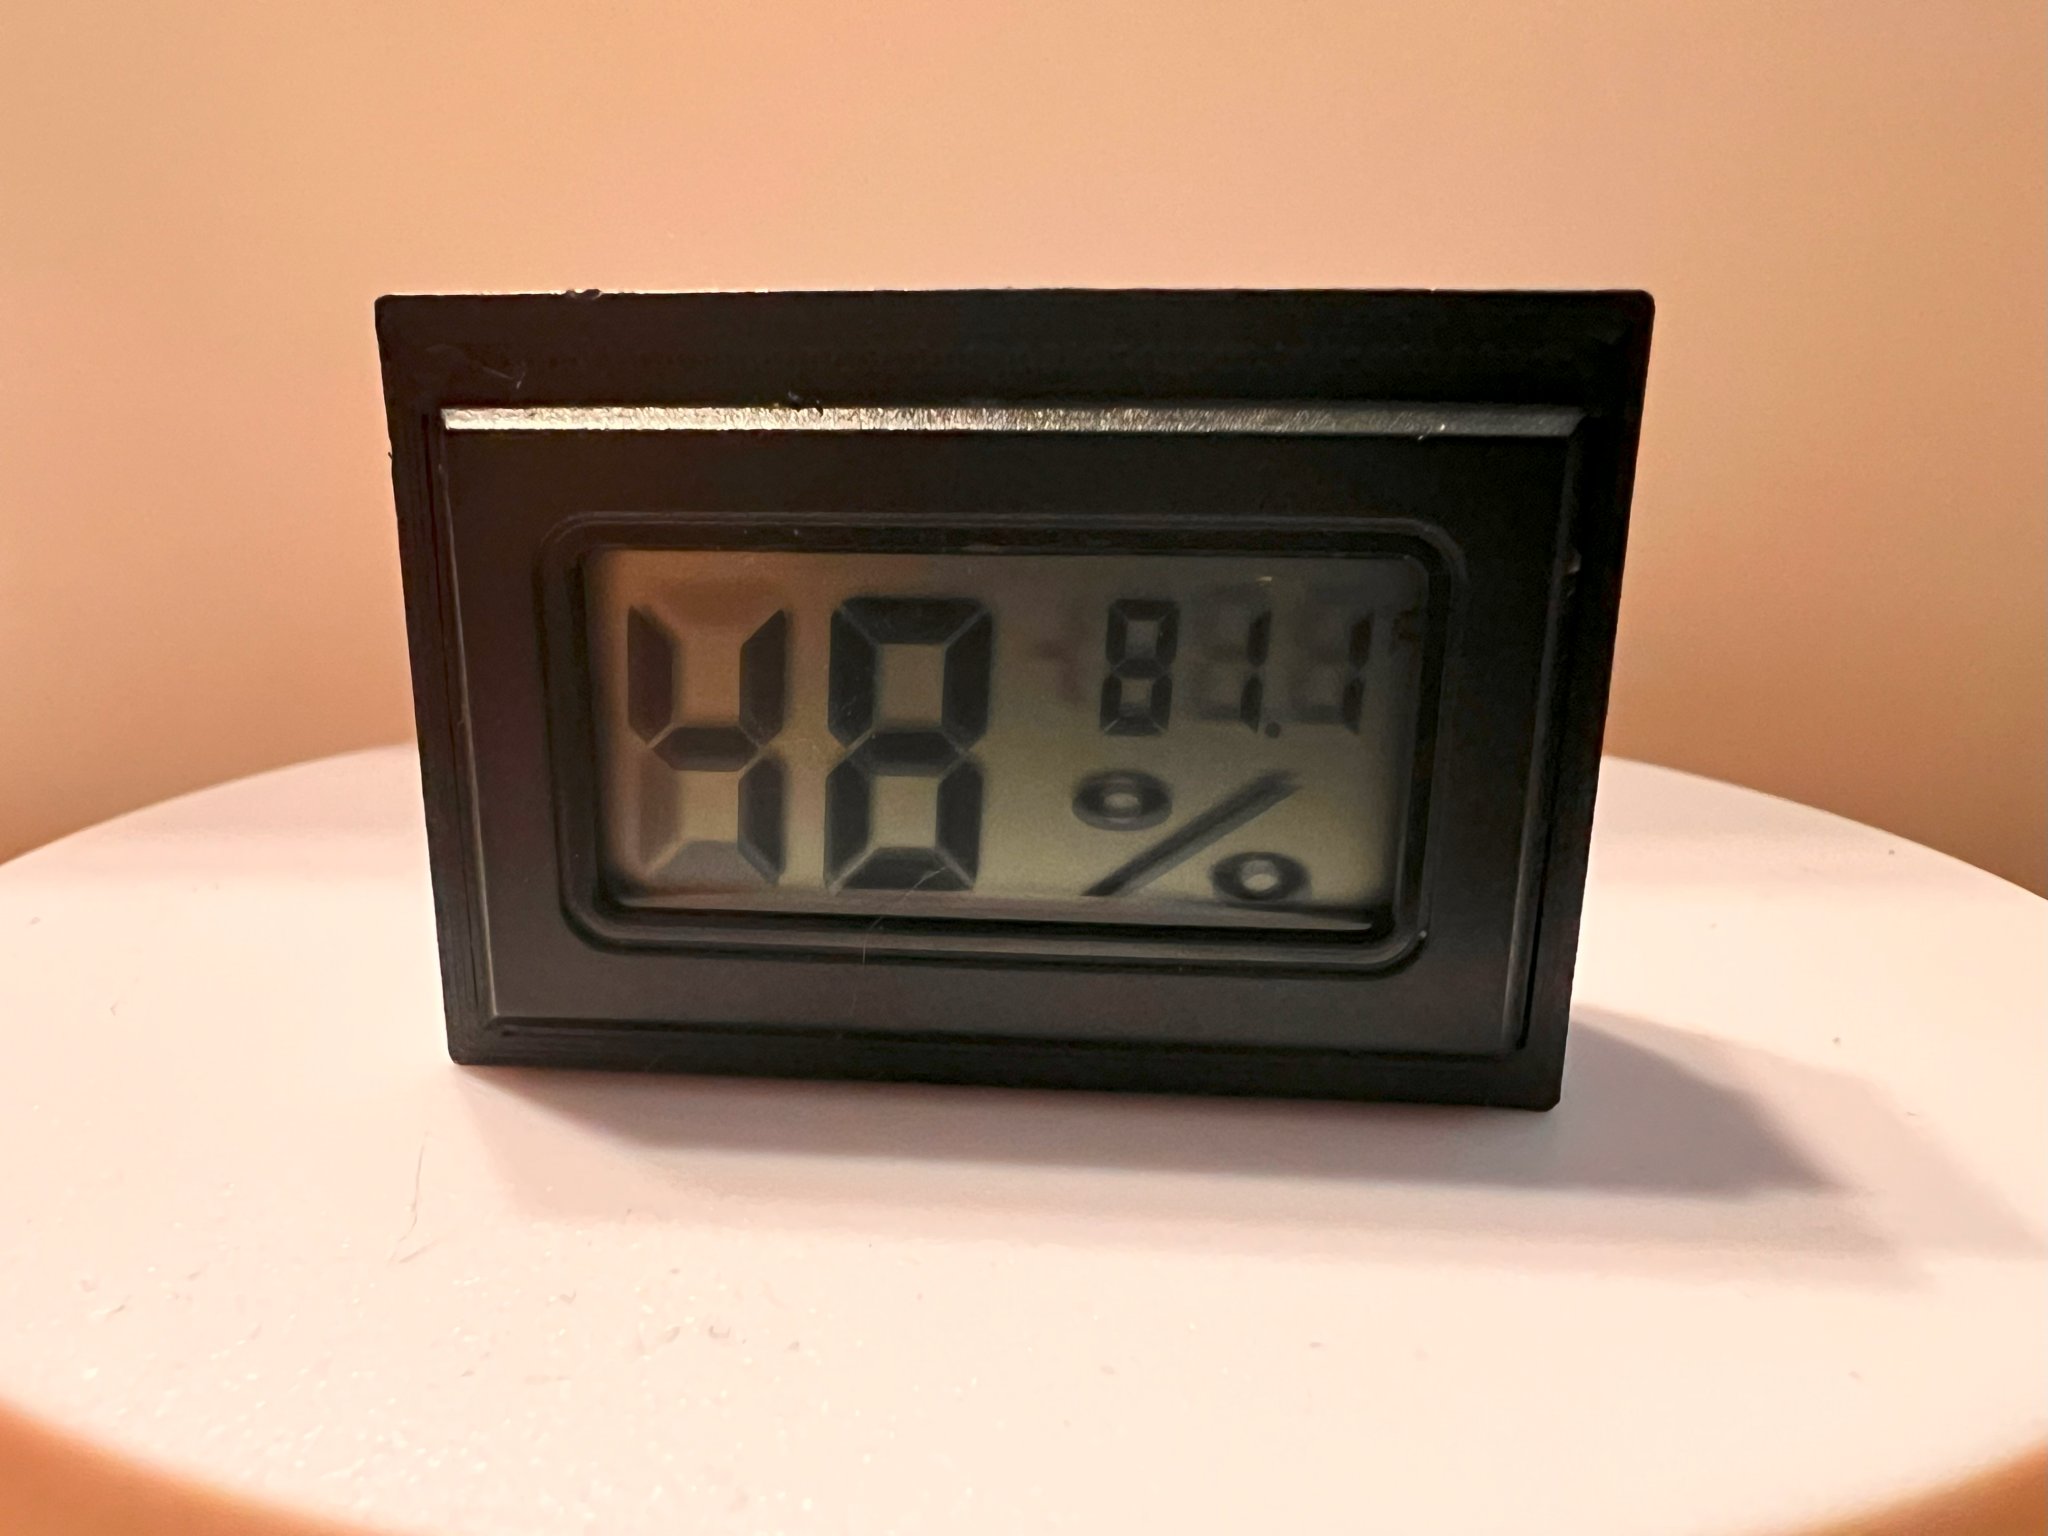
The hygrometer I'm using is available at this link. I bought the 20-pack, but there is a 6-pack available. There are plenty of options for this type of hygrometer.
My thanks to Kronflux for giving me a base from which to start.
Feel free to remake this as much as you want. Or don't. Don't let me tell you what to do.
Print Settings (model in photos)
Printer Brand:
Elegoo
Printer:
Neptune 2s
Rafts:
No
Supports:
No
Infill:
20%
Fill Pattern:
Grid
Filament:
Bambu Lab Black Matte PLA
Giấy phép
Tác phẩm này được cấp phép theo
Creative Commons Attribution-ShareAlike 4.0 InternationalAttribution-ShareAlike
