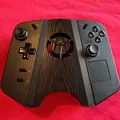
Legion Go Modular Controller Adapter
Bộ điều khiển điều khiển mô -đun cho Legion Go.

Mô tả
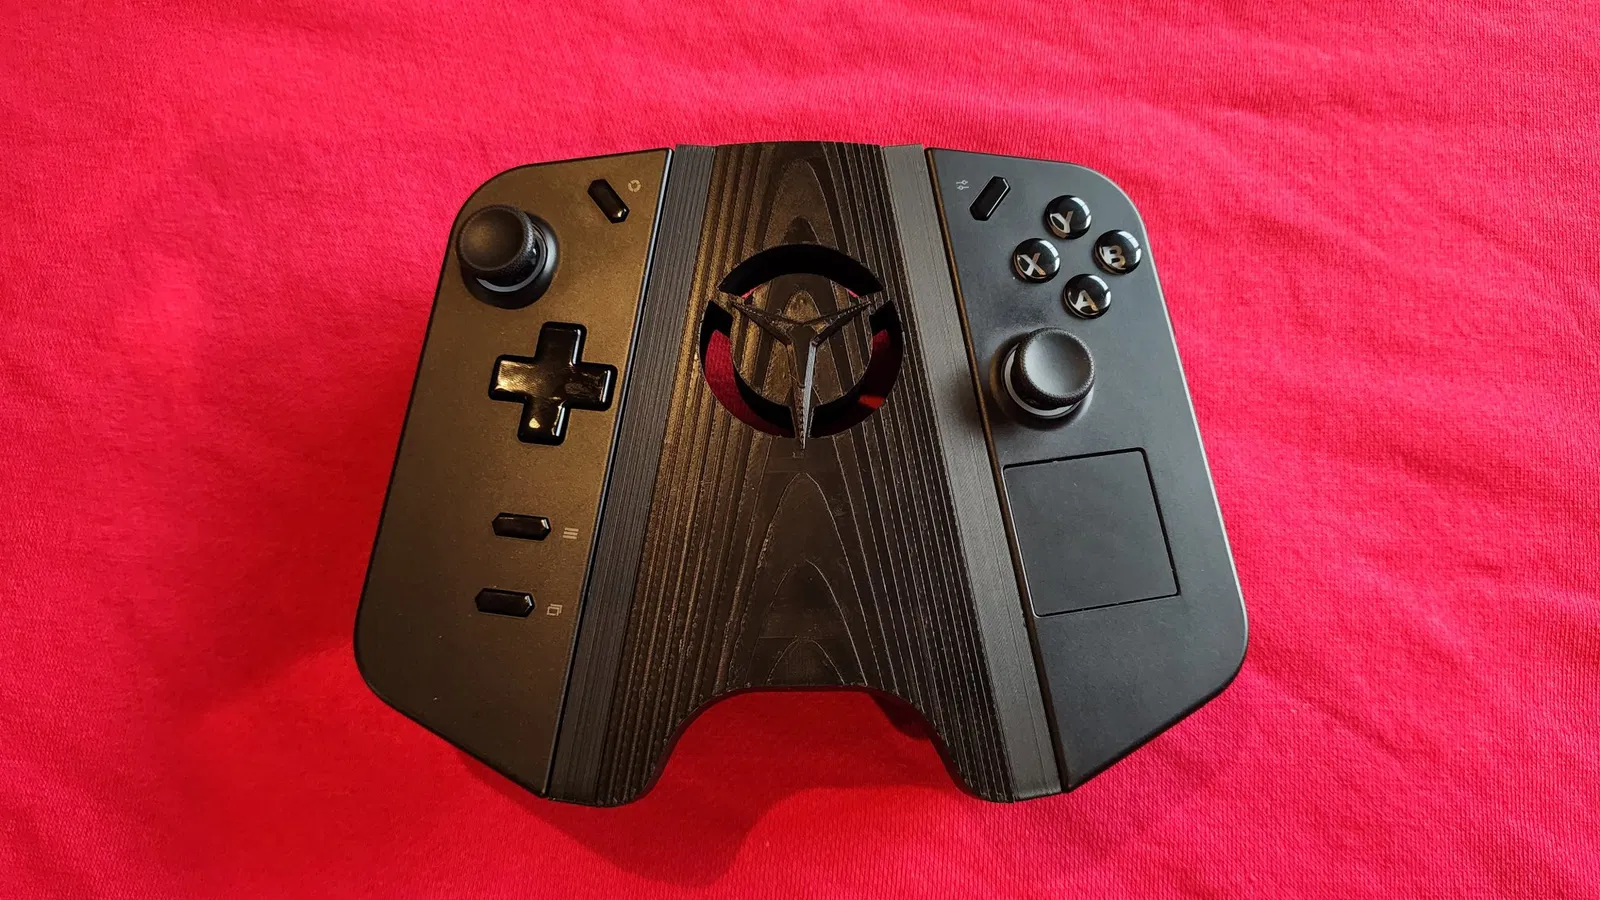
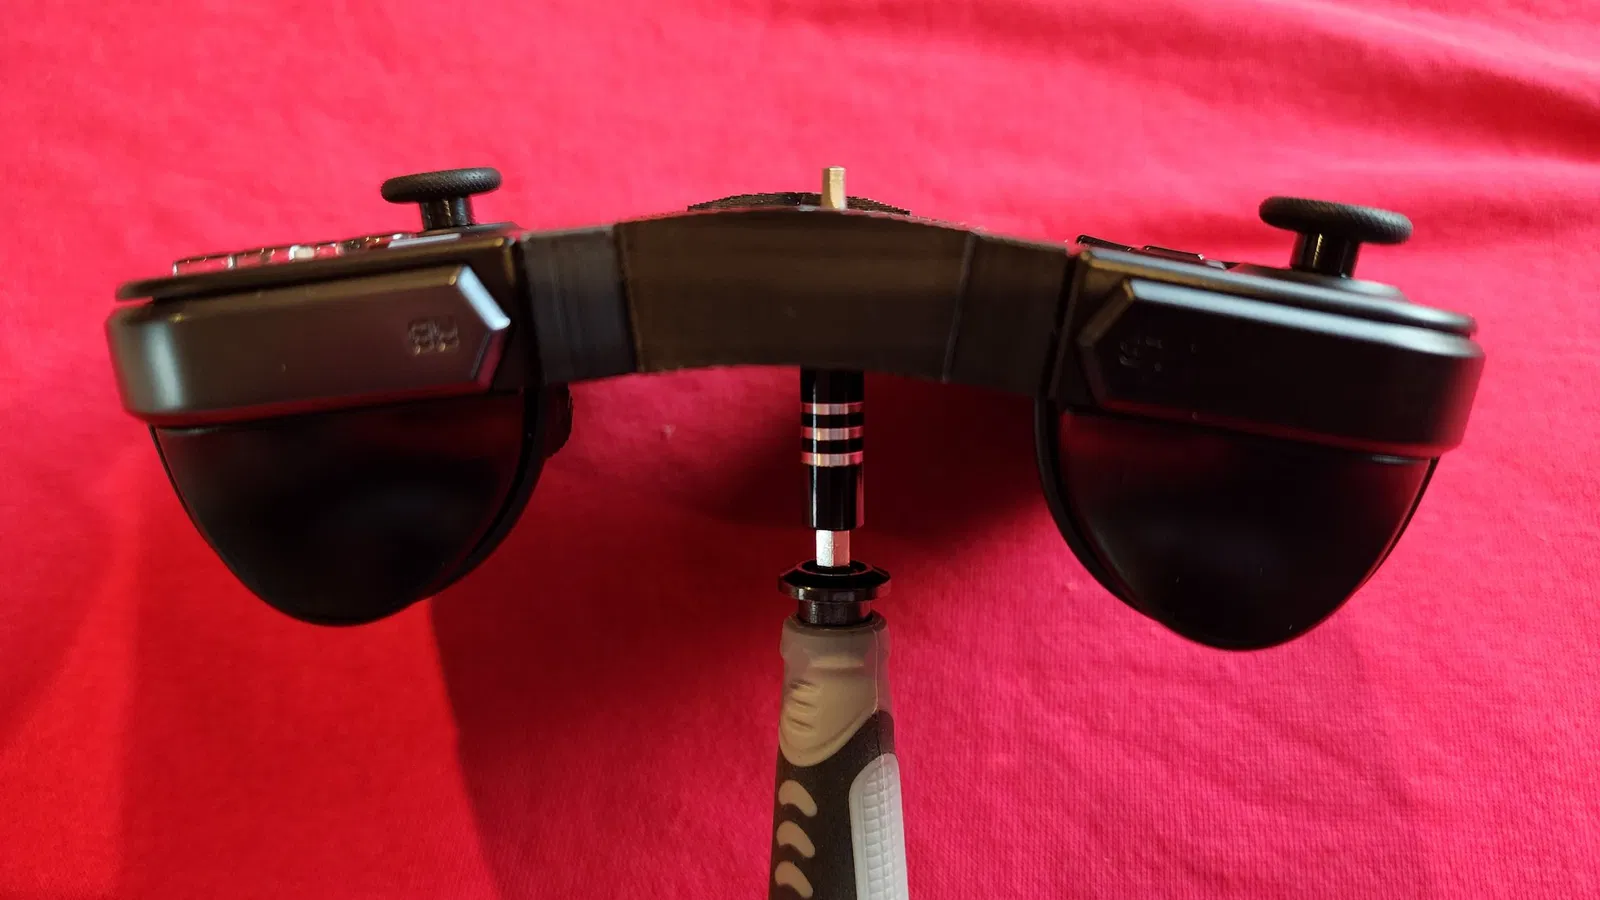
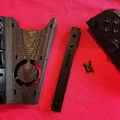
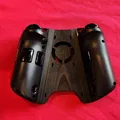
Modular controller adapter for the Legion Go. The rails for the left and right controller are printed separately and connected to the body with M3 screws/nuts (8mm length). You can design your own body and screw the rails onto that, or use one of the bodies included in this project. My intent was to decouple the rails and body to improve high tolerance printing, as well as allowing for more rapid body prototyping. The bonus is that you can create your own body and have multiple bodies for different scenarios.
I encourage people to make their own bodies for use with the rails if they are so inclined, and to share them (non-commercial).
Your feedback is important to me. Constructive critiques will improve the design.
Printing Instructions
The rails are high tolerance to give a solid feel when the controllers are attached. I printed on a Bambu X1C. As such there is a 3mf file included that is ready to print.
The rails should be printed with the open side up and separately from the body. This method requires the least amount of support (which is necessary for the tabs in the opening). Printing this way ensures very clean top and bottom layers needed for connection, and additionally ensures good round holes for the screws.
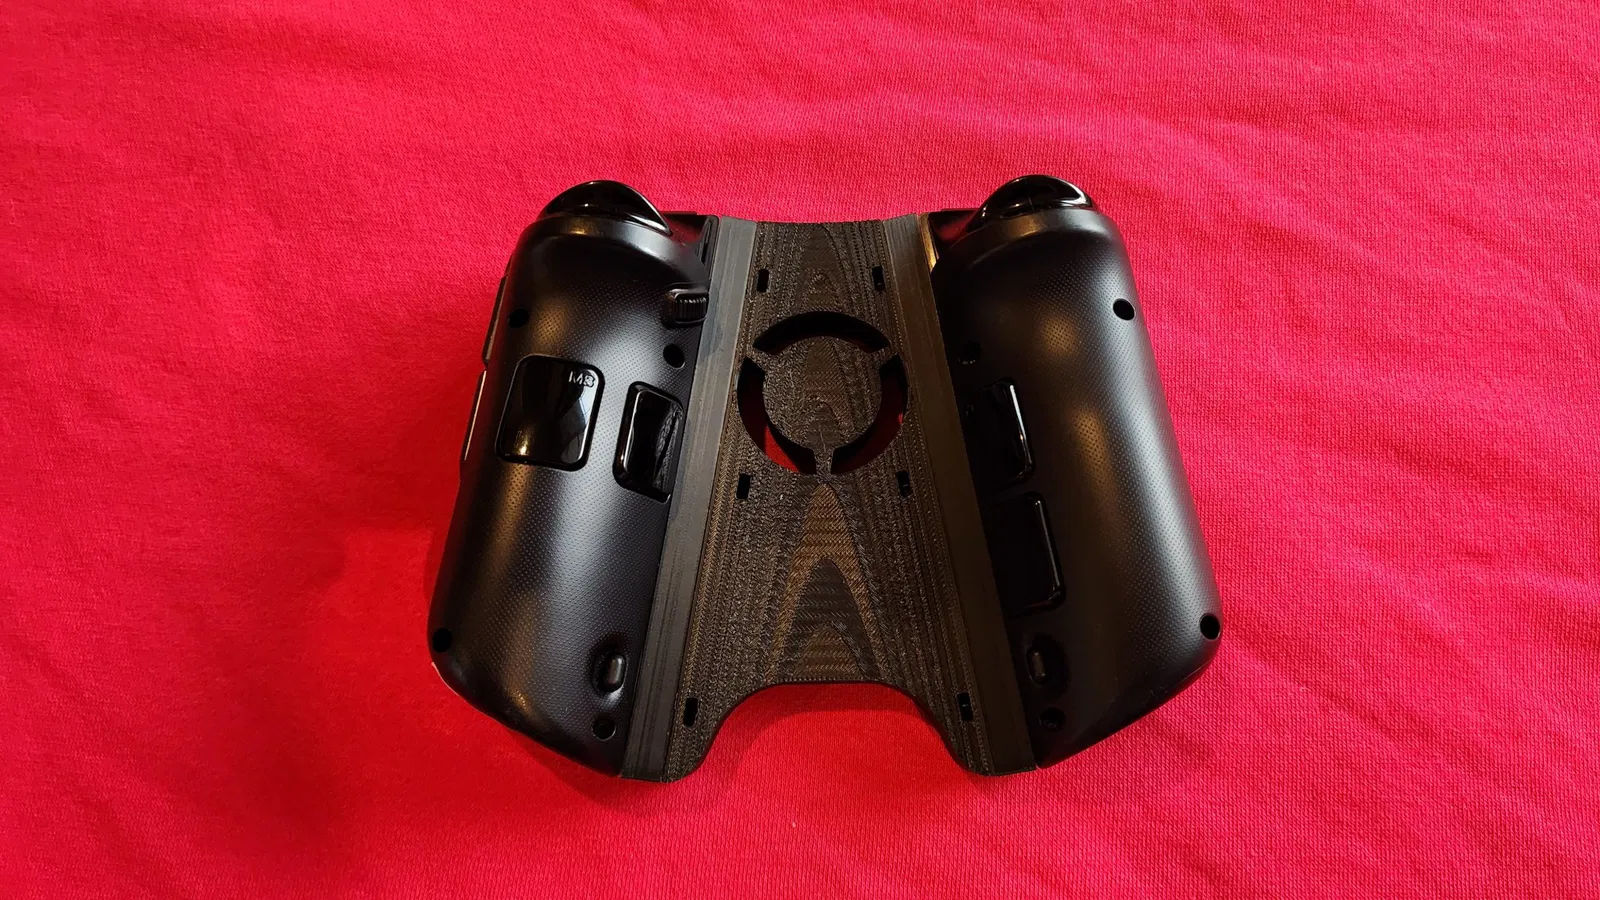
The body can be printed standing up, or laying flat. Laying flat give the best overall quality for the version with the logo, but will look a bit grainy (you can see this in the pictures). For the version without the logo, upright tends to work better as the top will be much smoother, however this will tend to have a negative impact on the bottom curvature and the cutout part of the logo. That said, tweaking variable layer heights, using a finer nozzle, and various other settings can improve quality significantly.
Assembly
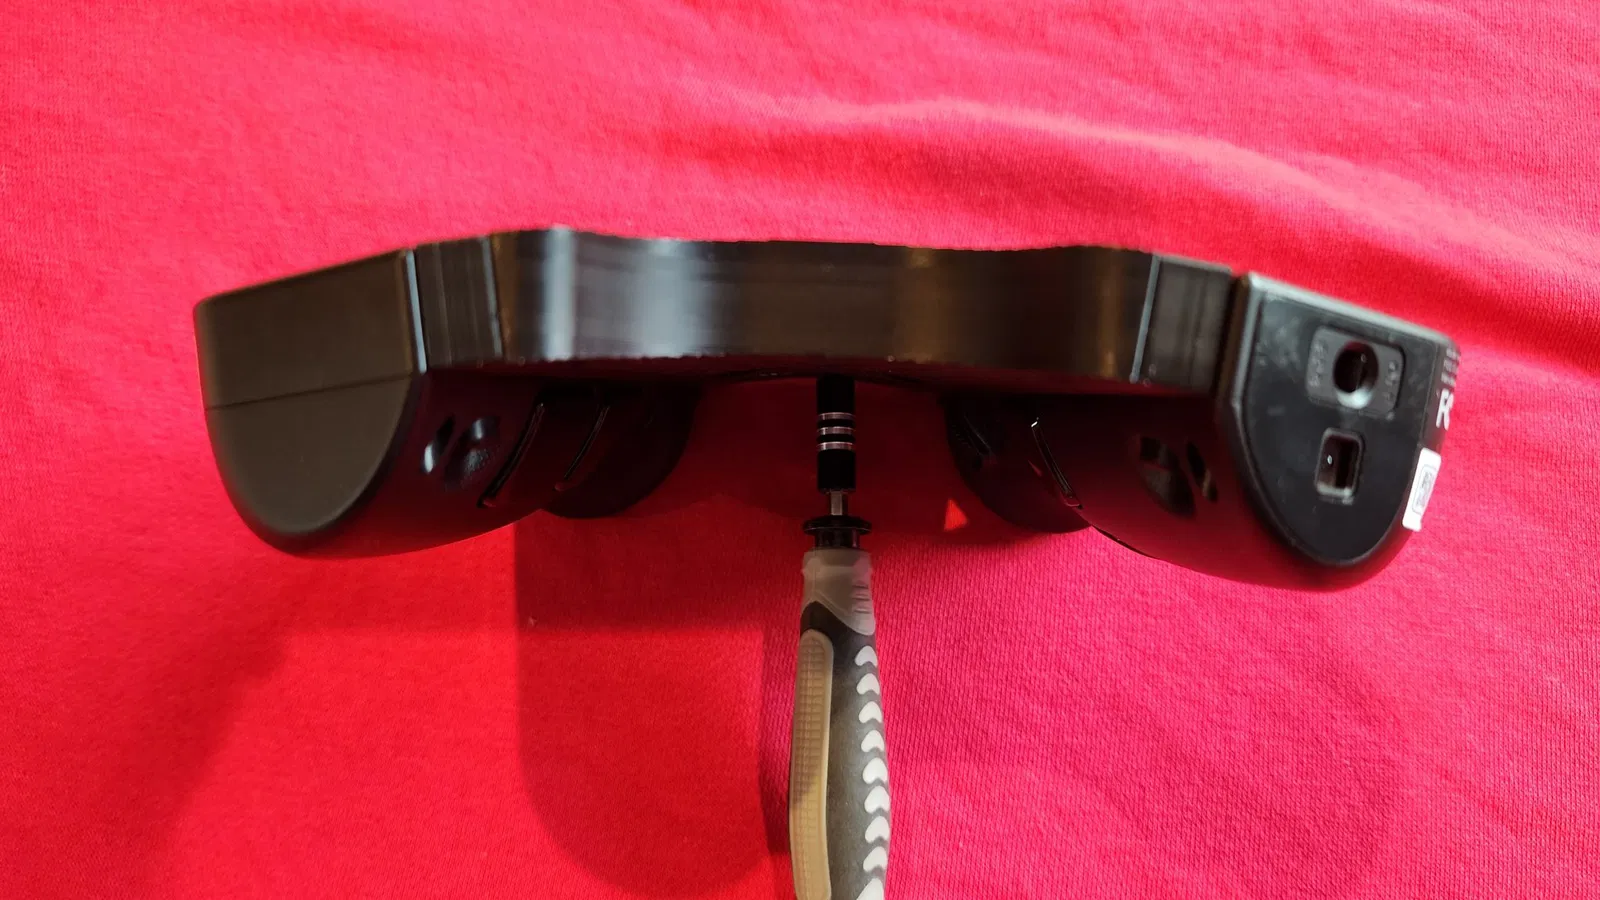
There are slots on the underside of the body for M3 hex nuts. It may be a snug fit which is necessary for them to remain stationary for fastening. It is easier to assemble one rail at a time.
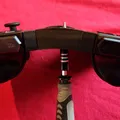
Looking at rails with the longest side pointing left/right, and the opening on top
One side of the opening will have a tiny notch cutout. This is the “top” of the rail.
The other side will be flat on its edge, but have two small notches on either side of the cutout. This is the “bottom” of the rail.
The top will be attached on the short part of the body, the bottom to the long.
The single notch on the top of the rail should always attached closest to the underside of the body. It is the only distinction between the left and right versions of the rails.
Other Tools/Equipment
The screws and nuts I use can be purchased here:
Model Details
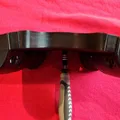
The exterior dimensions of the rails are: 130.5mm x 14.6mm x 8.6mm.
The outer screws are 15mm from the edge.
The middle screw is exactly centered.
All screw are countersunk 0.75mm from the surface they touch.
There are blanks included for the rails and bodies (no fastener holes cut) for those that would prefer to use them in their own models.
Giấy phép
Tác phẩm này được cấp phép theo
Creative Commons — Attribution — Noncommercial — Share AlikeCC-BY-NC-SA

File mô hình


Chưa có bản in nào được khoe. Hãy là người đầu tiên!
Chưa có bình luận nào. Hãy là người đầu tiên!