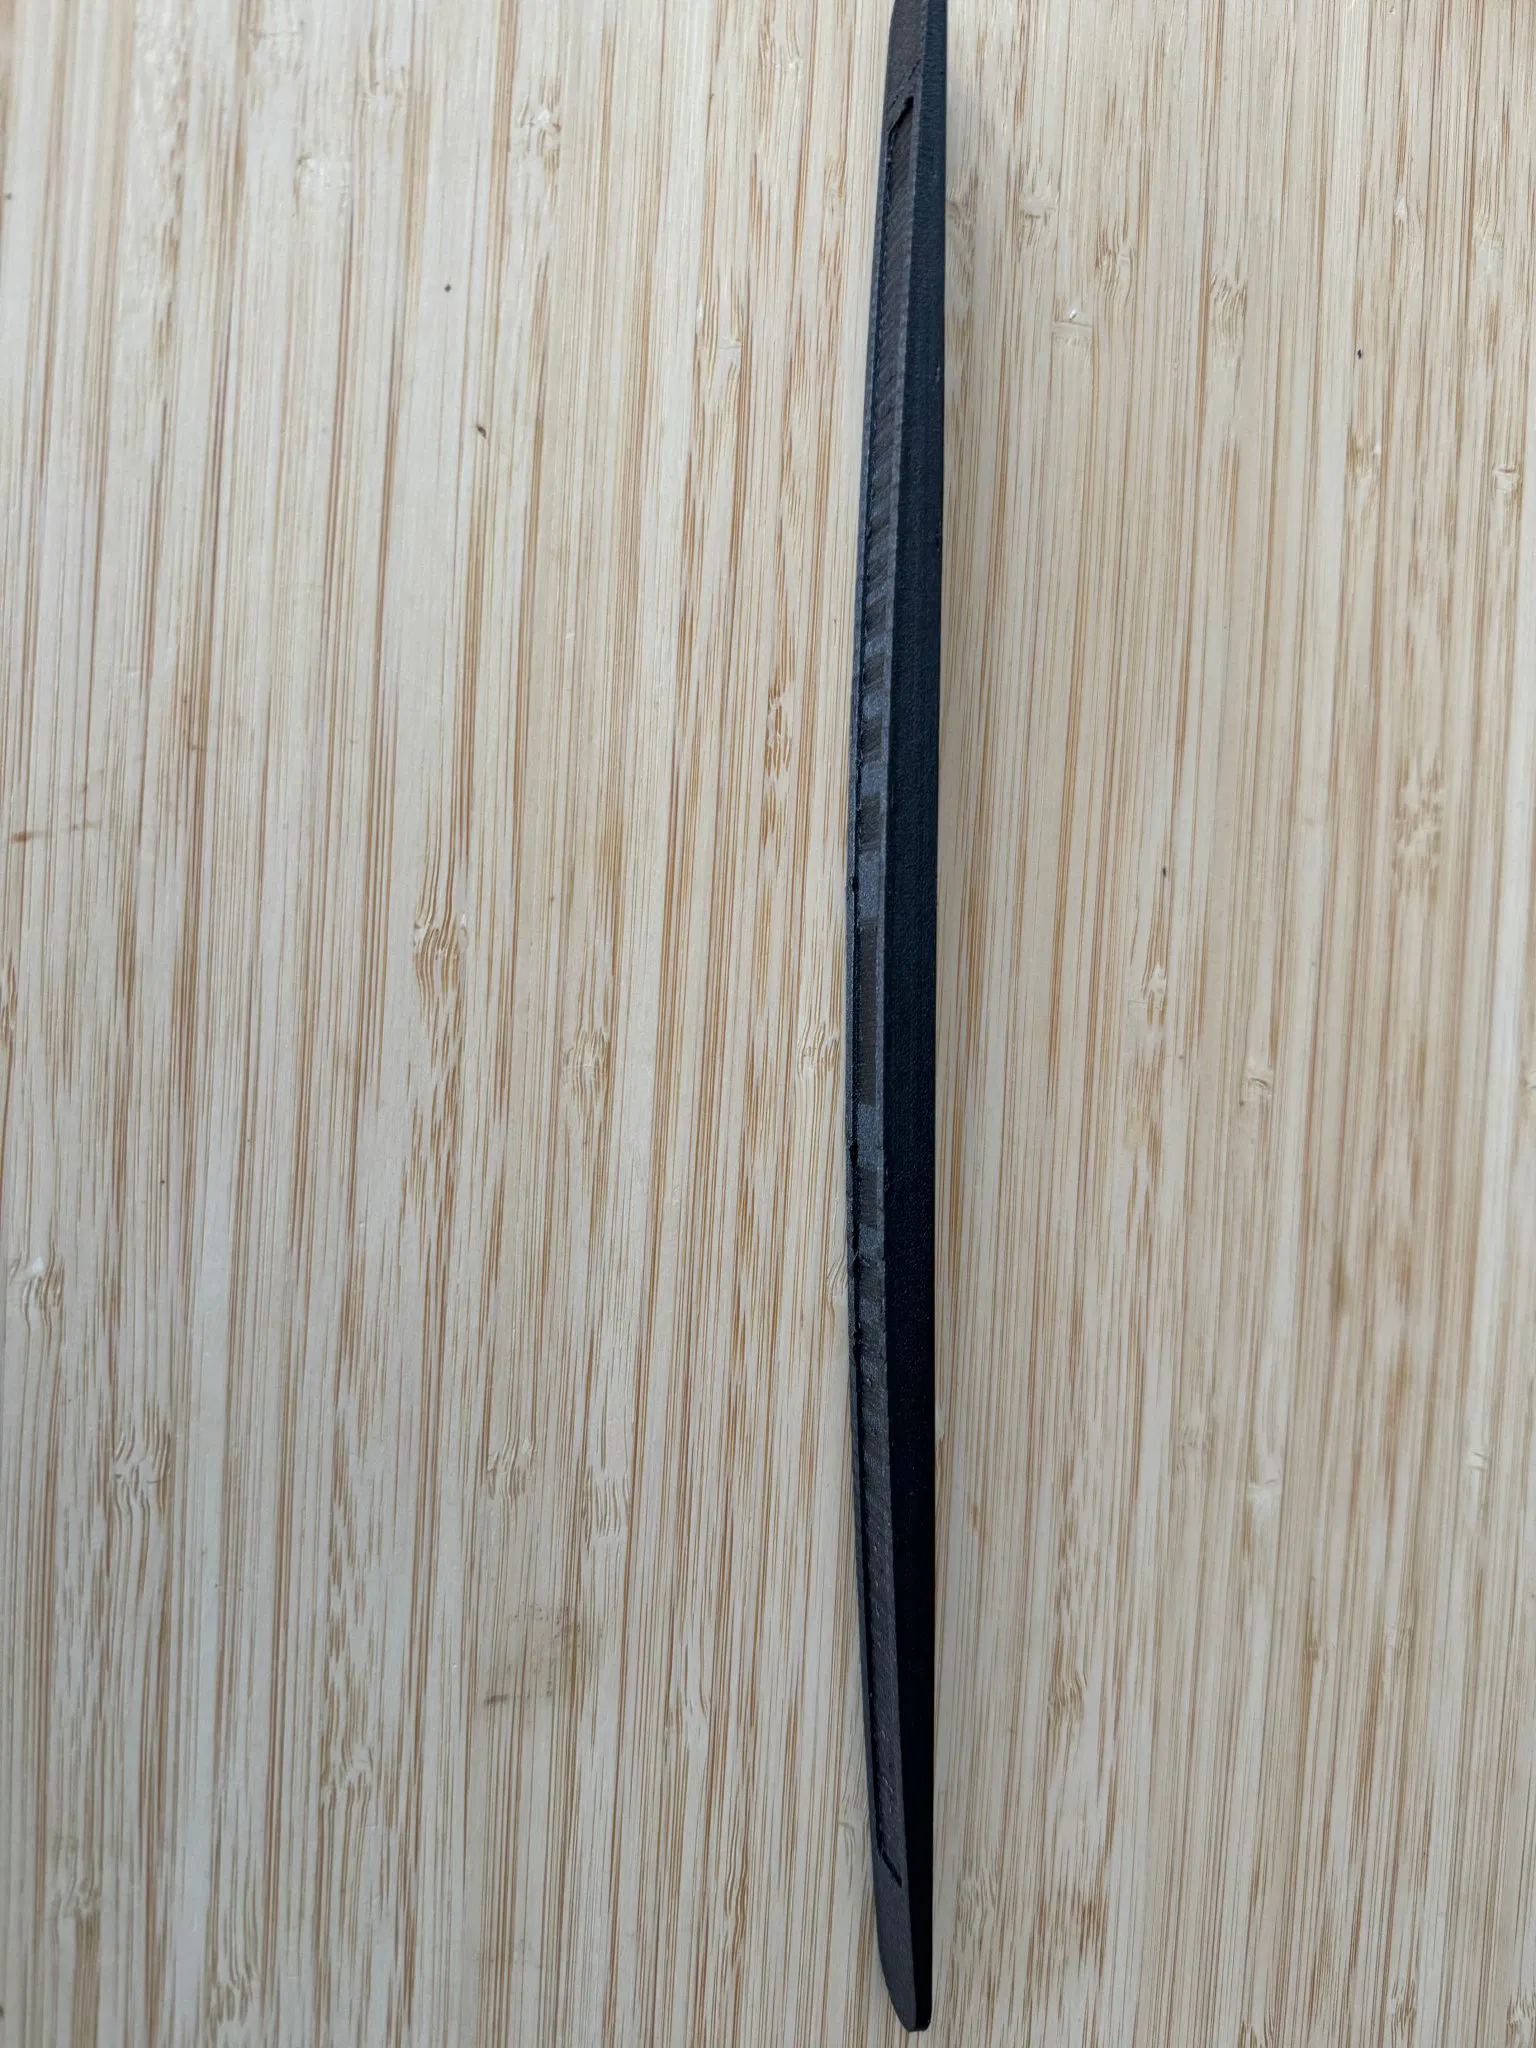
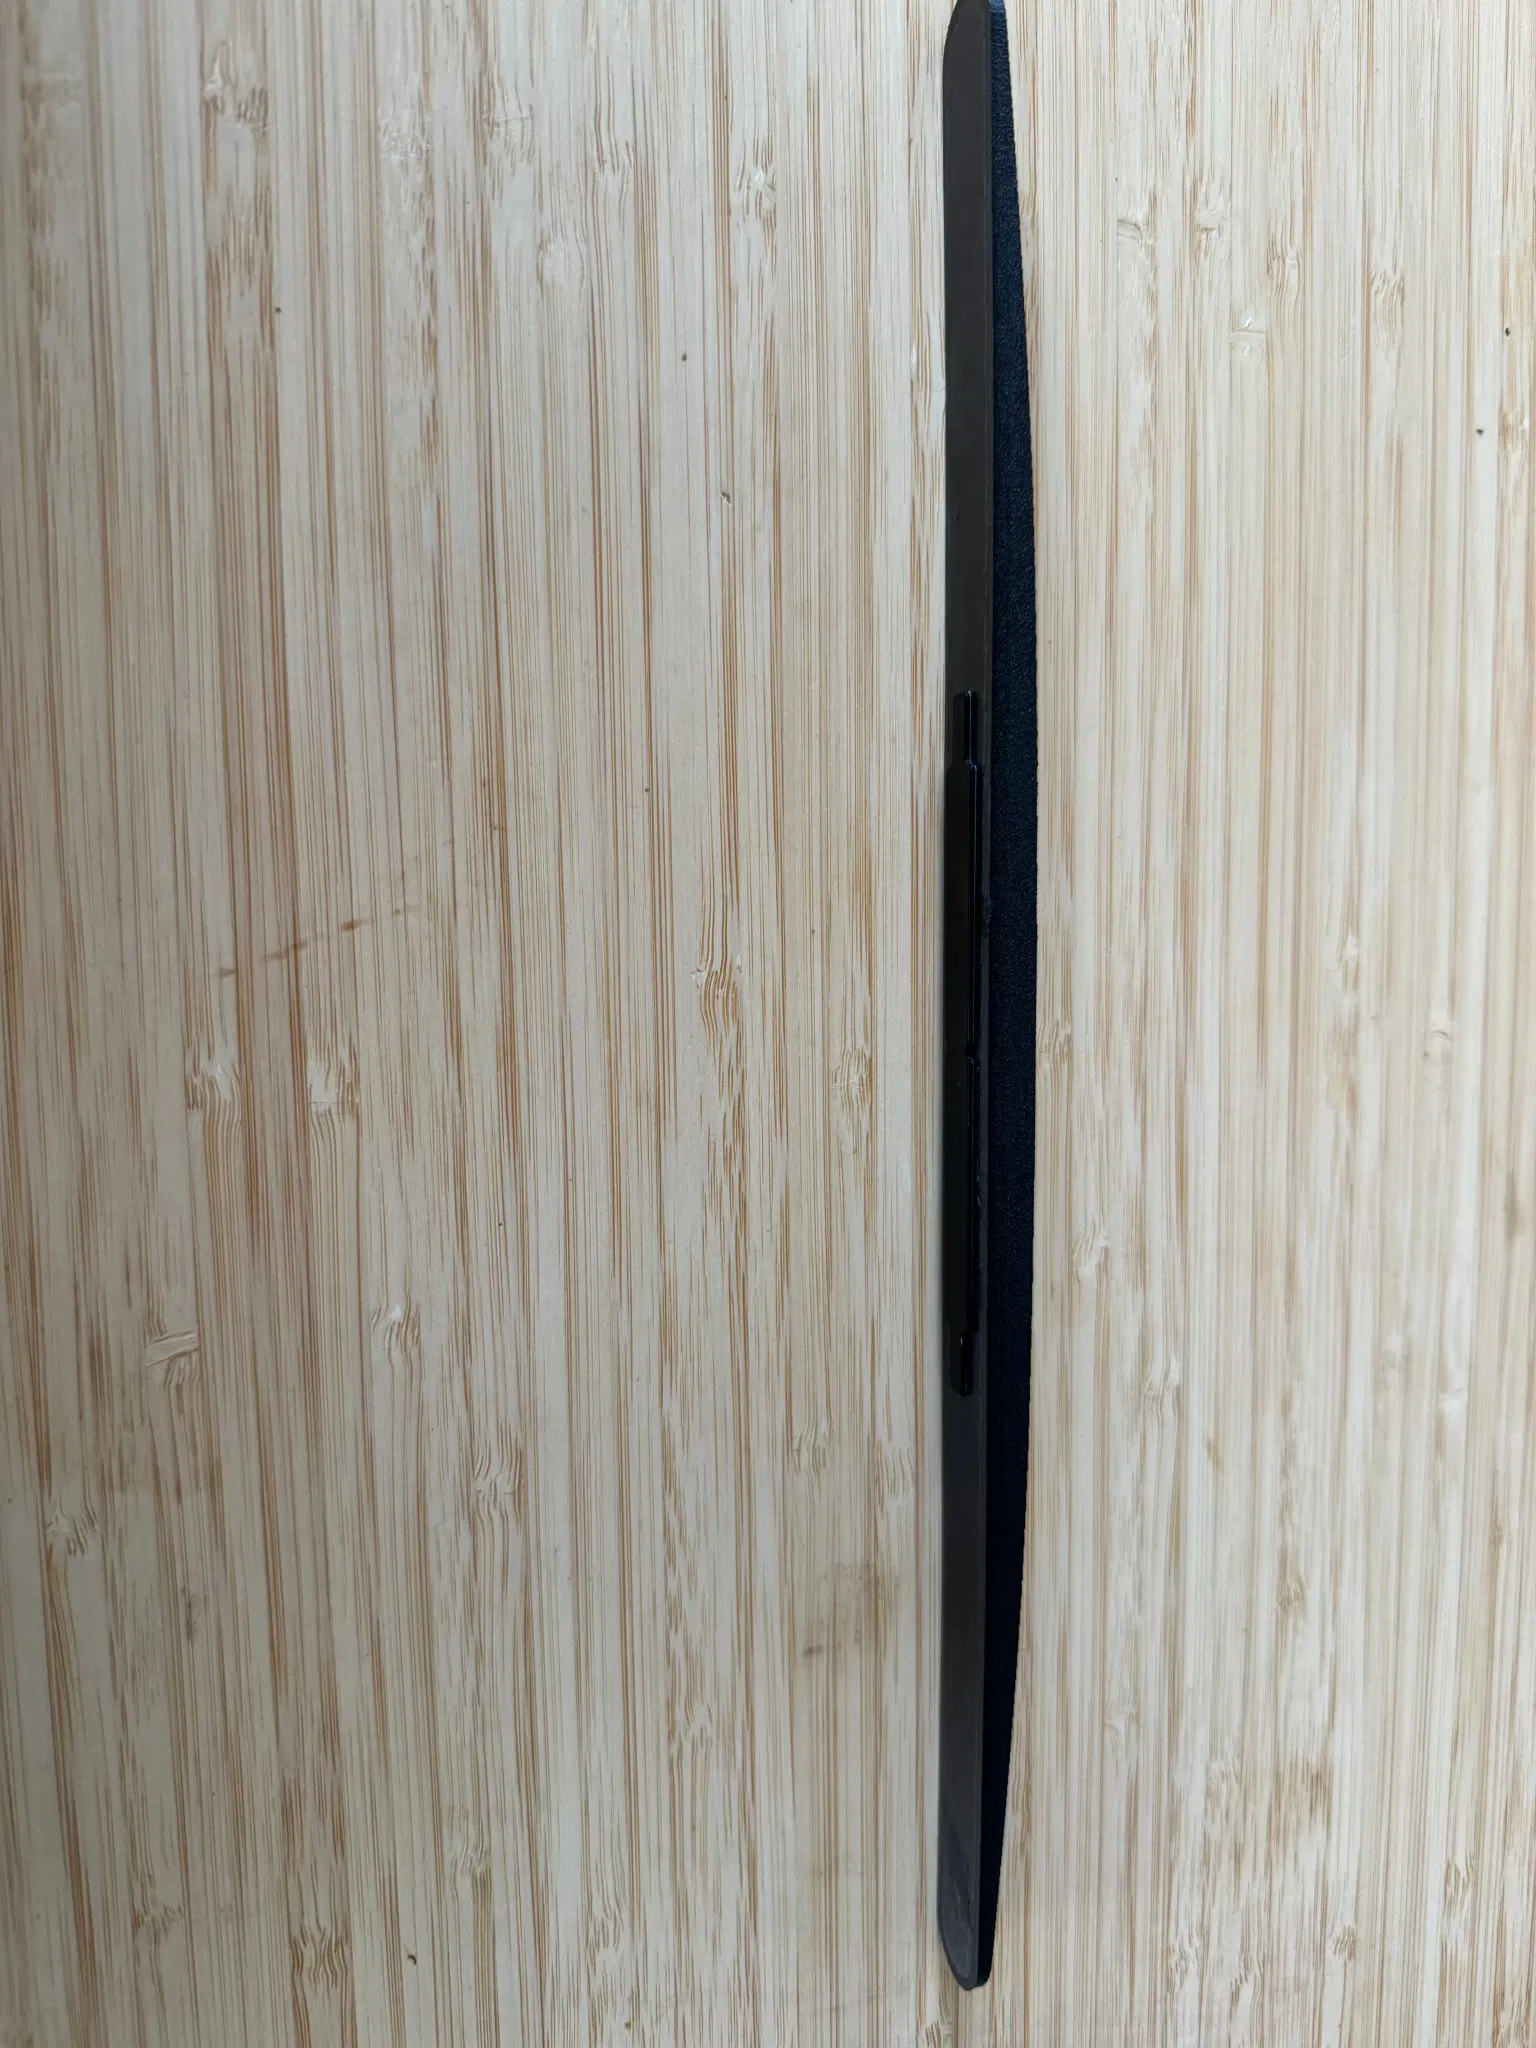
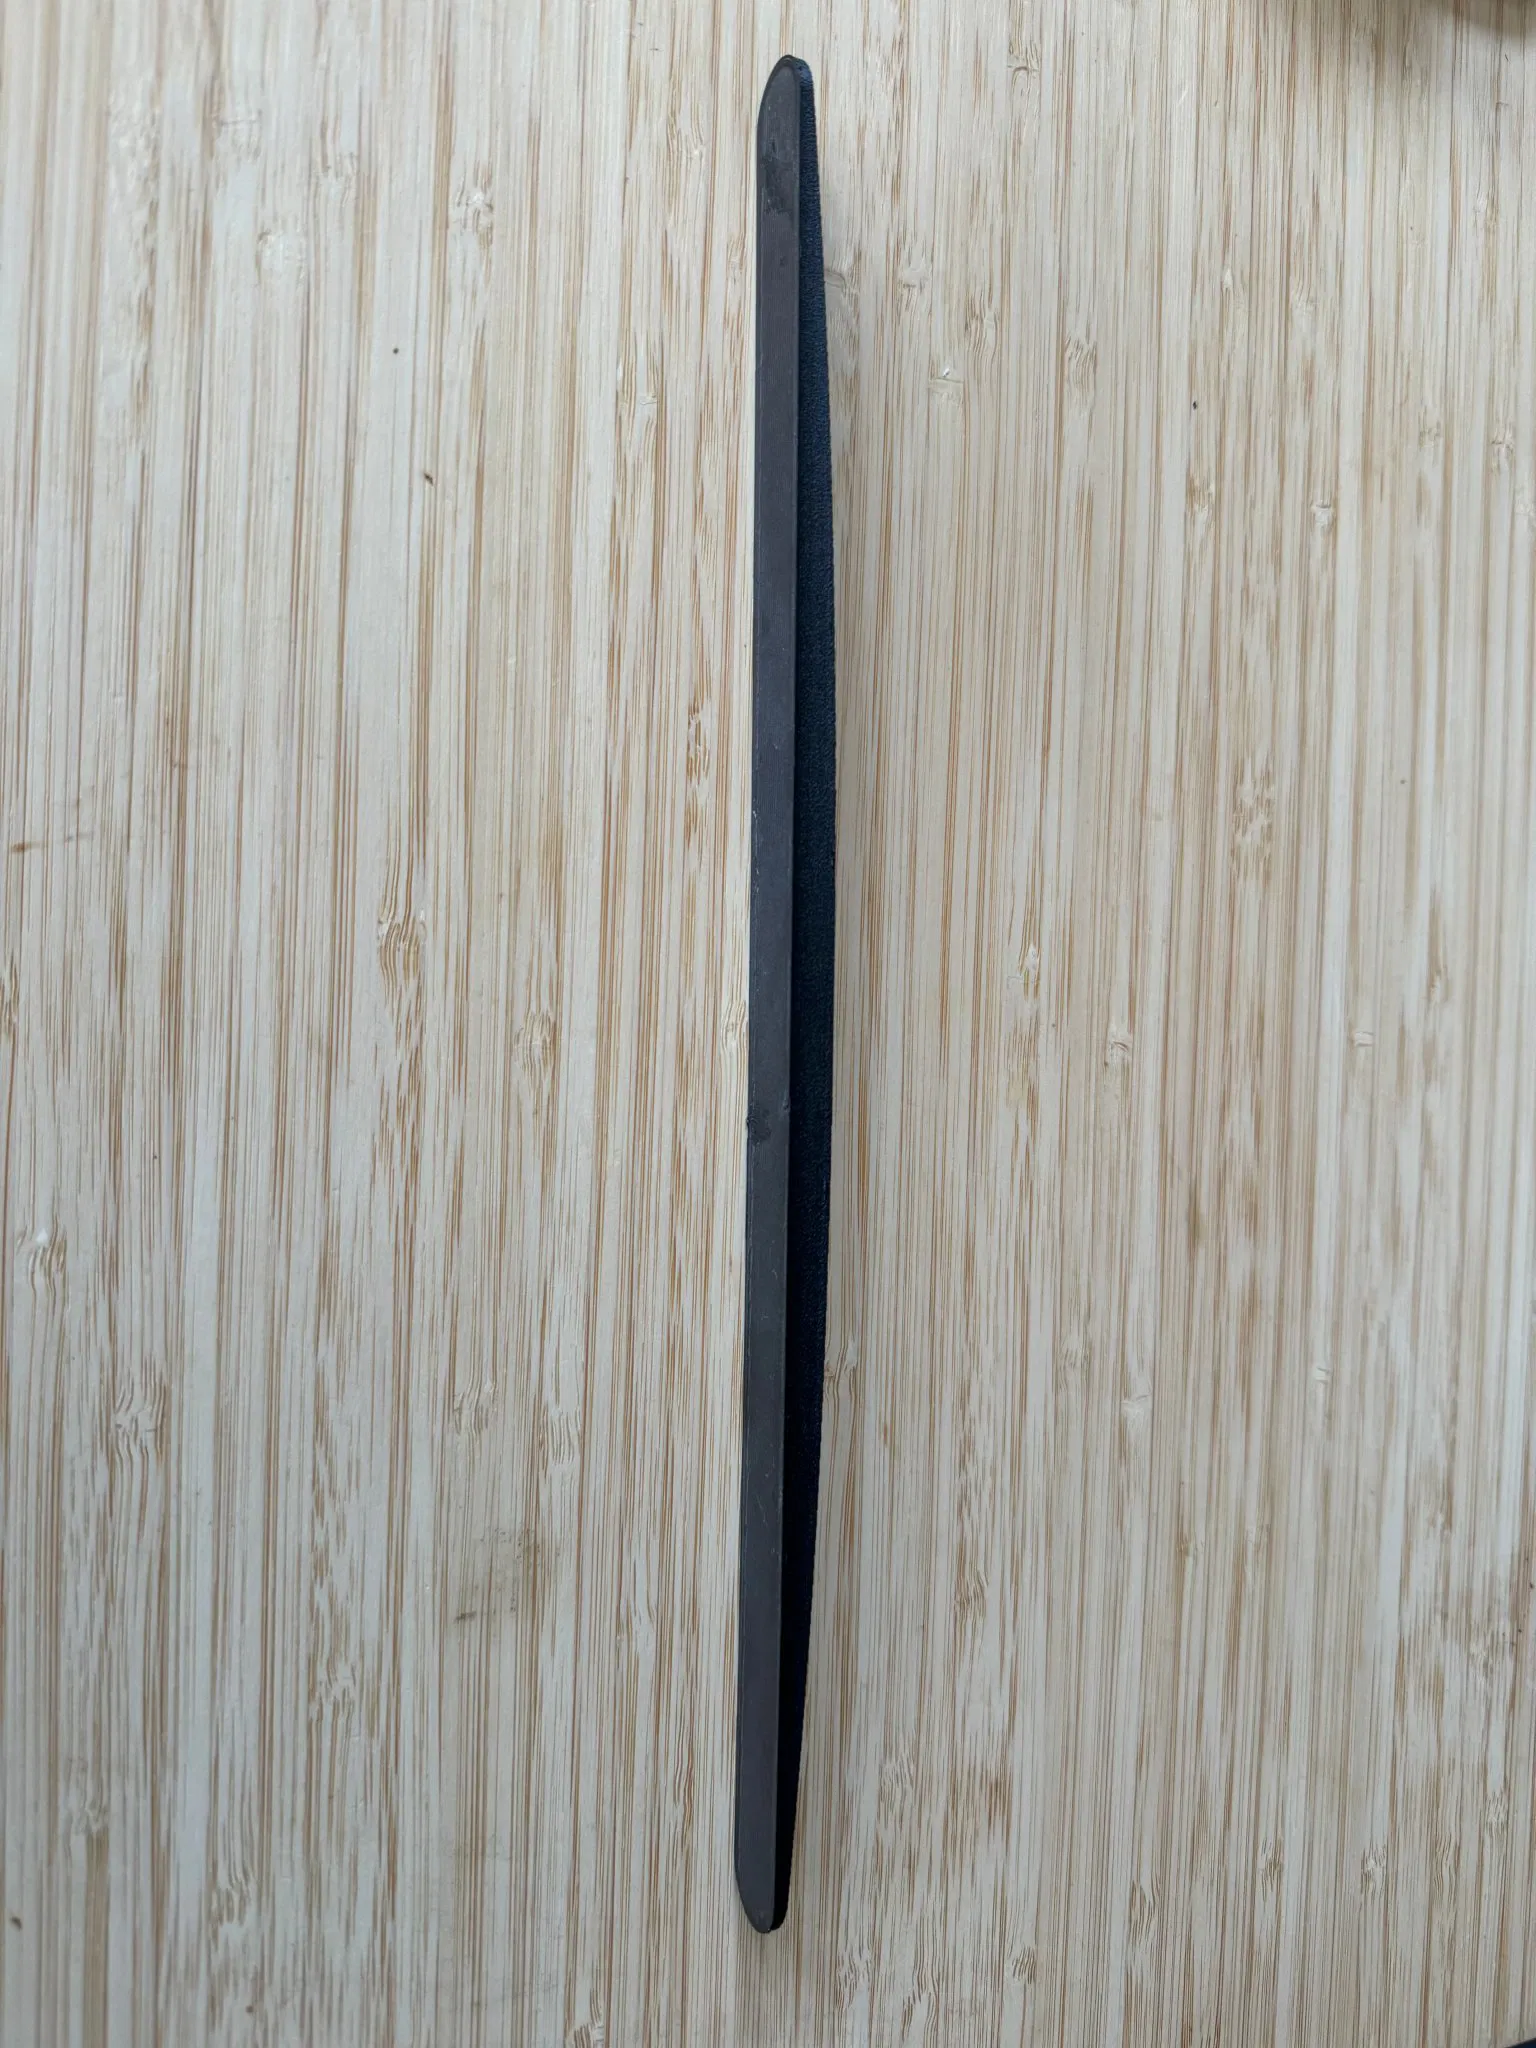
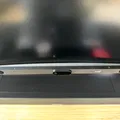
Giá đỡ Tobii Eye Tracker cho màn hình cong và phẳng

Thiết kế ngàm gắn Tobii Eye Tracker 5 gọn gàng, chắc chắn vào viền màn hình cong hoặc phẳng, dễ dàng tùy chỉnh với file parametric SCAD. Có sẵn file STL cho nhiều loại màn hình và hướng dẫn lắp đặt chi tiết.
3.8K
Lượt Xem
42
Lượt Thích
619
Lượt Tải
Cập Nhật Dec 20, 2025
Mô tả
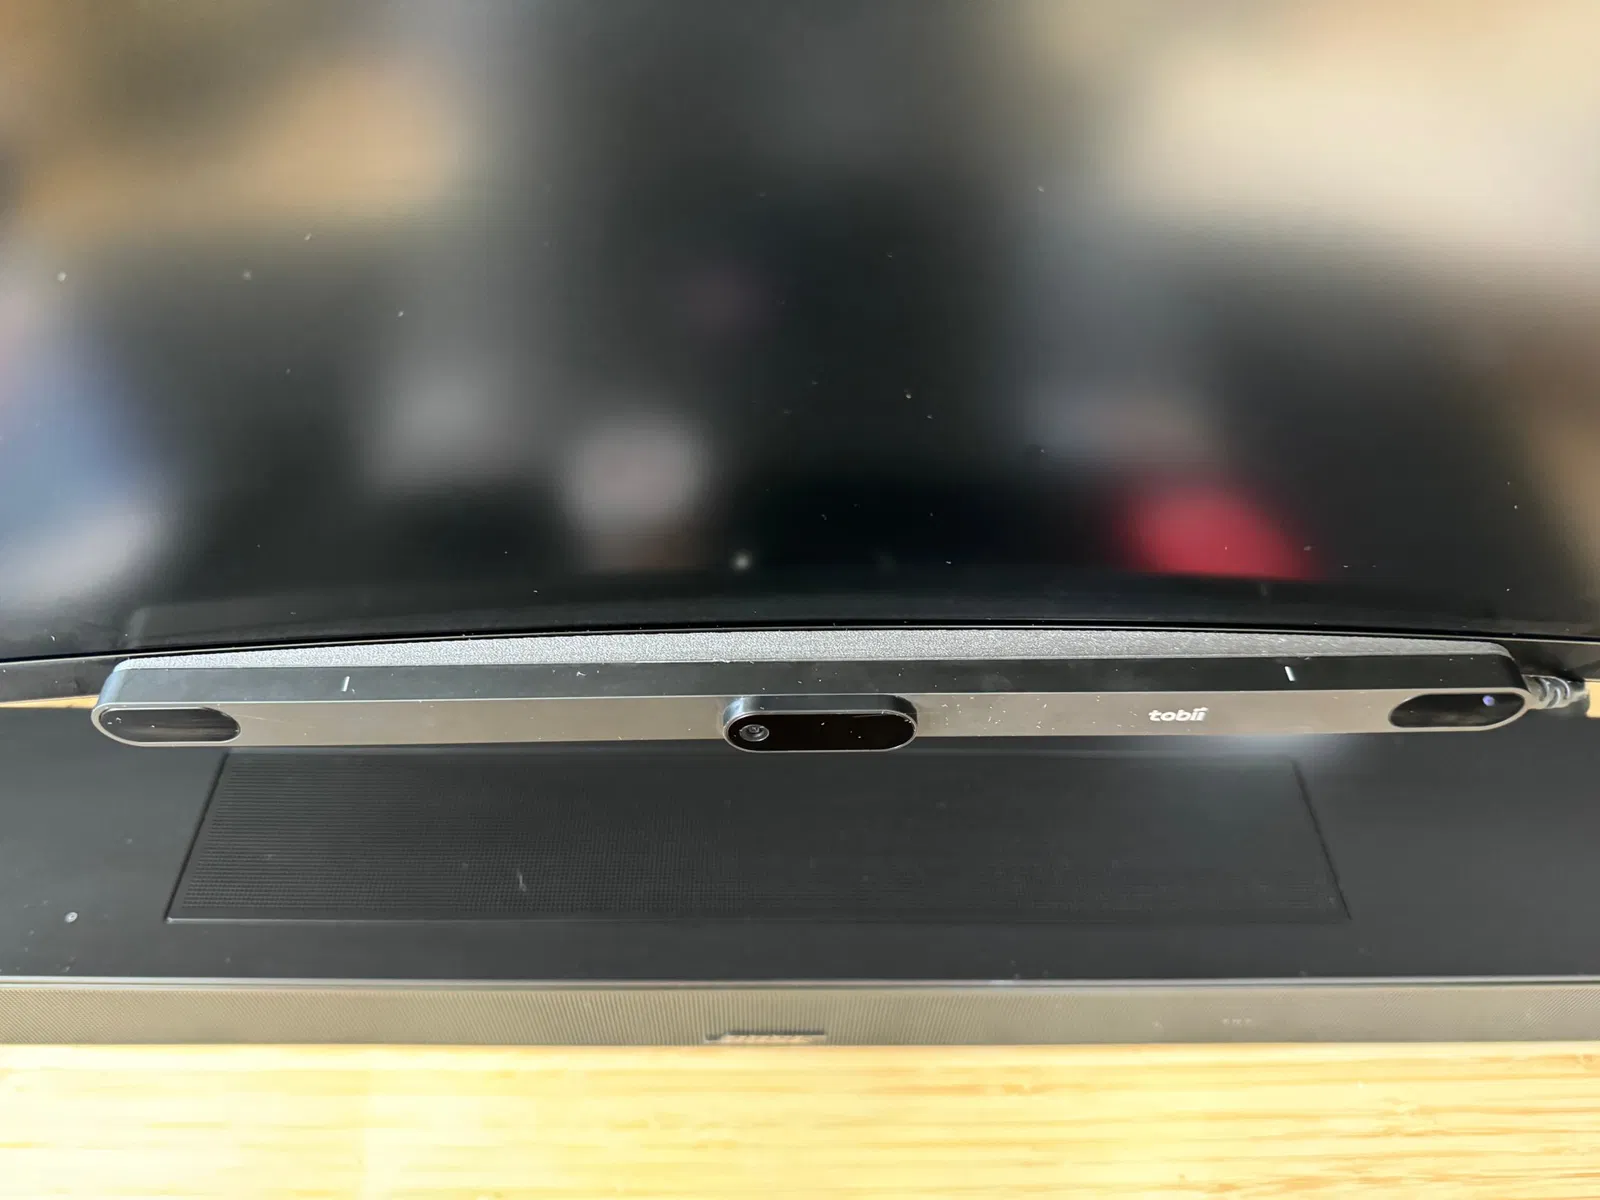
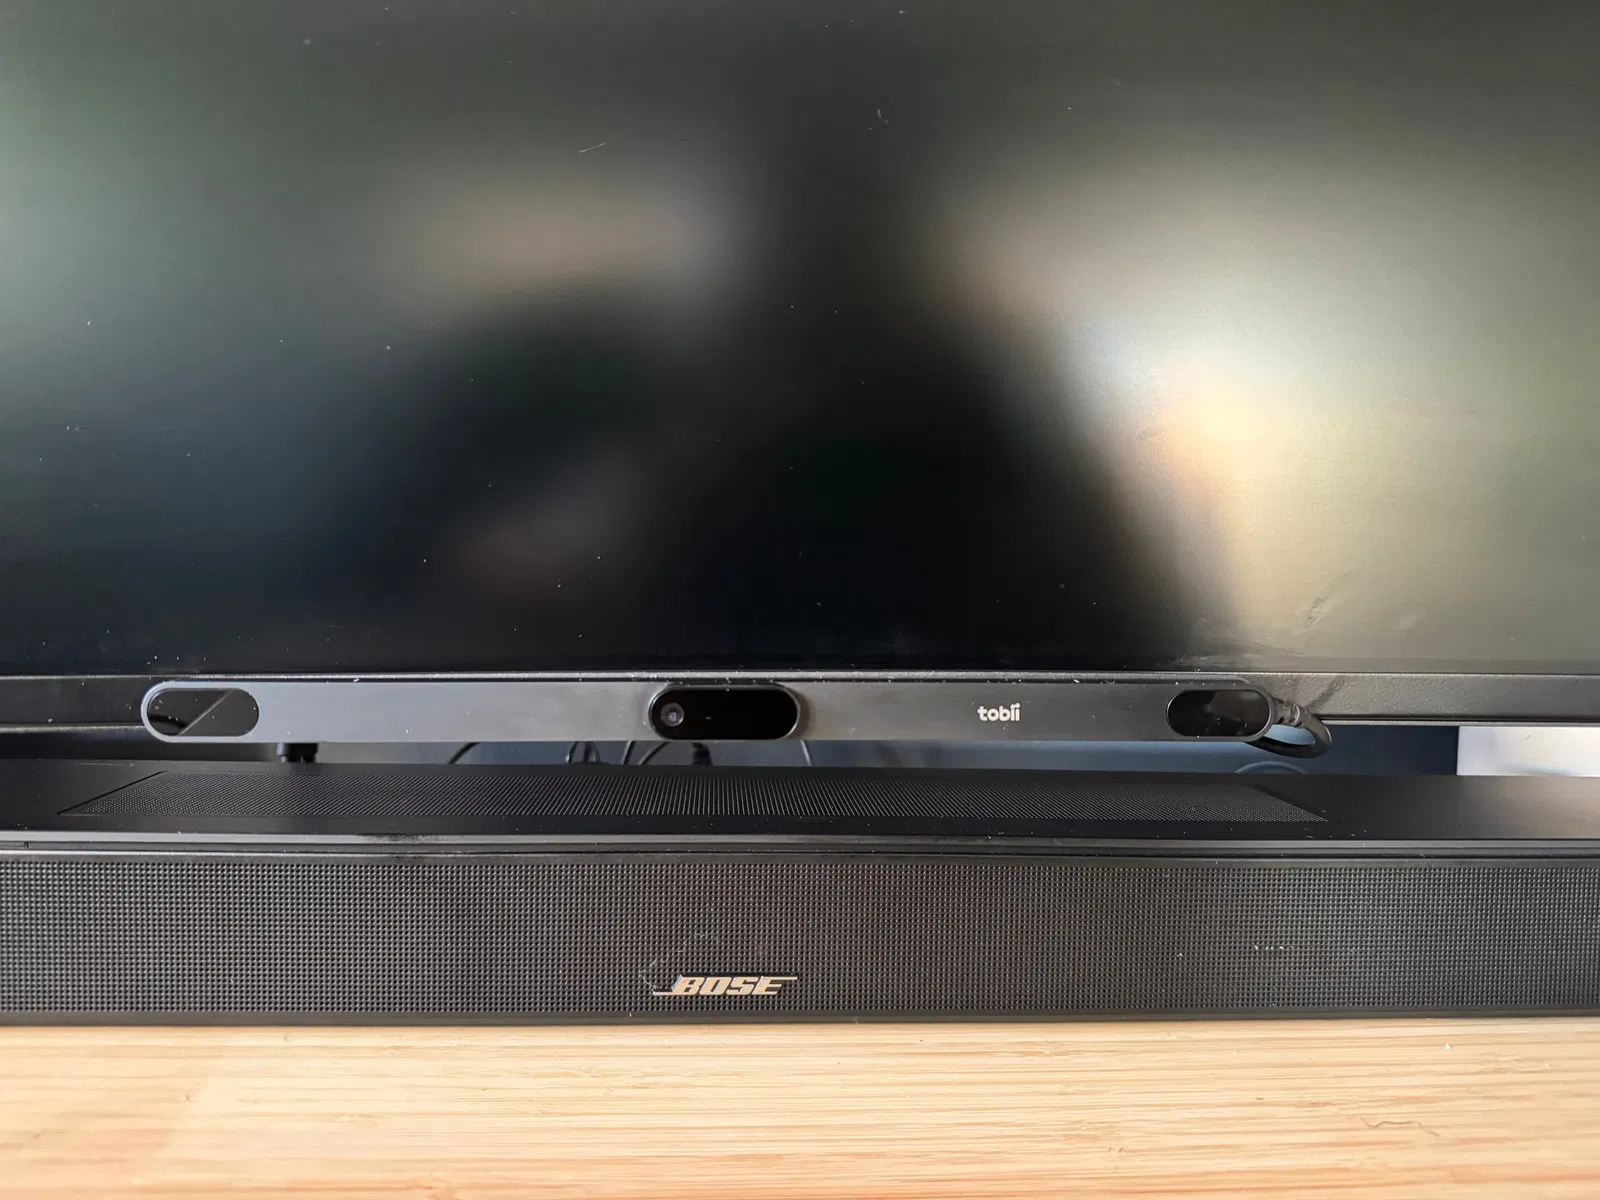
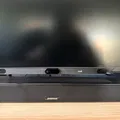
Mình thấy cái ngàm gắn Tobii Eye Tracker mặc định gắn ở dưới màn hình nó không được đẹp và chắc chắn lắm. Nên mình đã thiết kế cái ngàm này để gắn mắt thần Tobii vô viền trước màn hình một cách gọn gàng và an toàn.
Tính năng
- Mặc định là cho Tobii Eye Tracker 5, nhưng có thể dễ dàng sửa đổi cho 4C bằng file parametric đi kèm.
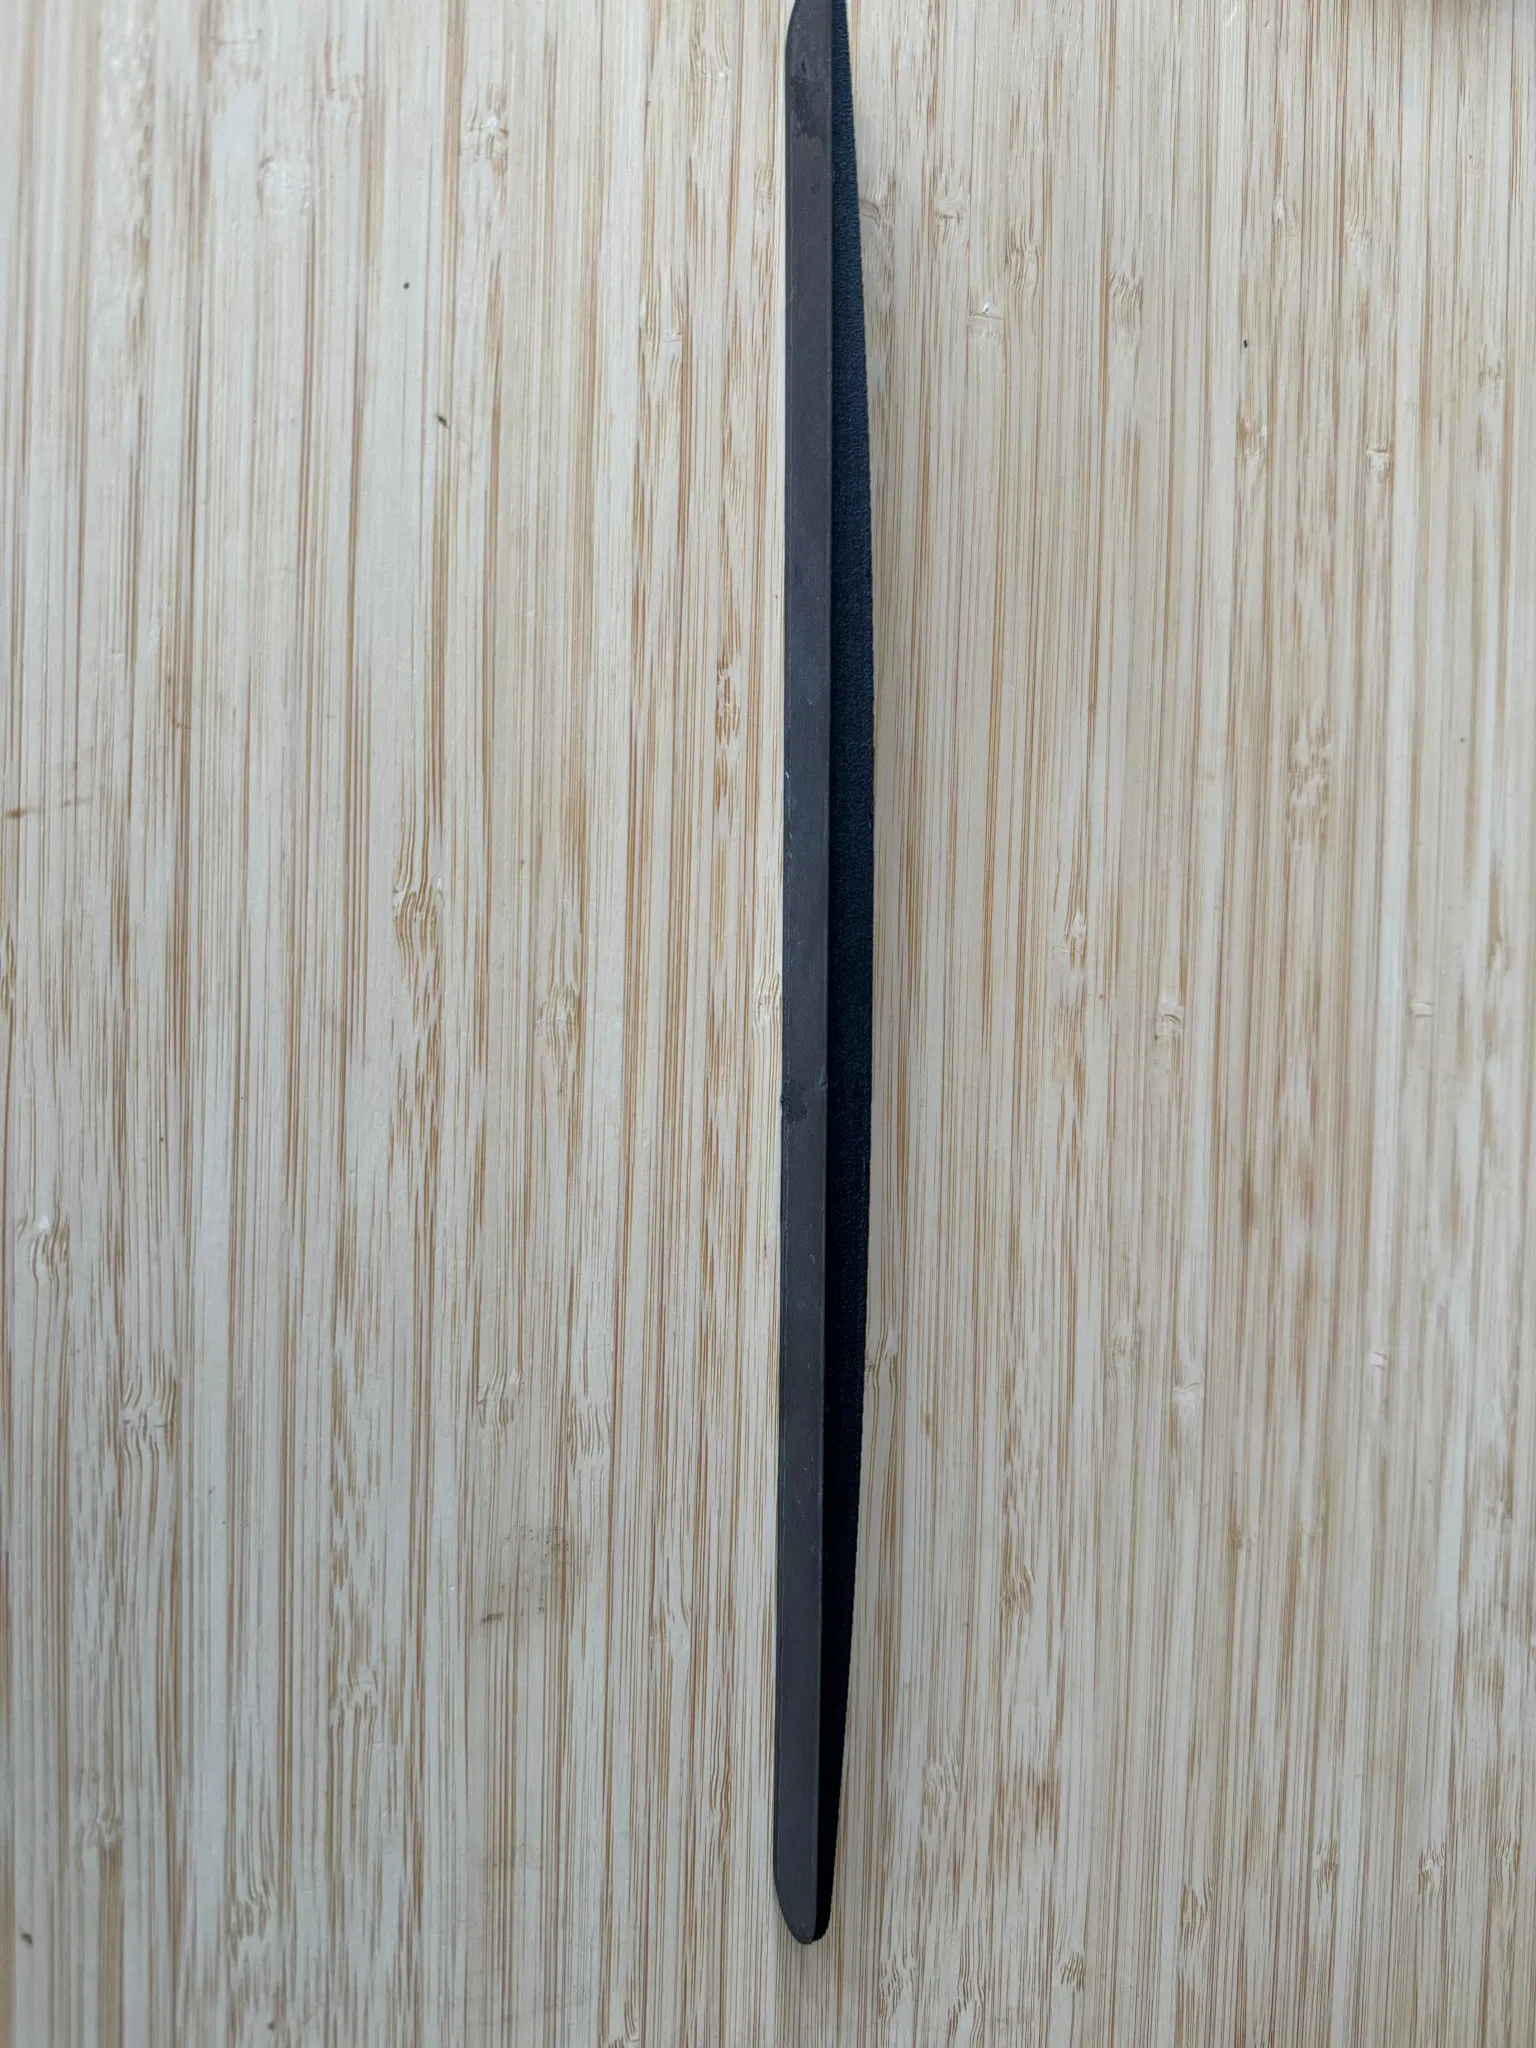
- Có sẵn file STL cho màn hình phẳng, 1000R, 1800R, 1700R và 2300R.
- Có file SCAD parametric để bạn tùy chỉnh cho mọi độ cong hoặc cấu hình màn hình.
- Được tạo hình theo kích thước chính xác của Tobii Eye tracker để hòa hợp một cách liền mạch.
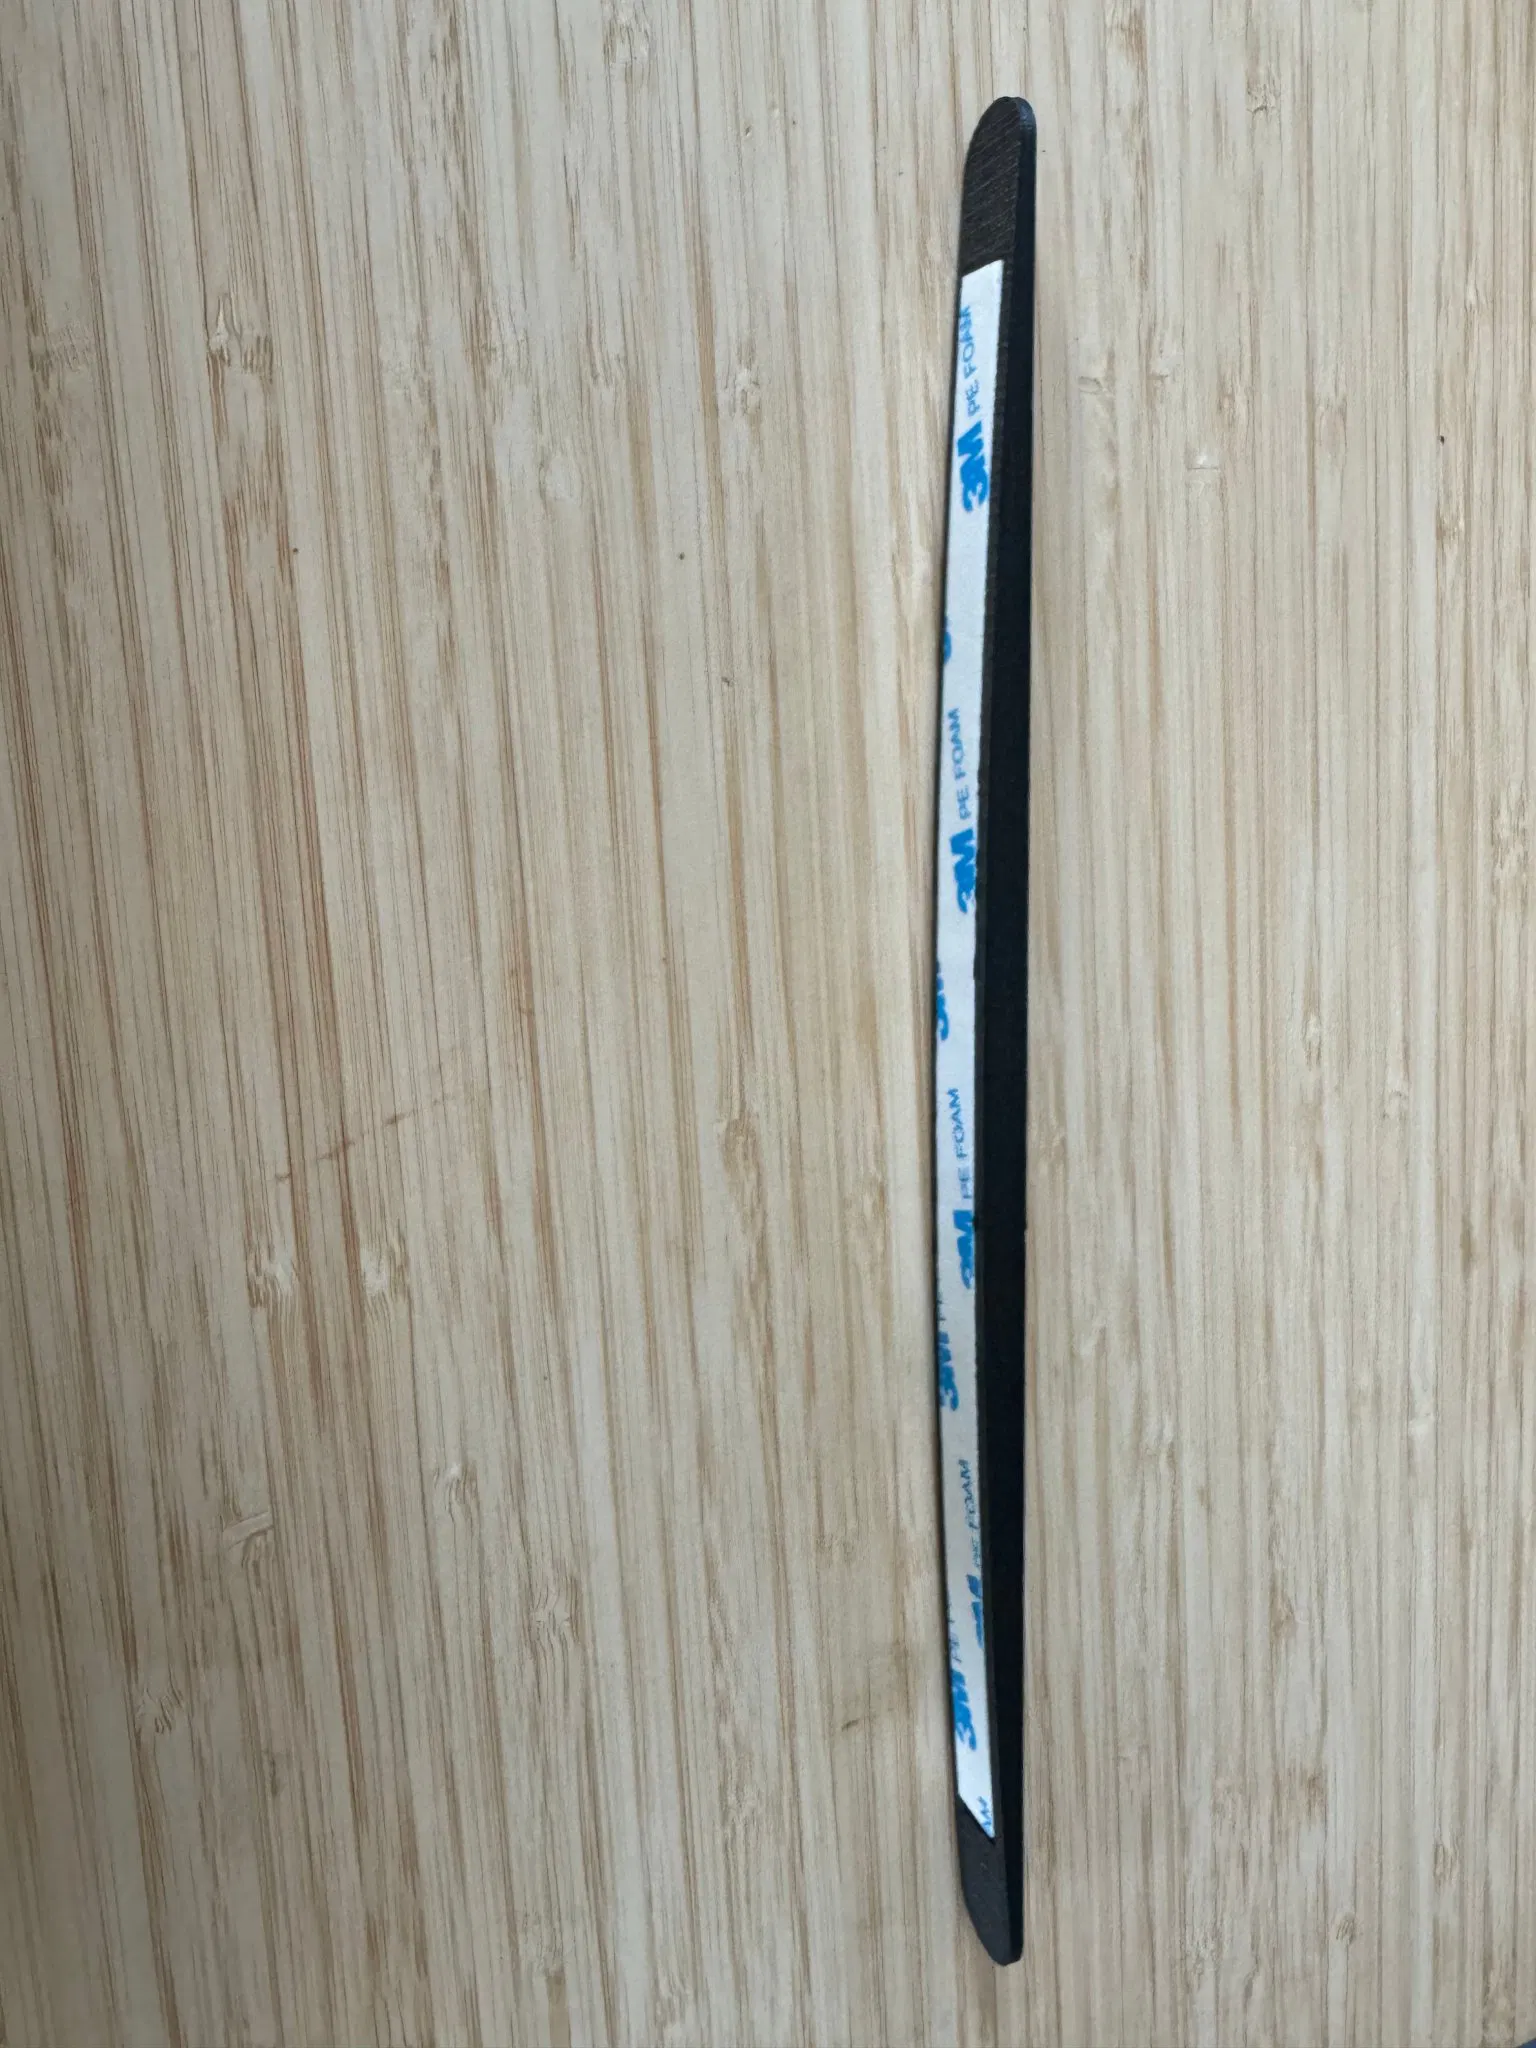
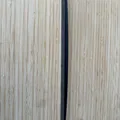
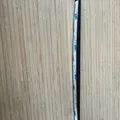
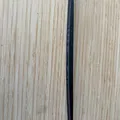
- Có khe dán keo để gắn siêu gọn gàng, chắc chắn, không bị rung lắc. Thiết kế để vừa với băng keo 2 mặt dạng bọt removable 10mm x 1mm của 3M. Bạn có thể sửa đổi kích thước khe trong file SCAD nếu thích xài loại keo khác.
Chỉnh sửa
- Có nhiều comment trong file SCAD để hướng dẫn chỉnh sửa.
- Điều chỉnh độ cong bằng cách đặt
curveRadiuslà 0 cho màn hình phẳng hoặc bất kỳ số dương nào tương ứng với độ cong của màn hình bạn đang xài. - Điều chỉnh độ sát với màn hình bằng cách đặt
depth. Bạn có thể cần chỉnh cái này vì lý do thẩm mỹ hoặc nếu dây cáp bị căng khi chạm vào viền màn hình. - Chỉnh cho vừa vặn hoặc cho Tobii Eye tracker 4C bằng cách đặt
heightvàwidth. Kích thước 4C là 335mm x 15mm.
Lắp đặt
- Dán miếng kim loại gắn kết lên bề mặt phẳng của ngàm. Cái này hơi khó canh bằng mắt nên mình khuyên nên gắn miếng kim loại vô mặt sau của eye tracker trước, sau đó bóc lớp keo dán và cuối cùng là căn chỉnh eye tracker với ngàm rồi ấn hai cái lại với nhau. Khá là khó để căn chuẩn nên đừng ấn xuống cho đến khi bạn chắc chắn về vị trí. Lực hút nam châm có thể ban đầu mạnh hơn keo dán, nên có thể bạn phải ấn và giữ một lúc với lực khá mạnh (cẩn thận kẻo làm hỏng eye tracker). Miếng kim loại không nằm ở giữa tâm của eye tracker nên mình không khuyến khích đoán mò.
- Dán băng keo 2 mặt dạng bọt removable 10mm x 1mm của 3M (hoặc loại nào bạn có mà vừa) vào khe dán. Ấn mạnh trong 30 giây để keo dính chắc.
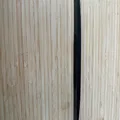
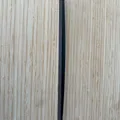
- Sau khi gắn miếng kim loại, gắn ngàm vào viền màn hình, nhớ canh cho ngàm nằm giữa màn hình và chú ý hướng của ngàm để không bị gắn ngược. Ấn ngàm vào viền màn hình thật chặt trong 30 giây để keo dính. Ngàm sẽ nằm sát viền màn hình, không thấy băng keo đâu hết. Làm đúng thì cái ngàm nhìn như là một phần của màn hình/eye tracker luôn. Siêu gọn!
Giấy phép

File mô hình
Đang tải files, vui lòng chờ...


Vui lòng đăng nhập để bình luận.
Vui lòng đăng nhập để khoe bản in của bạn.
Chưa có bản in nào được khoe. Hãy là người đầu tiên!

Chưa có bình luận nào. Hãy là người đầu tiên!