Tay nắm xe đạp Cannondale D2 lock-on đơn composite

Mô hình tay nắm xe đạp Cannondale D2 lock-on đơn composite. Bao gồm các file STL và STEP. Hướng dẫn chi tiết cách in và lắp ráp, lưu ý về vật liệu PETG và TPU, cùng các bước tùy chỉnh slicer để đạt kết quả tốt nhất.


Mô tả
Phụ kiện cần thêm cho mỗi tay nắm (Chỉ khi bạn in vòng khóa lock-on):
- Ren cấy M2 (OD 3-3.5mm, dài 3-4mm)
- Ốc lục giác chìm M2x10mm.
Lý do, mục đích và cách làm:
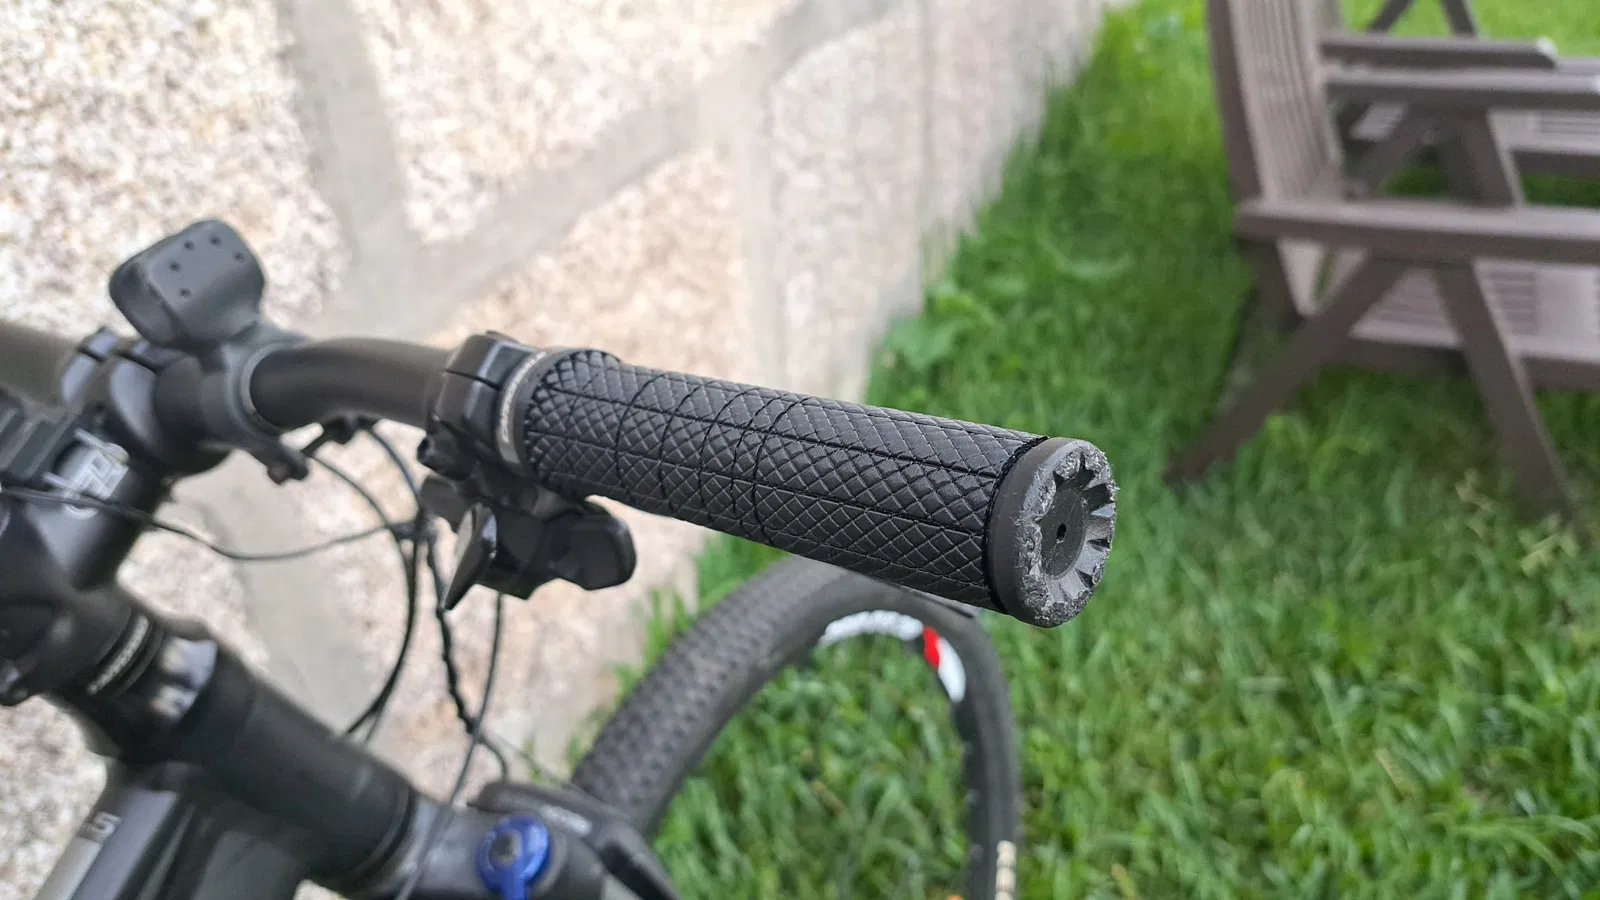
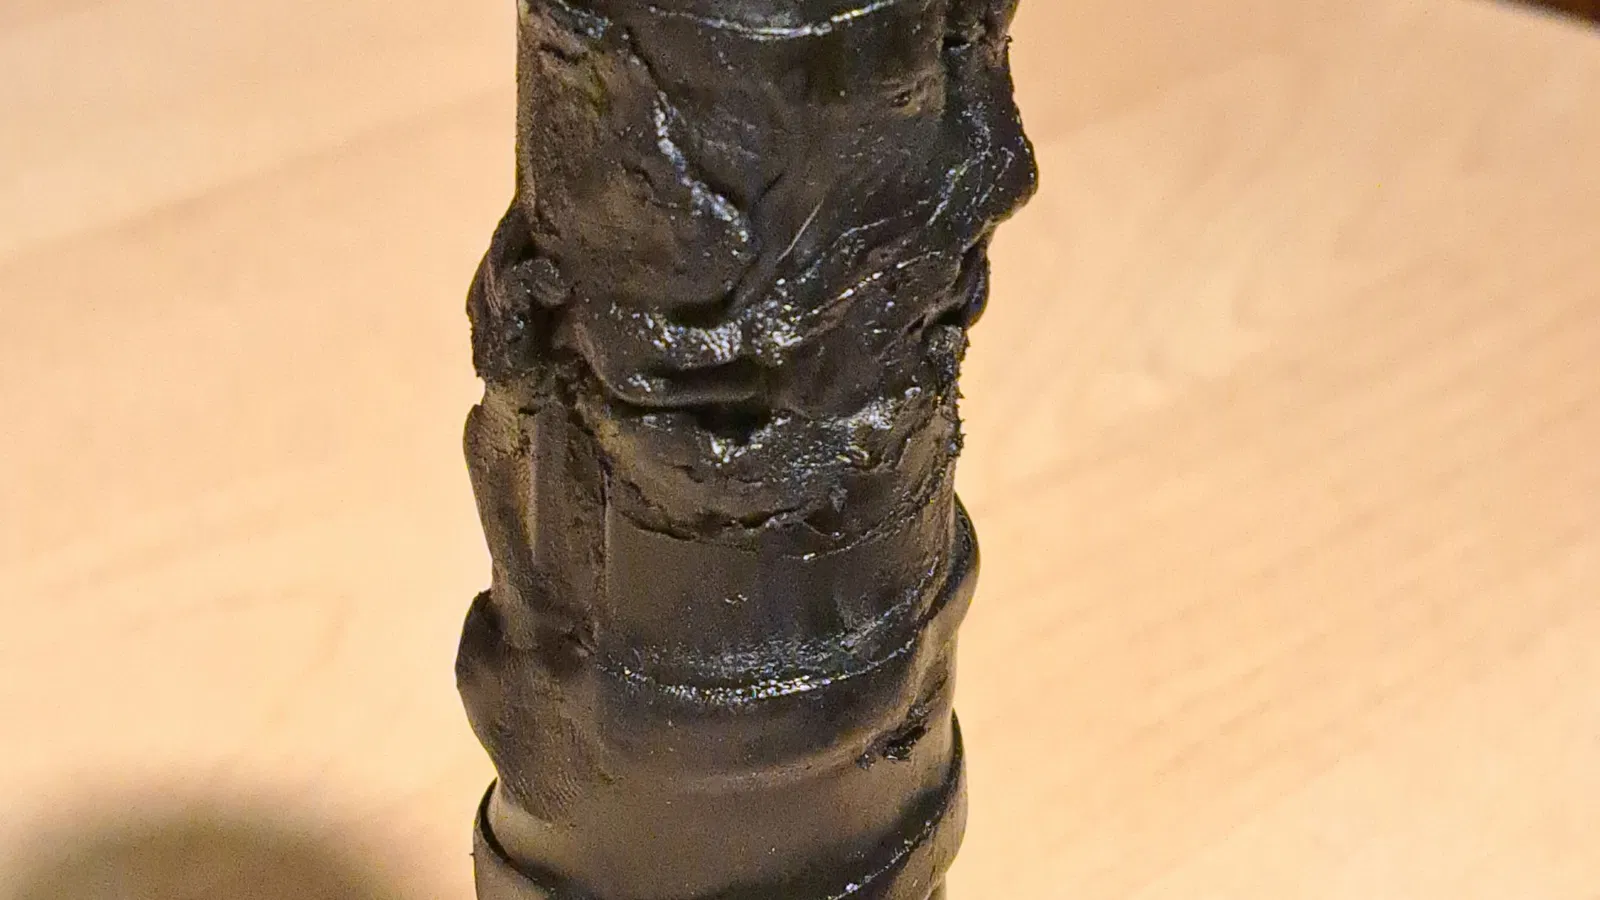
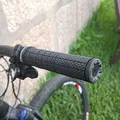
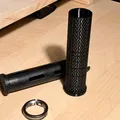
Tay nắm nguyên bản Cannondale D2 single lock-on của tôi rất mềm và êm ái. Cầm nắm cực kỳ sướng. Nhưng sau một thời gian, chúng nó chảy nhão ra như mứt như mấy bạn thấy trong hình.
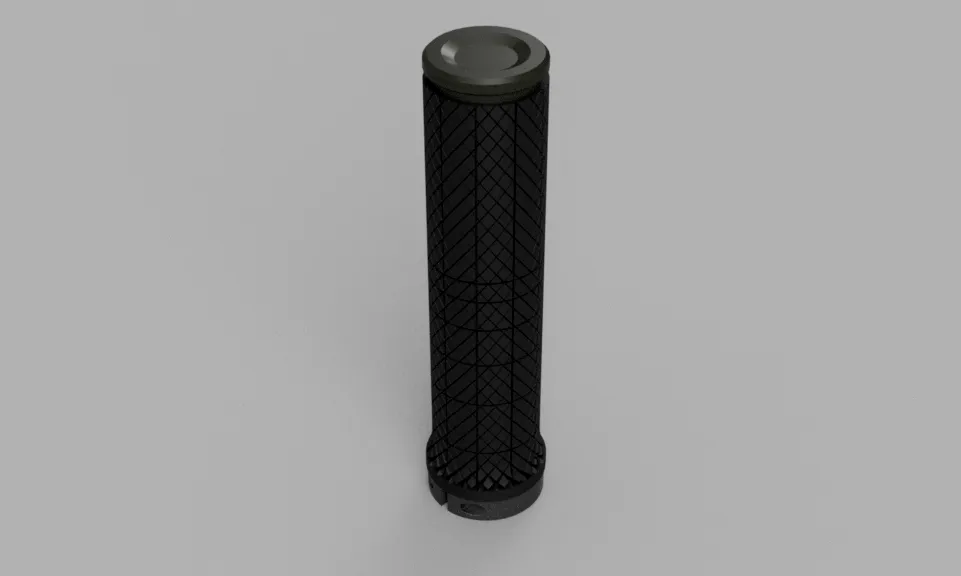
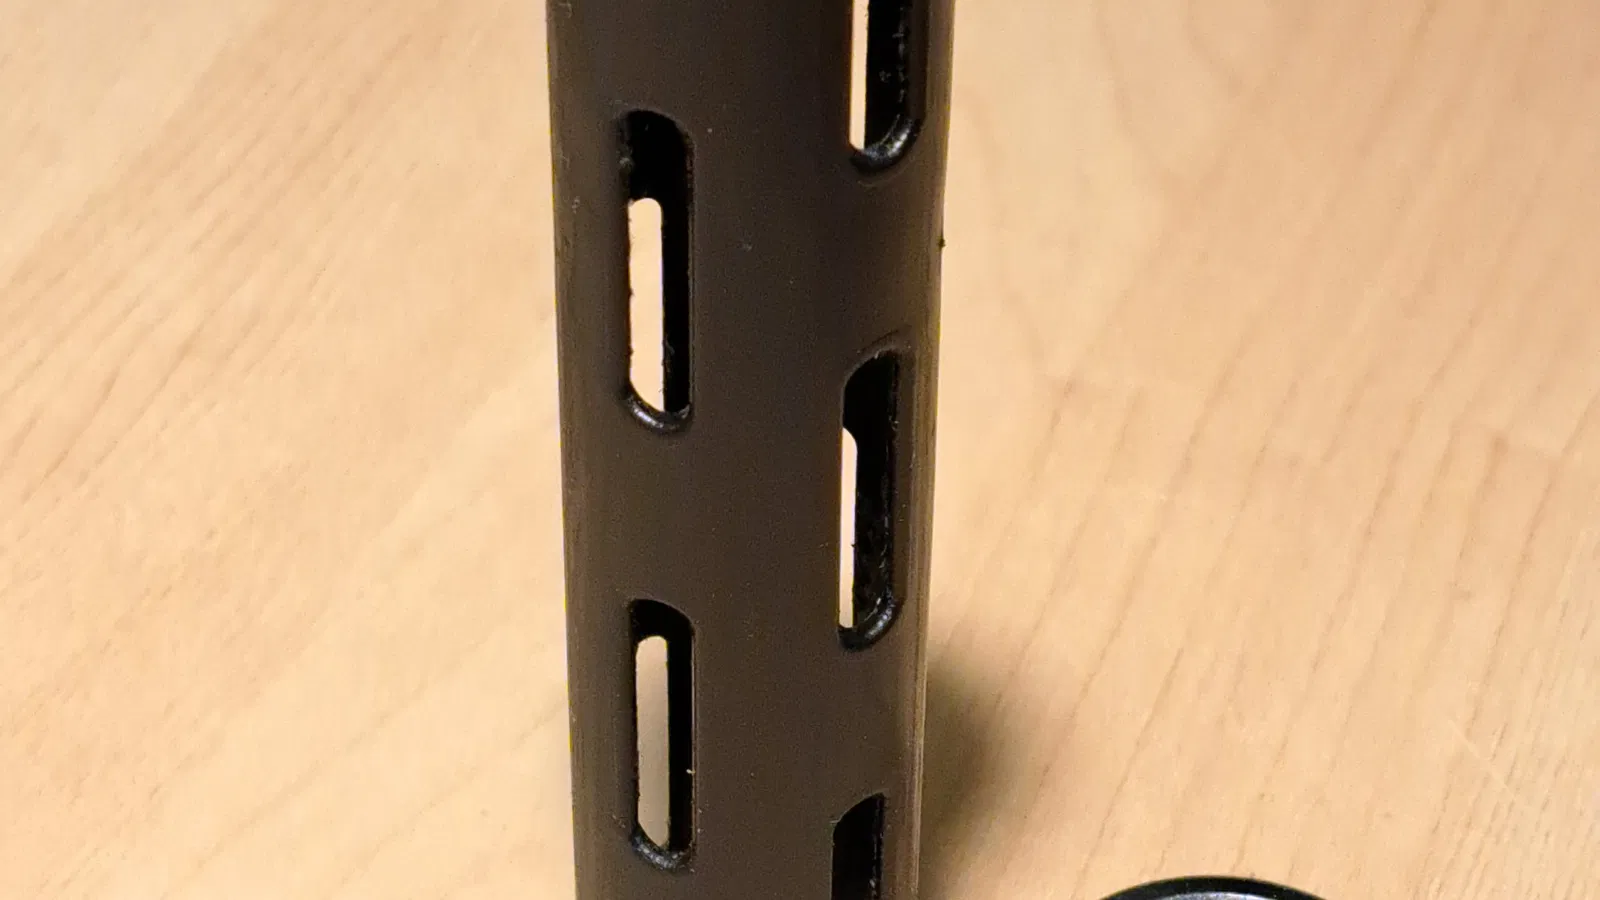
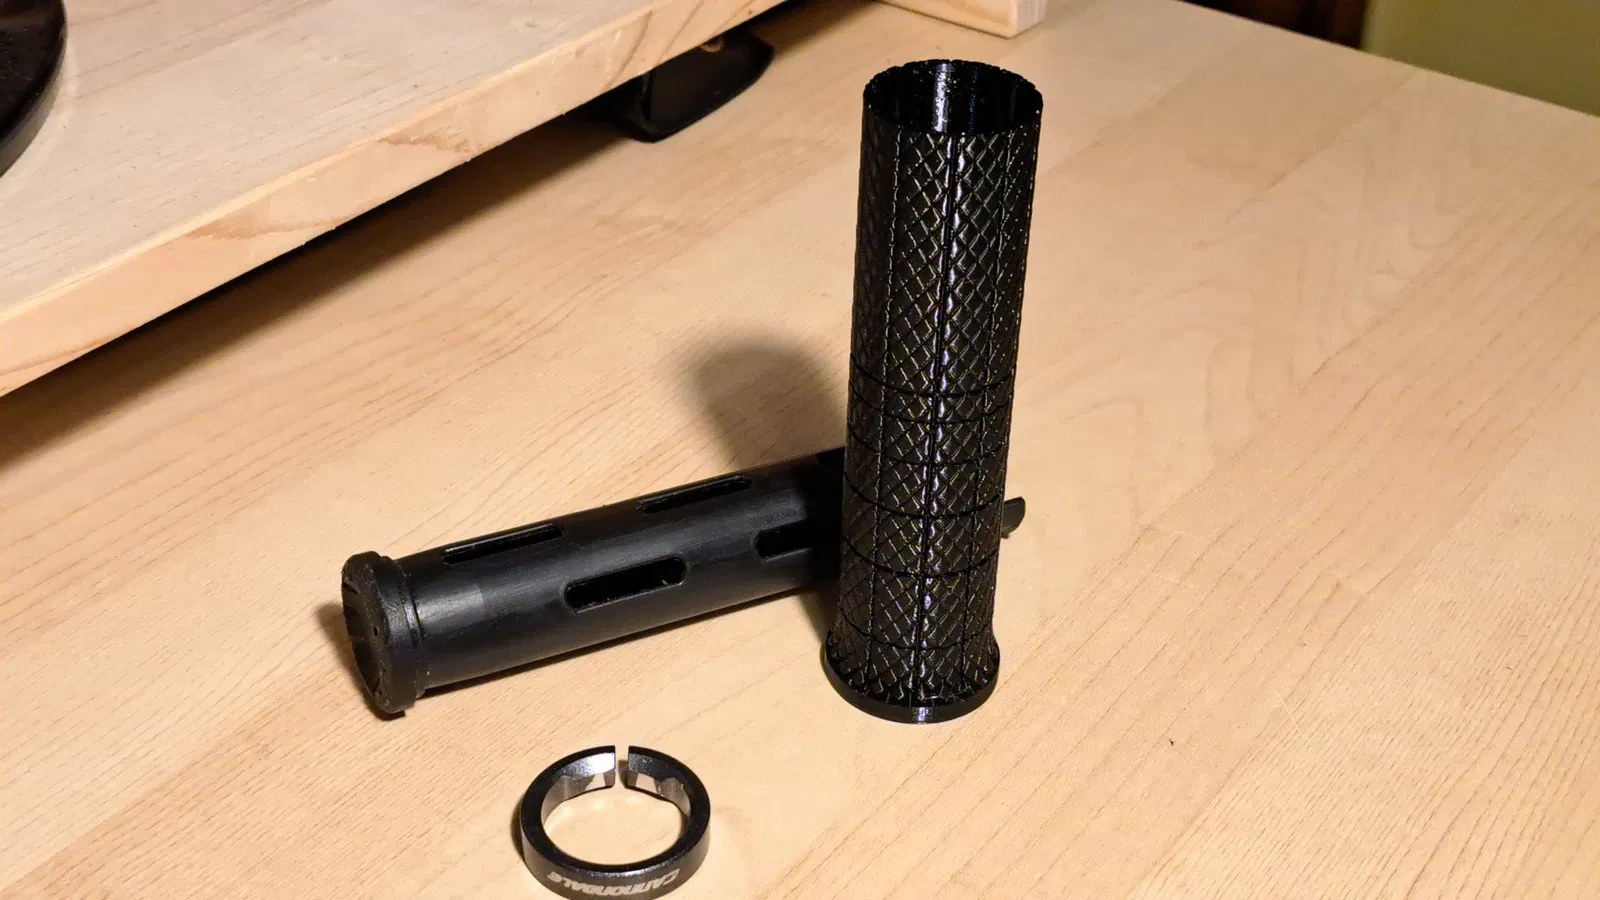
Tôi đã cọ rửa sạch hết cái đống dính nhớp đó, lộ ra cái đế nhựa cứng (hình trên). Và tôi quyết định thiết kế cái vỏ cao su mới. Vì cái cao su zin đã đi tong, nên tôi làm lại cái đế nhựa cứng đó rồi mới thiết kế cái vỏ mới lên trên. Thêm cái vòng lock-on cho nó hoàn chỉnh và đây là kết quả.
Nó được thiết kế để vừa với tay lái đường kính 22mm, dài 131mm. Tuy nhiên, bạn có thể dễ dàng thay đổi kích thước bằng bất kỳ slicer nào để phù hợp với các số đo khác. Hoặc bạn có thể chỉnh sửa file STEP được cung cấp nếu muốn.
Tôi chỉ mới in cái vỏ cao su thôi vì mấy bộ phận kia tôi tận dụng lại từ tay nắm cũ. Nhưng cả cụm này chắc chắn sẽ hoạt động tốt. Cái bộ phận duy nhất tôi không hoàn toàn tự tin lắm là cái vòng lock-on. Tôi hy vọng độ bền của bộ phận in ra sẽ đủ dùng, nhưng hãy nhớ rằng cái vòng zin được làm bằng nhôm, nên nó cứng hơn và ít bị giãn hơn.
Tôi cũng không rành về CAD lắm, nên chắc chắn còn chỗ để cải thiện.
In ấn:
- Tất cả các bộ phận đều được trình bày đúng theo cách nên in.
- Support chỉ cần thiết cho phần cầu ở mặt dưới của đế cứng.
- Tôi đề xuất nên in từng bộ phận một để cho sạch sẽ.
- Tôi khuyên dùng PETG trở lên cho đế cứng và vòng lock-on để có các chi tiết tốt hơn và chống va đập.
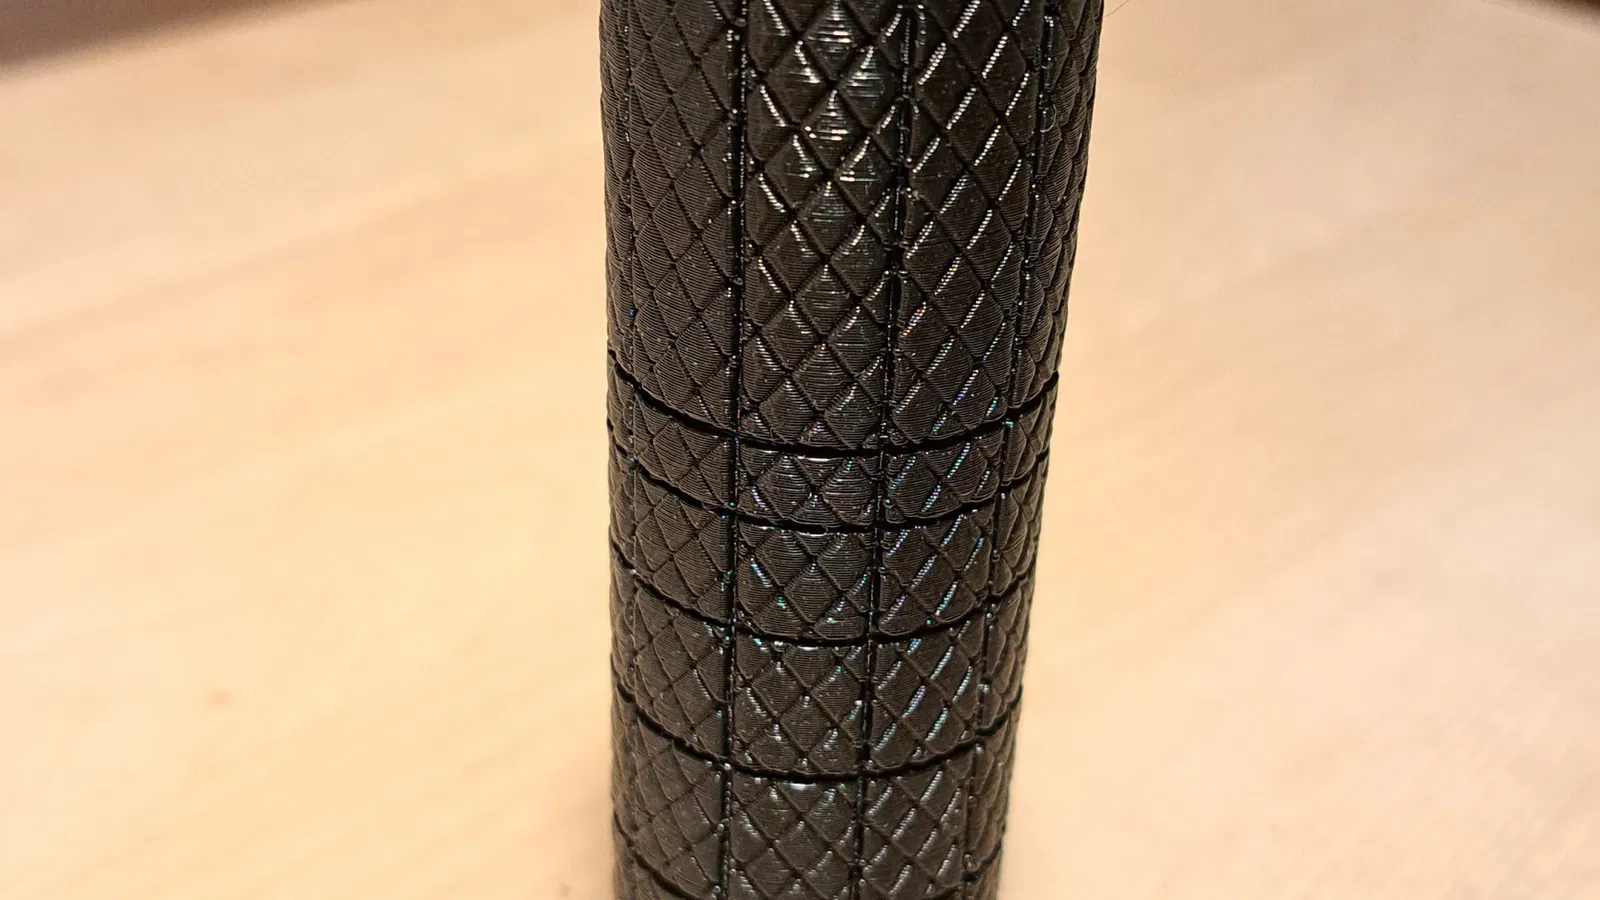
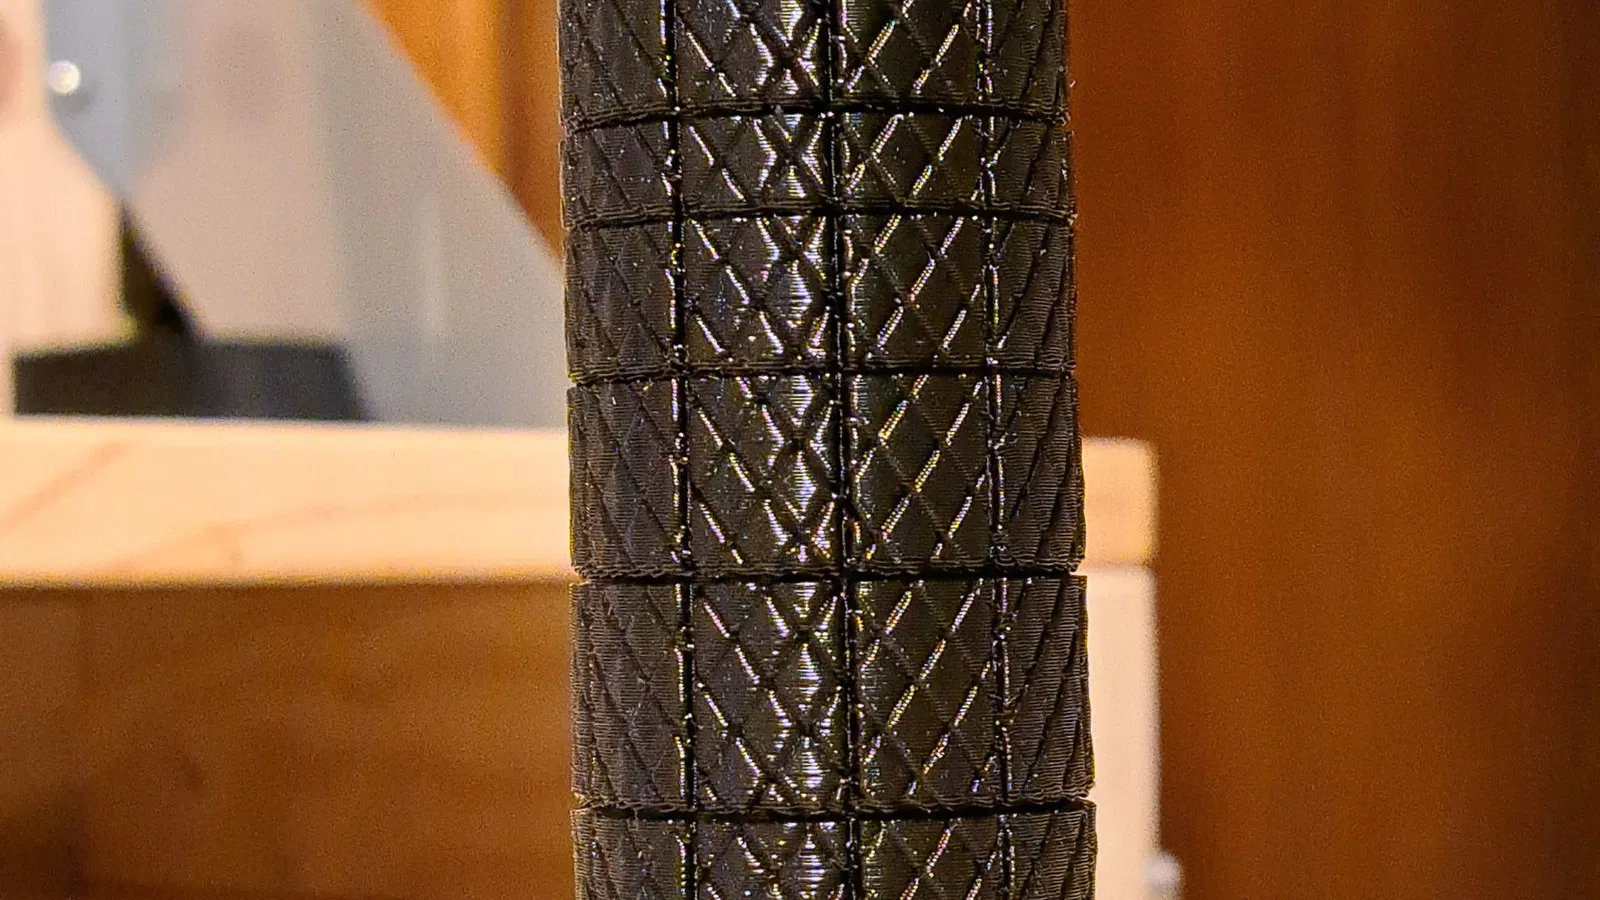
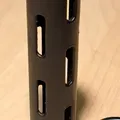
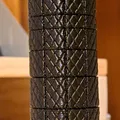
- Về phần vỏ cao su, có hai kiểu vân để bạn lựa chọn. Có thể tôi sẽ thêm các kiểu vân mới trong tương lai.
- Đối với vỏ cao su tay nắm, hãy chọn loại TPU với độ cứng shore mong muốn. Đó là phần mà tay của bạn/găng tay sẽ cọ xát vào.
- Ngoài ra: TPU mềm hơn = dễ lắp hơn (tôi nghĩ vậy).
- Một máy in được tinh chỉnh tốt, ít bị chảy sợi (oozing) và kéo sợi (stringing) nhất có thể sẽ đặc biệt cần thiết cho bộ phận này để việc lắp ráp sau này sẽ dễ dàng hơn.
- Một số tùy chọn có thể được sử dụng trong slicer của bạn để giảm thiểu việc kéo sợi. (Lưu ý rằng các cài đặt đó có thể làm tăng thời gian in và cắt lát):
- PrusaSlicer: Avoid crossing perimeters.
- Cura: Combing mode.
- Một số tùy chọn có thể được sử dụng trong slicer của bạn để giảm thiểu việc kéo sợi. (Lưu ý rằng các cài đặt đó có thể làm tăng thời gian in và cắt lát):
Lắp ráp:
- Hướng in và hướng lắp ráp là giống nhau.
- Vỏ cao su và đế cứng khớp với nhau rất chặt (chúng phải như vậy), đừng vội. Nó sẽ trượt vào với một chút lắc lư và kiên nhẫn. Nếu bạn thấy có hiện tượng kéo sợi đáng kể ở bên trong bộ phận, hãy thử làm sạch nó càng nhiều càng tốt. Nước xà phòng cũng có thể giúp ích.
- Vòng lock-on cần một bộ ren cấy M2 được lắp qua lỗ được đánh dấu bằng hình tam giác. Bất kỳ bộ ren cấy M2 nào có OD 3-3.5mm và dài 3-4mm đều được. Cần thêm một con ốc lục giác chìm M2x10mm để đóng và siết chặt vòng.
À, chúc anh em in ấn vui vẻ!
Giấy phép

File mô hình


Chưa có bản in nào được khoe. Hãy là người đầu tiên!

Chưa có bình luận nào. Hãy là người đầu tiên!