Aperture
Đây là khẩu độ năm lưỡi được cung cấp bởi một máy chủ vi mô. In bằng máy in 3D TAZ6
Mô tả
Hello! Here are the instructions needed to construct your very own 3D printed aperture.
Here is what you will need aside from the 3D printed parts:
- A small screwdriver
- 5x M2*4 Screws
- 3 M-M Jumper Cables
- Micro Servo Motor
- Arduino Uno Board
STEPS
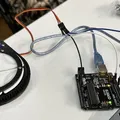
Part 1: Connecting the Servo Motor.
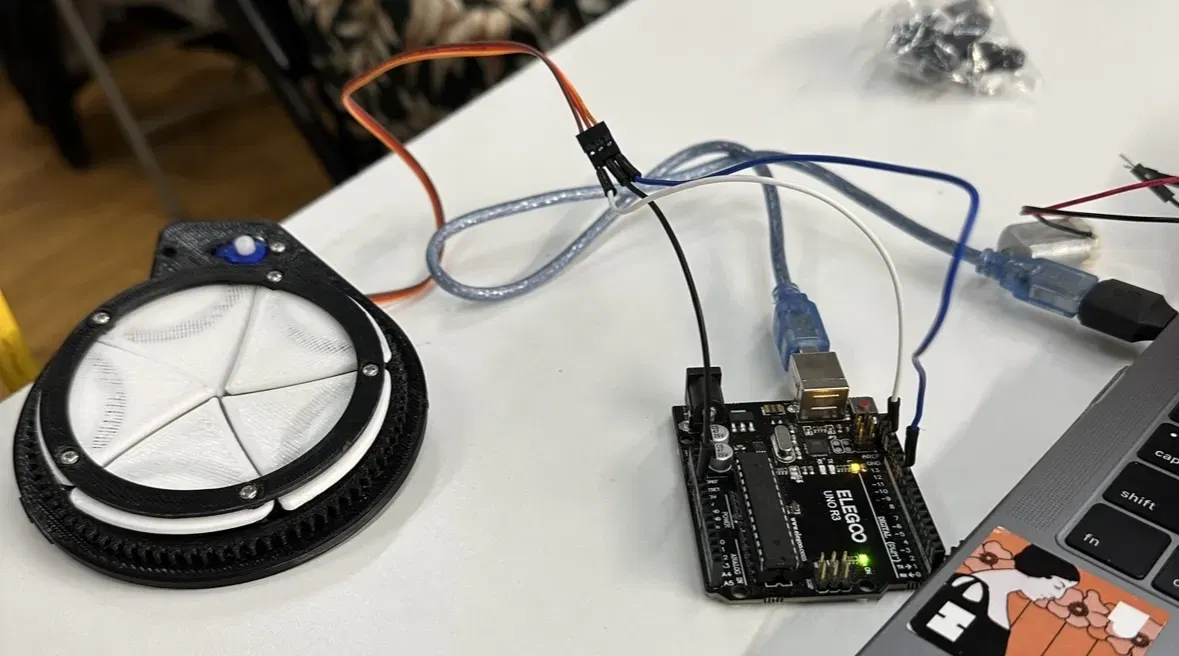
- Take your Arduino Uno board plug a M-M jumper cable in to each pin: 5v, GND, and ~9.
- Take your Servo motor and connect the middle wire connected to the servo motor (red) to the 5v pin on the Arduino Uno board using the M-M jumper cable.
- Connect the brown wire that is connected to the Servo Motor to the GND pin on the Arduino board using a M-M jumper cable.
- Connect the yellow wire to pin ~9 using the last M-M jumper cable.
- Connect your Arduino Uno board to your computer.
- Using the Arduino IDE Program, open up a new sketch.
- Make sure the board and port are selected to Arudino Uno. Once connected, download the Servo Library and include it in your sketch. Then, upload this code:
#include <Servo.h>
Servo servo;
void setup() { servo.attach(9);//Attach the servo to pin 9 }
void loop() { servo.write(0);//Move the servo to 0 degrees delay(1000);//Wait for 1 second servo.write(180);//Move the servo to 180 degrees delay(1000);//Wait for 1 second }
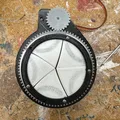
Part 2: Construct the 3d printed parts of the aperture
- Note that the 3D printed files included are organized from parts first needed for construction to last needed.
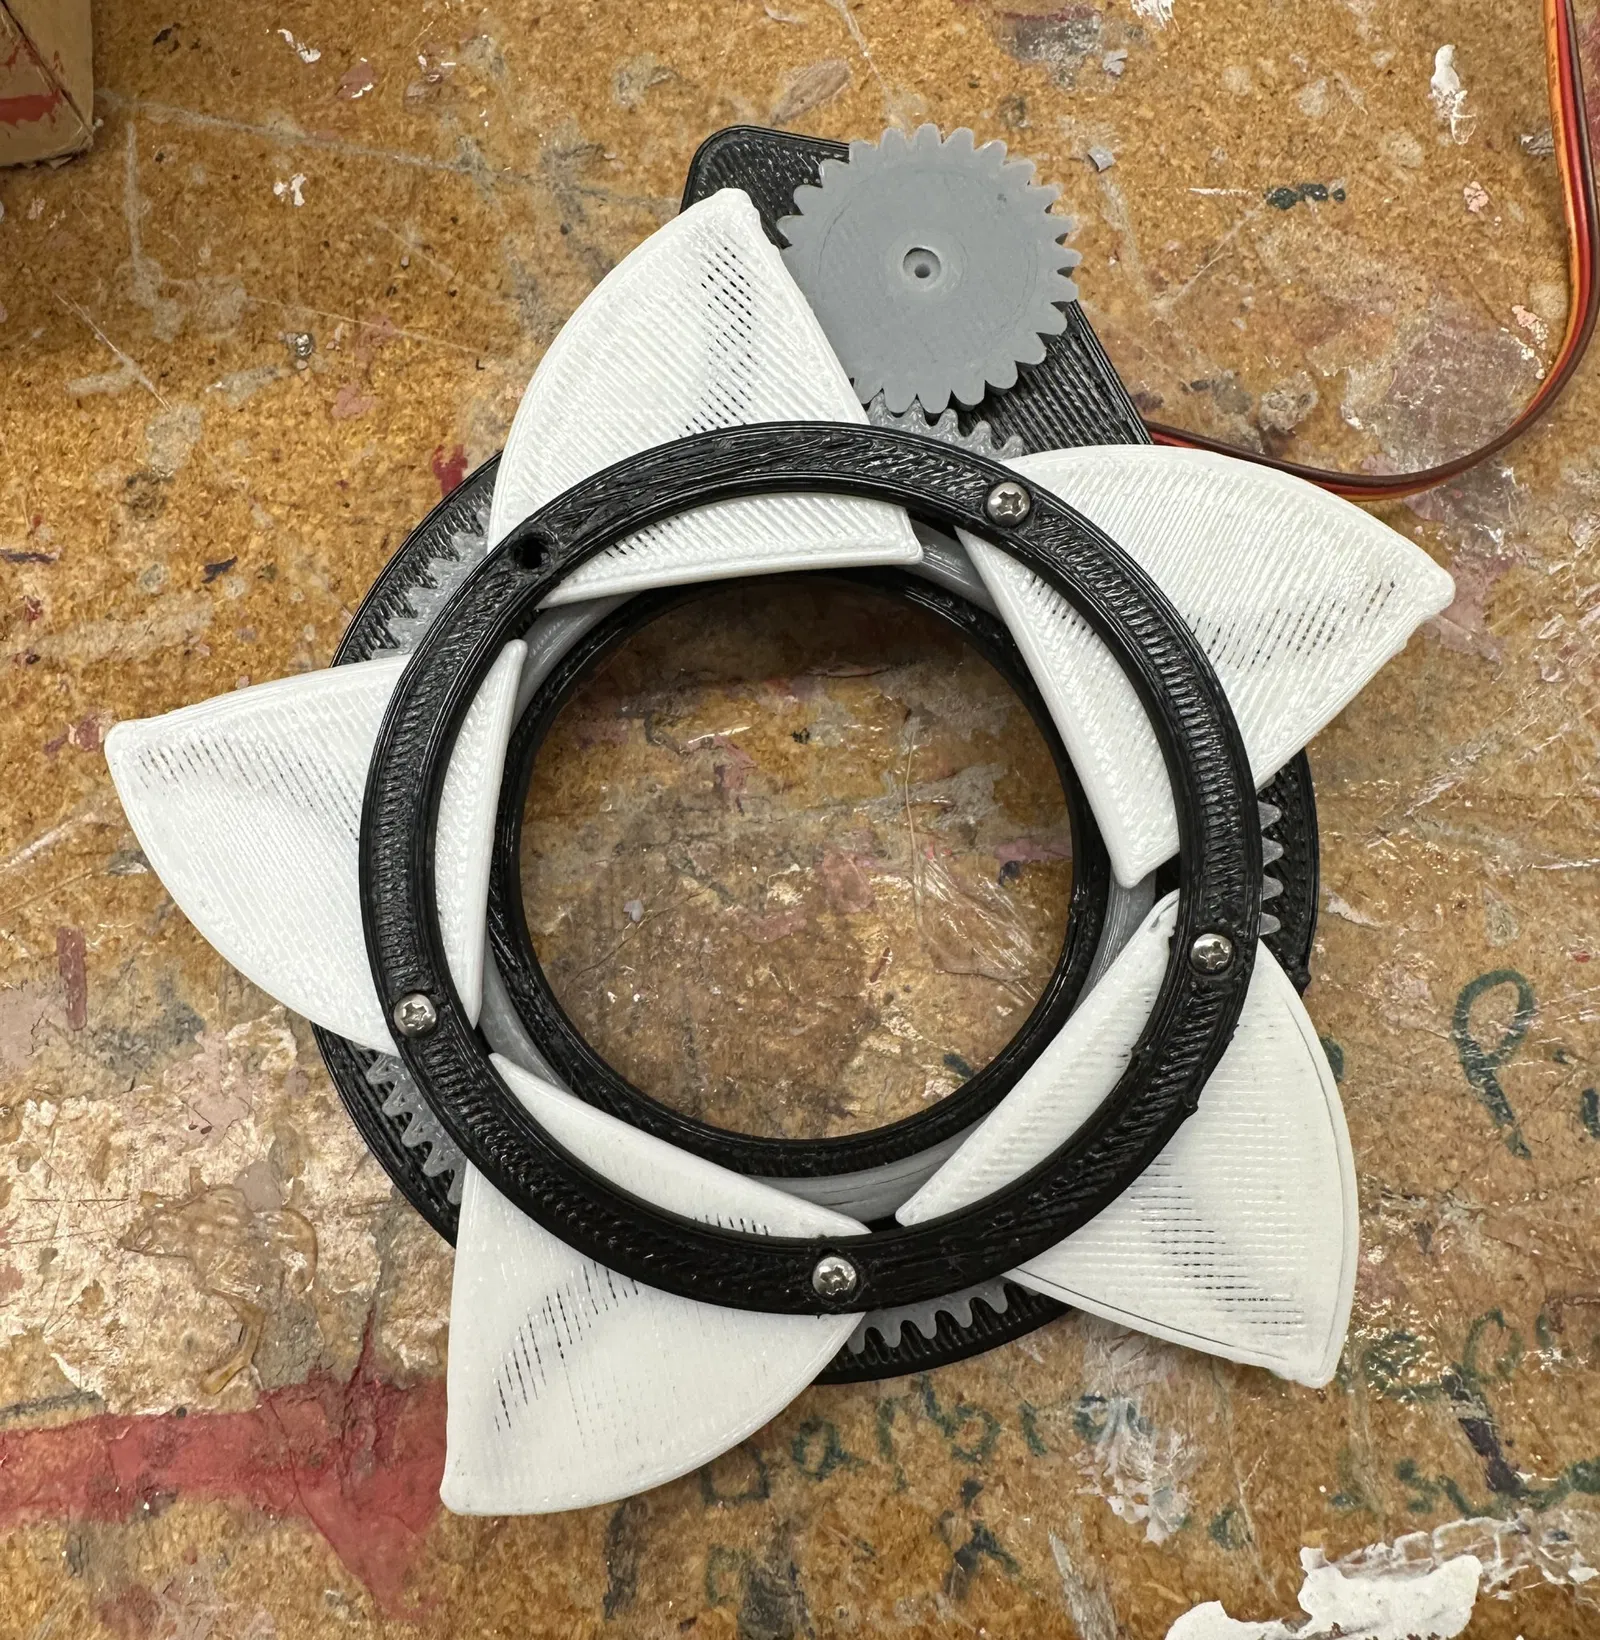
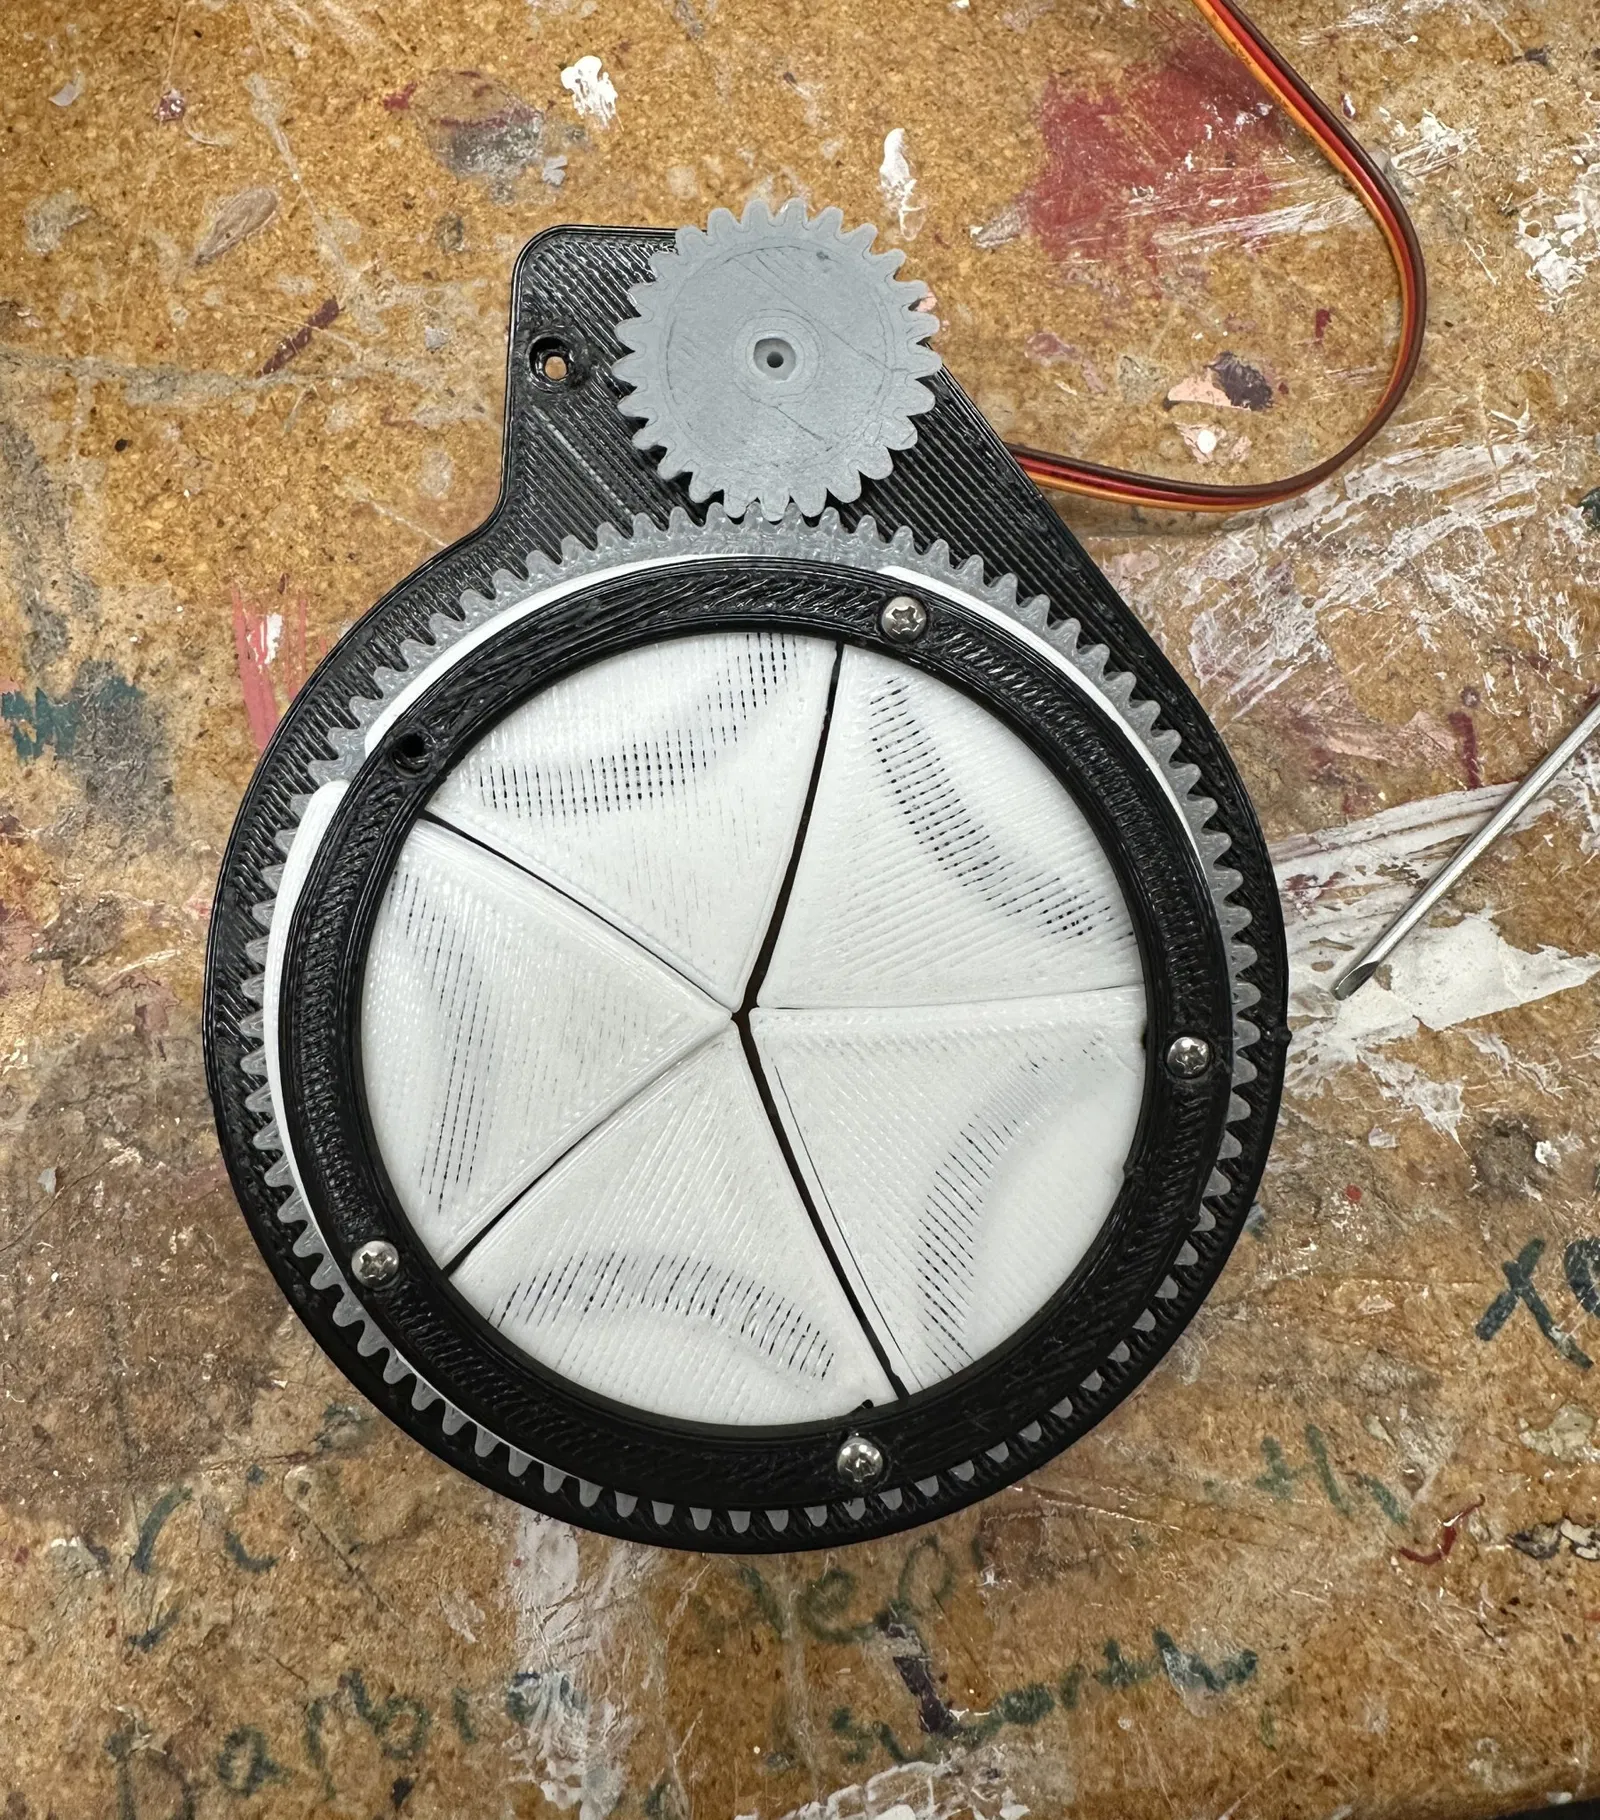
- Take the Base (file #1) and place the Ring on top of the Base, so that the pegs on the Base stick through the bowed openings on the Ring.
- then take the blades, and place each one onto the pegs of the Base.
- Then place the Top over the blades, and connect the parts by connecting screws into the threaded holes in the Base pegs. (note that the aperture will move more successfully if the screws are not tightened all the way)
- Take your servo motor and place it through the rectangle sized opening, and secure it using another screw.
- (while the servo motor is disconnected from any power supply) Place the Gear onto the moving part of the servo motor.
- Now, reconnect the Servo motor to the power supply and upload the code.
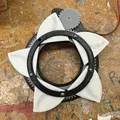
Congrats! You have created your very own moving aperture.
Giấy phép
Tác phẩm này được cấp phép theo
Creative Commons — Attribution — Noncommercial — Share AlikeCC-BY-NC-SA

File mô hình


Chưa có bản in nào được khoe. Hãy là người đầu tiên!
Chưa có bình luận nào. Hãy là người đầu tiên!