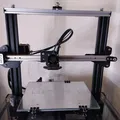
Ender 3 Nới Rộng Trục X Cho Bản In 315x235mm

Mở rộng không gian in cho Ender 3 của bạn lên 315x235mm với bộ kit nới rộng trục X này. Bao gồm danh sách chi tiết vật tư, hướng dẫn in các bộ phận cần thiết (sử dụng ASA, vòi phun 0.8mm), và các bước lắp ráp quan trọng như khoan, taro ren và khoét lỗ. Đề xuất nâng cấp dual Z axis.


Mô tả
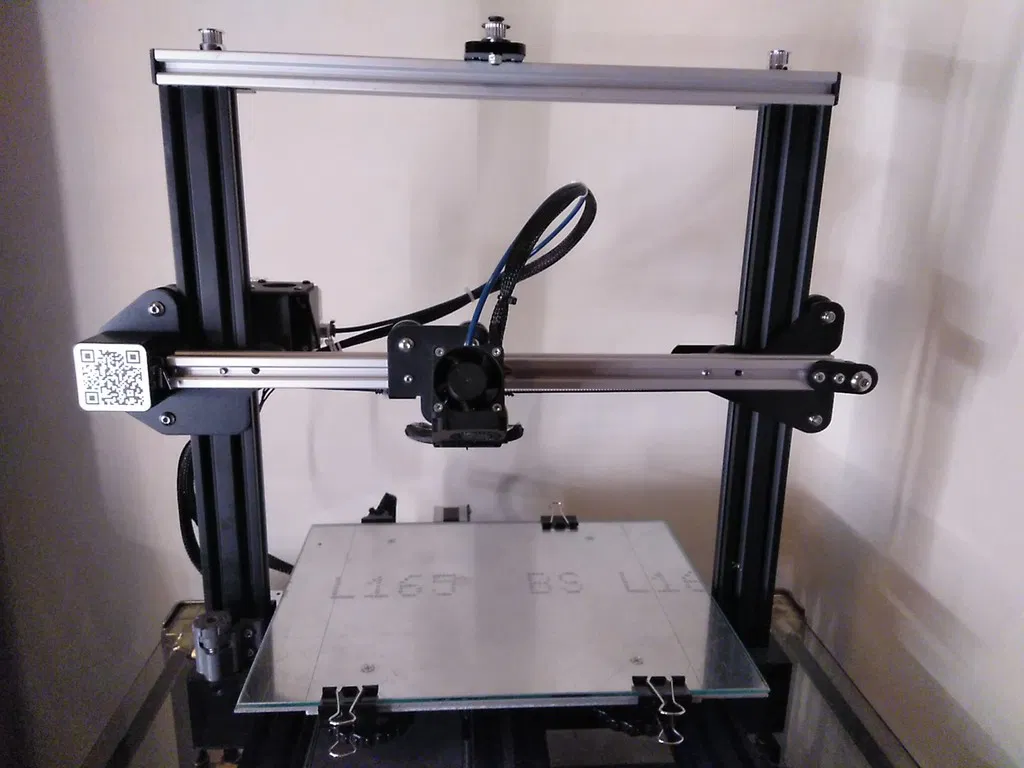
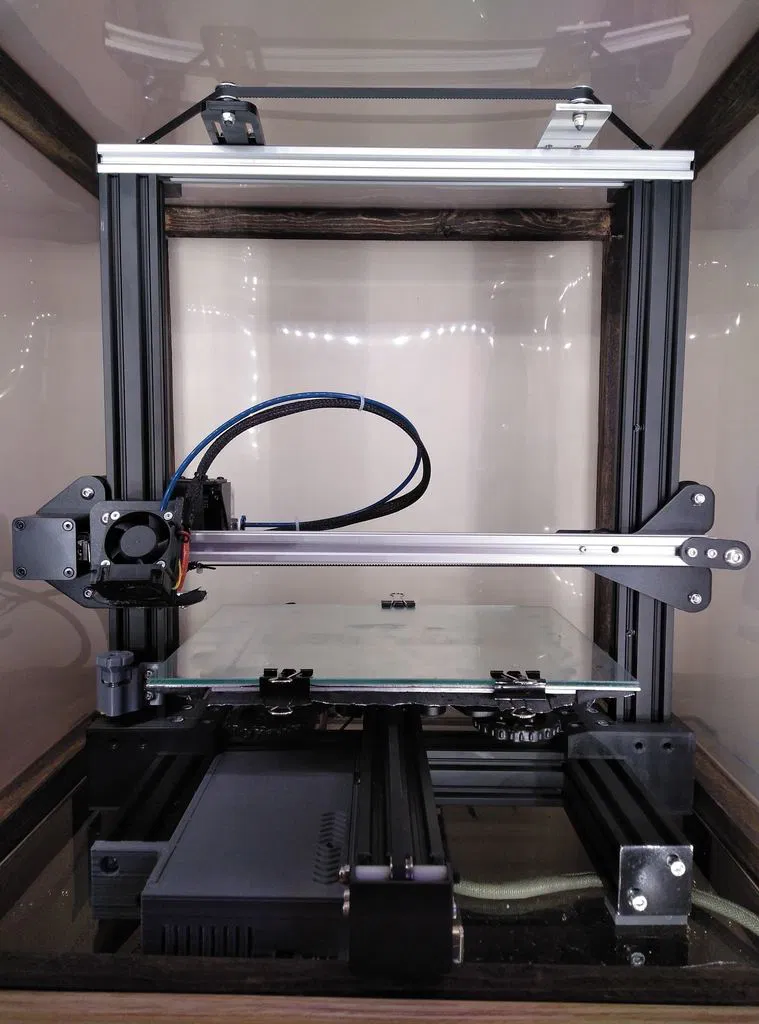
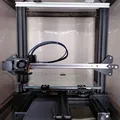
Dự án này được tạo ra để kéo dài trục X của Ender 3, cho phép tăng kích thước bàn in lên 315mm x 235mm.
Bạn sẽ cần:
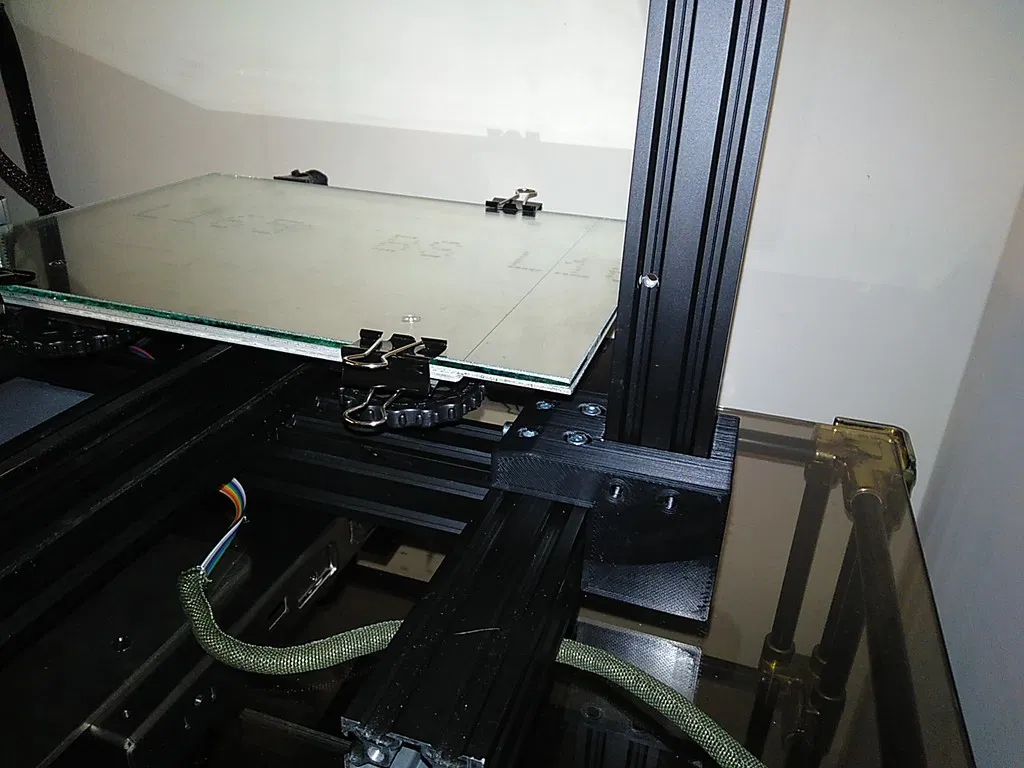
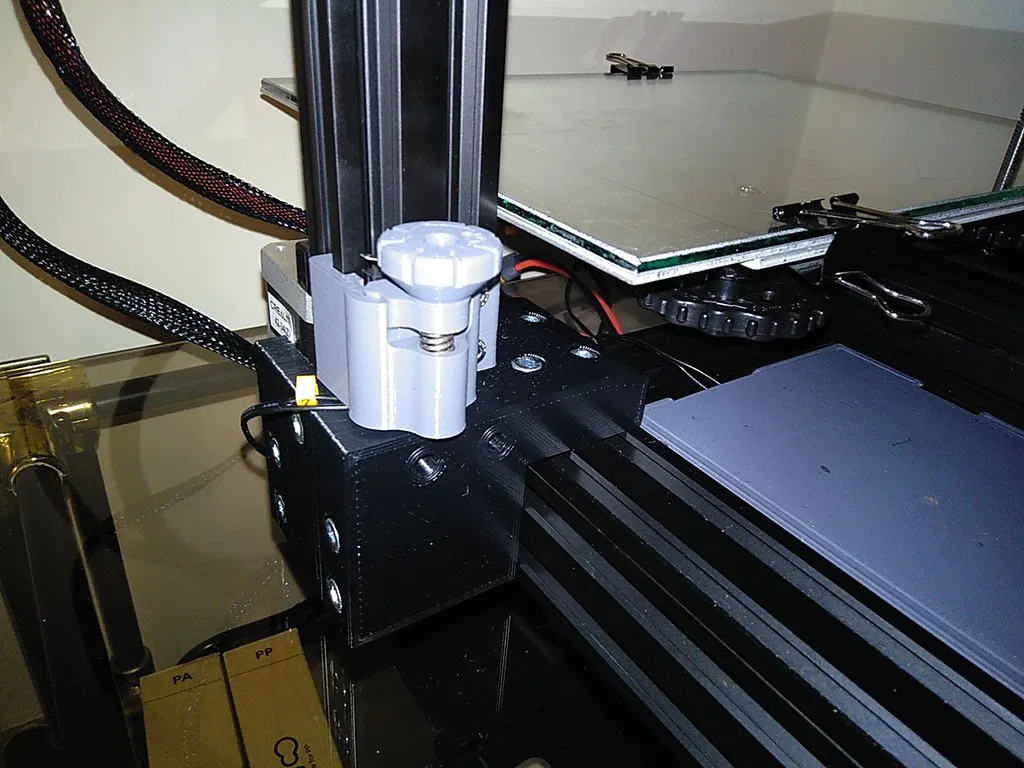
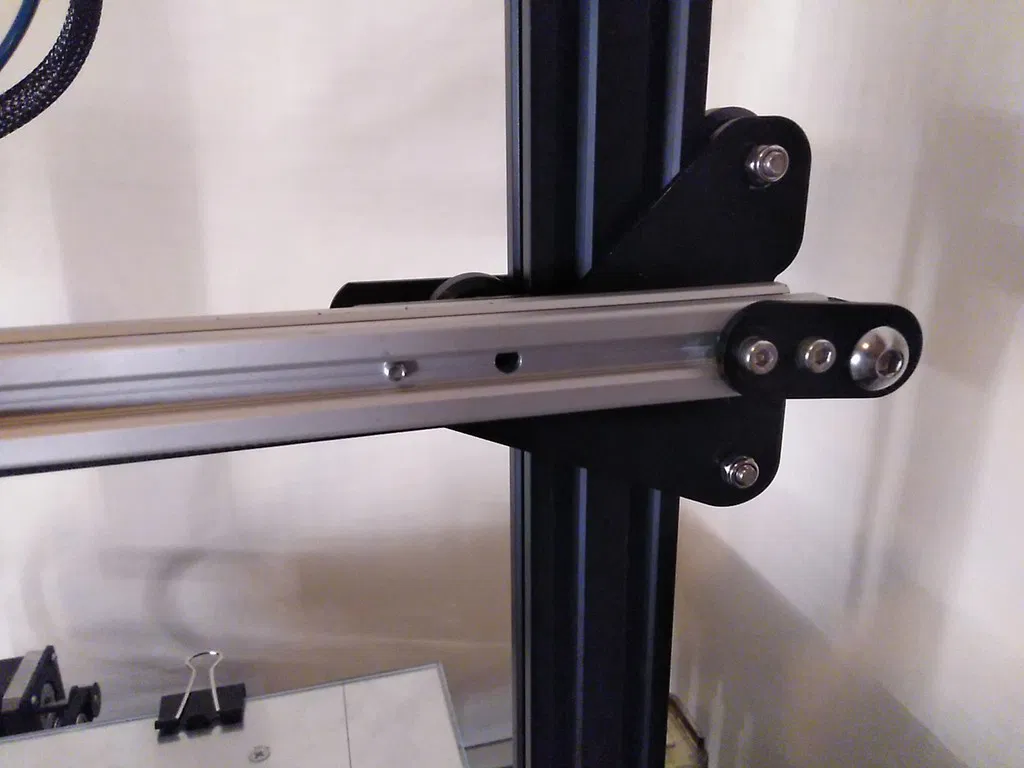
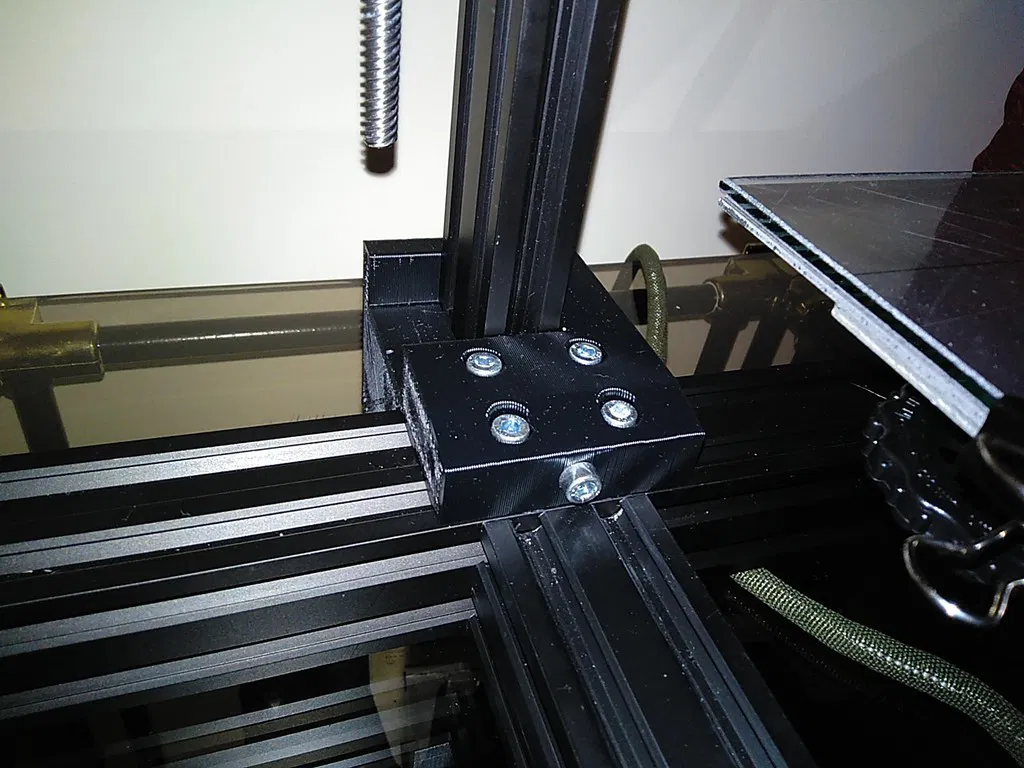
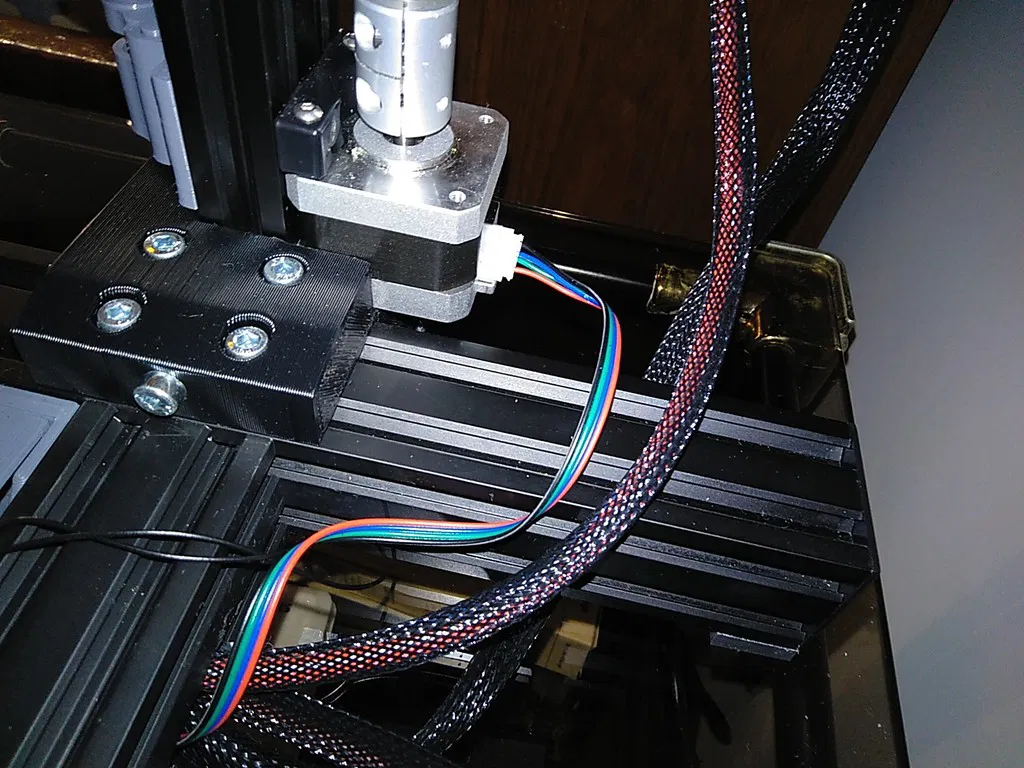
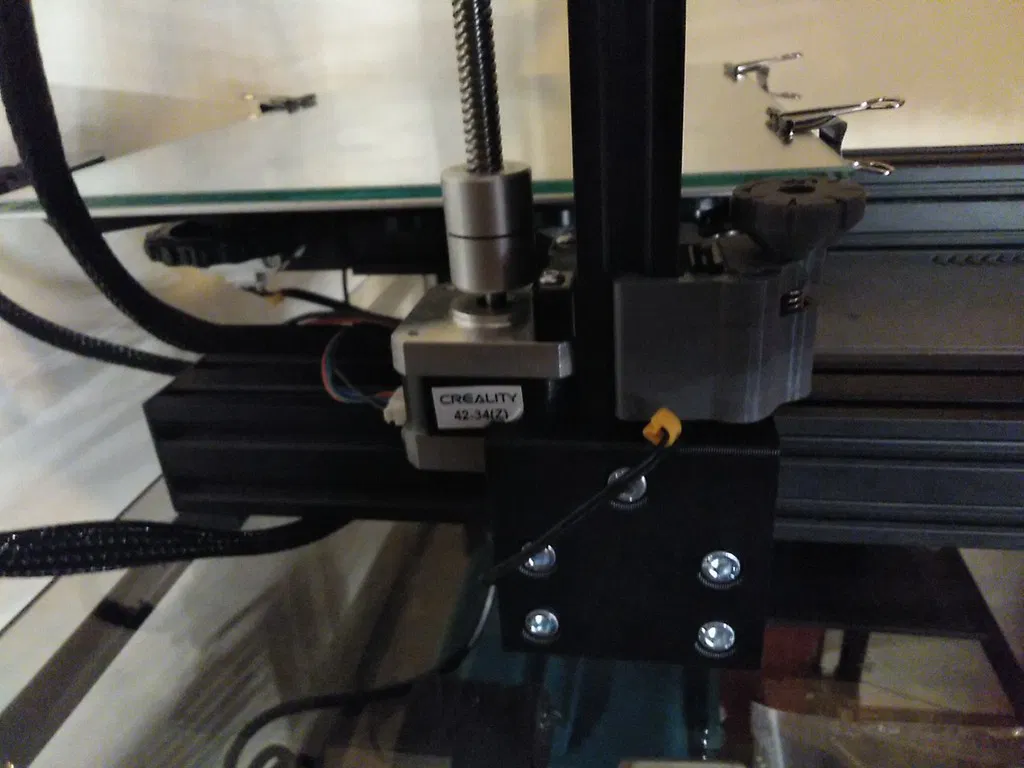
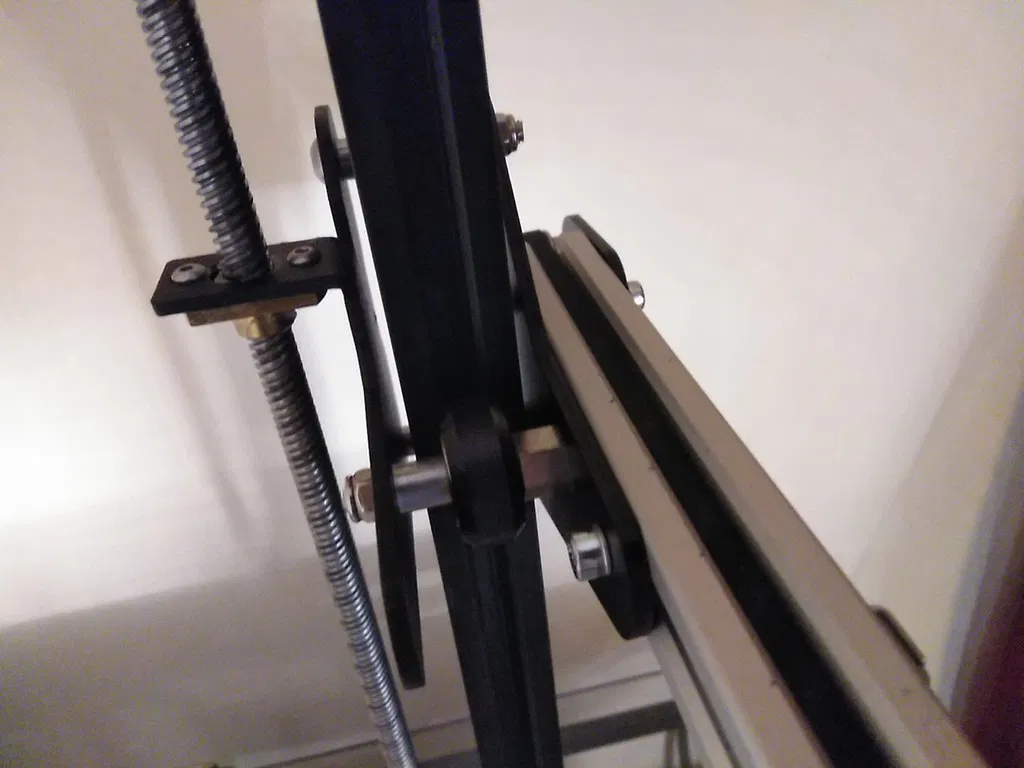
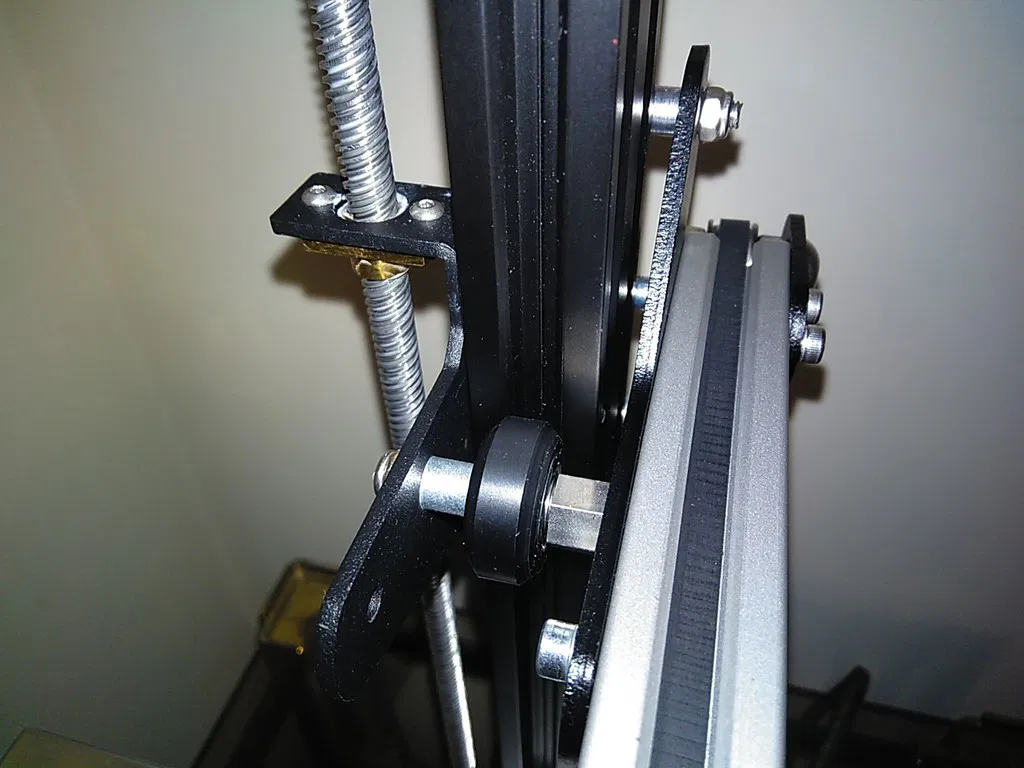
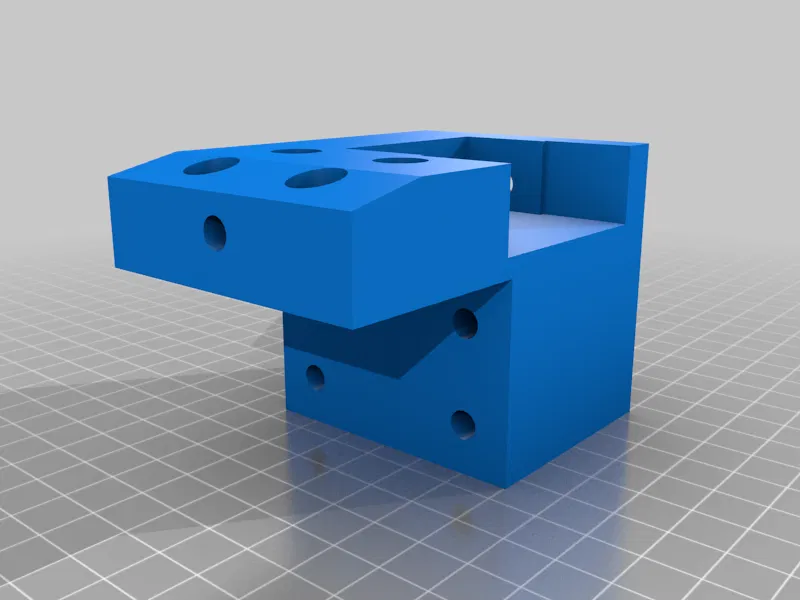
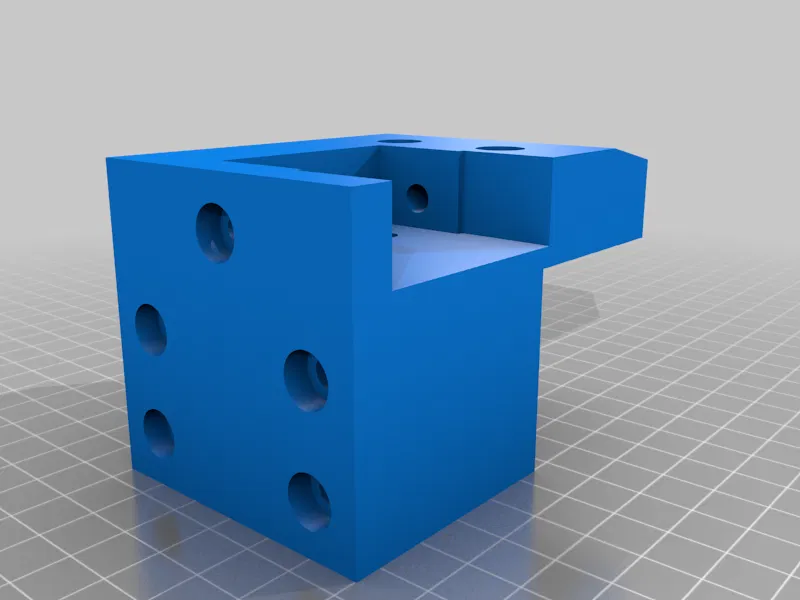
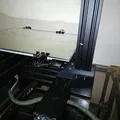
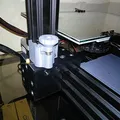
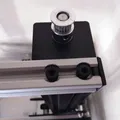
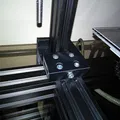
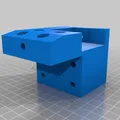
- X axis extension blocks: These are the core components that extend the X-axis. You'll print two of these: one for the left side and one for the right side. The description mentions they should be printed with "adequate filament" because the Z-axis stepper motor gets hot. ASA filament is recommended, printed with a 0.8mm nozzle, 0.5mm layer height, and 3 perimeters. No supports are needed. "Ngon lành" là tốt!
-
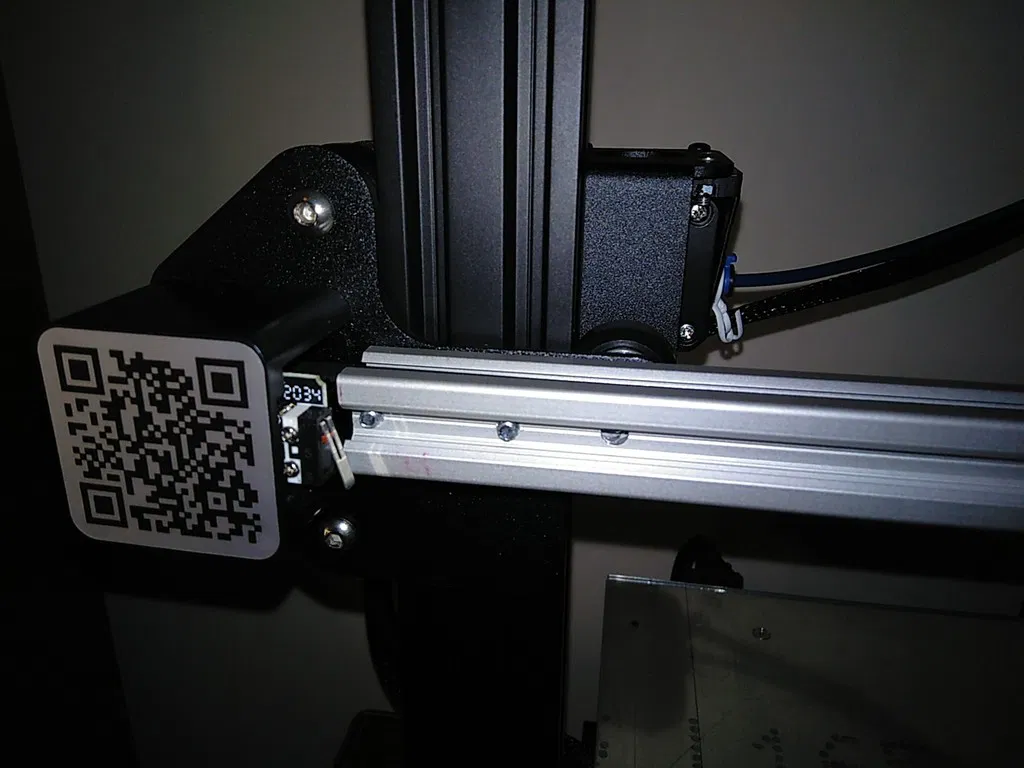
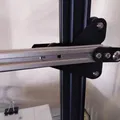
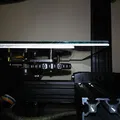
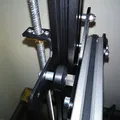
2020 V-slot profiles: You need two sections of this aluminum extrusion. One is 425mm long for the X-axis gantry, and the other is 410mm long for the top of the frame. These will be fitted into the extension blocks.
-
Bolts and Nuts:
- DIN912 M5 or equivalent bolts:
- 4 x 20mm length
- 4 x 16mm
- 6 x 45mm
- 8 x 50mm
- 2 x 10mm
- (OPTIONAL) M4 x 20mm button head bolts and spring washers: 4 of each, if you want to thread through the entire X-carriage profile. Be mindful of the belt tensioner – you might need to file or grind down the rightmost bolt if it interferes.
- M5 V-slot nuts: You'll need 24 of these.
- DIN912 M5 or equivalent bolts:
-
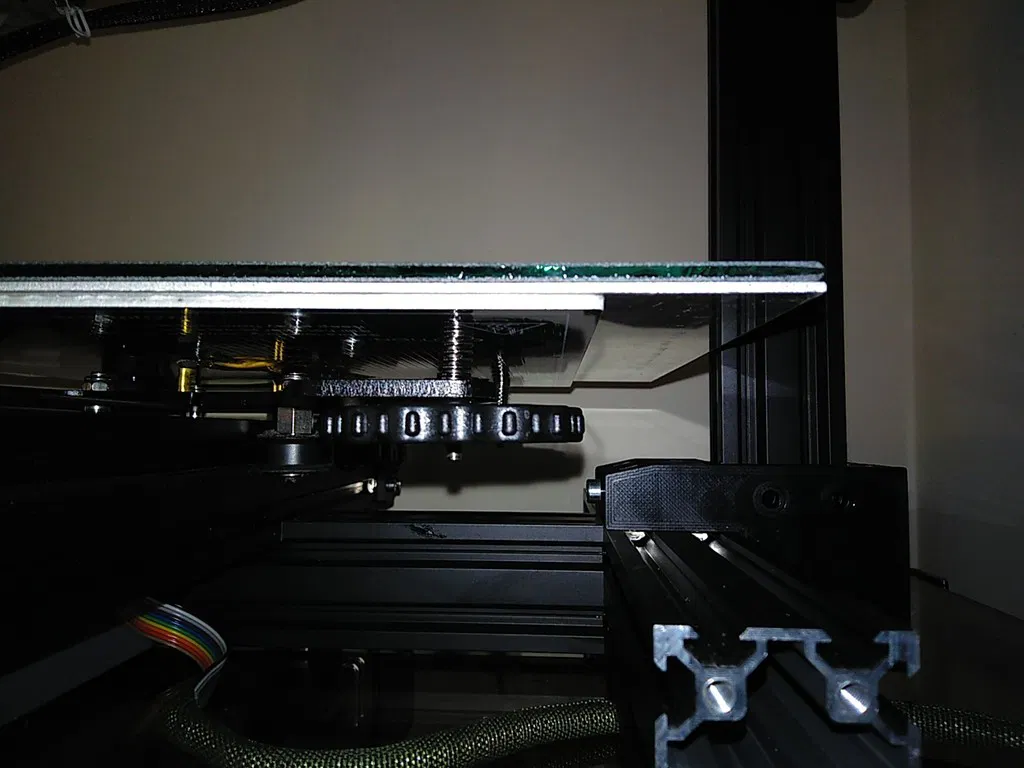
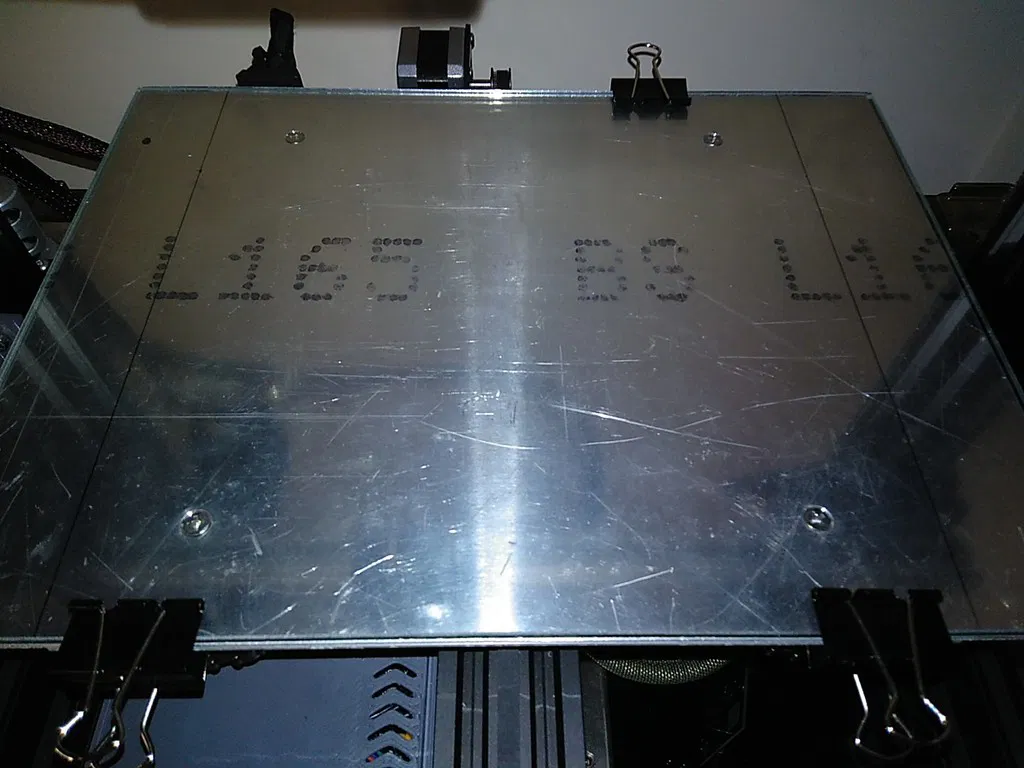
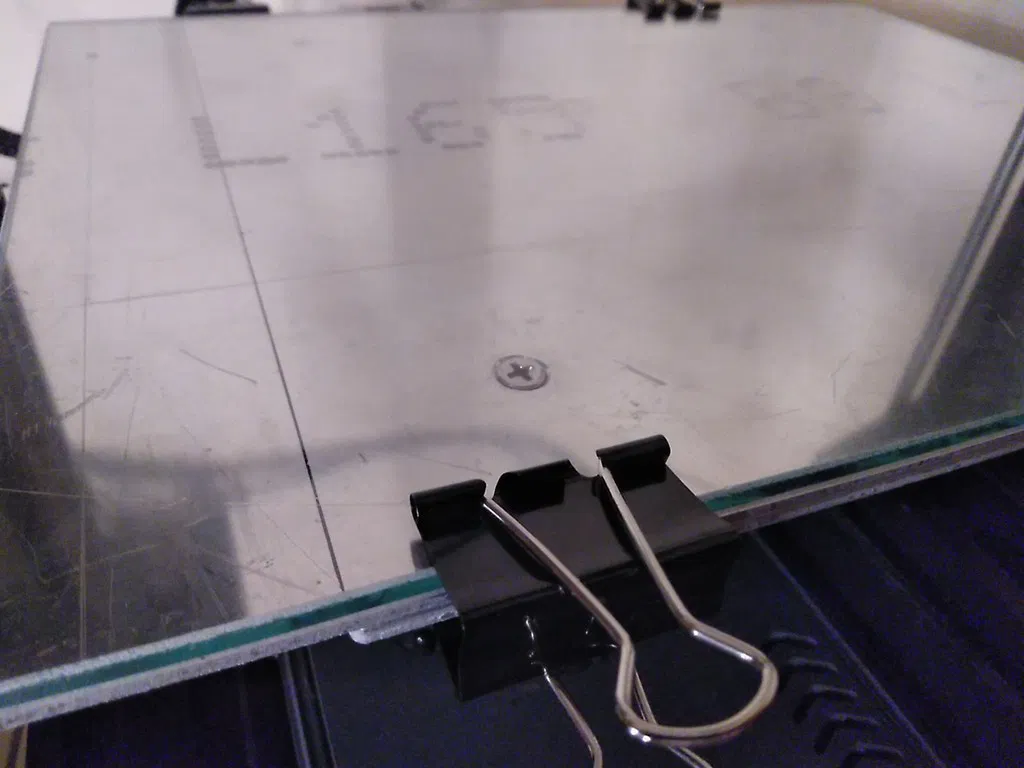
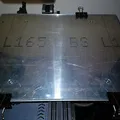
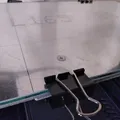
Build Plate:
- Aluminum plate: Sized 315mm x 235mm with a thickness of about 2mm.
- New glass: A new glass bed to go on top of the aluminum plate.
-
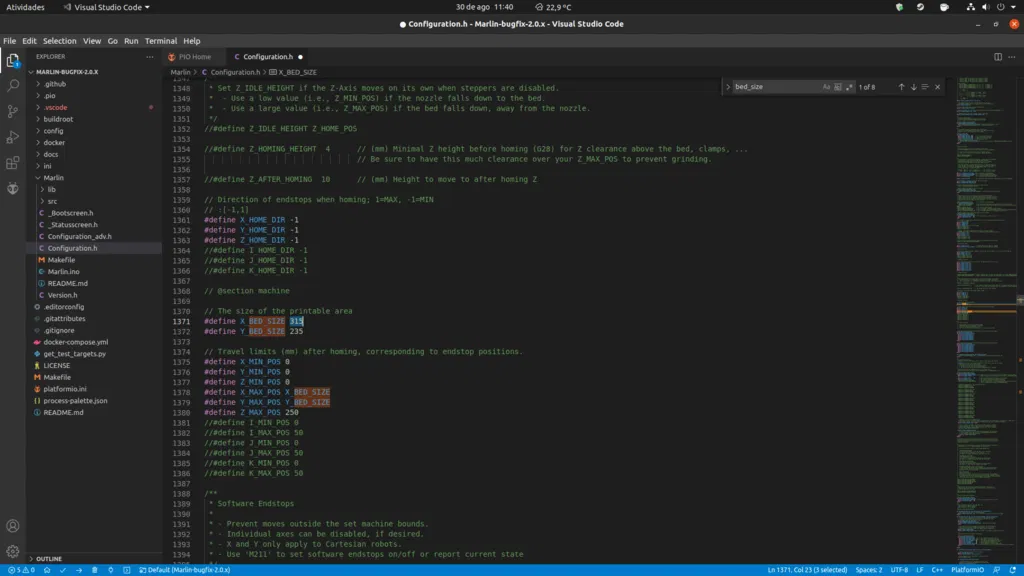
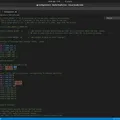
Firmware: You'll need to modify the firmware. Specifically, in
Configuration.h, change#define X_BED_SIZEfrom 235 to 315. "Nhớ sửa cái này nha mấy ông!". -
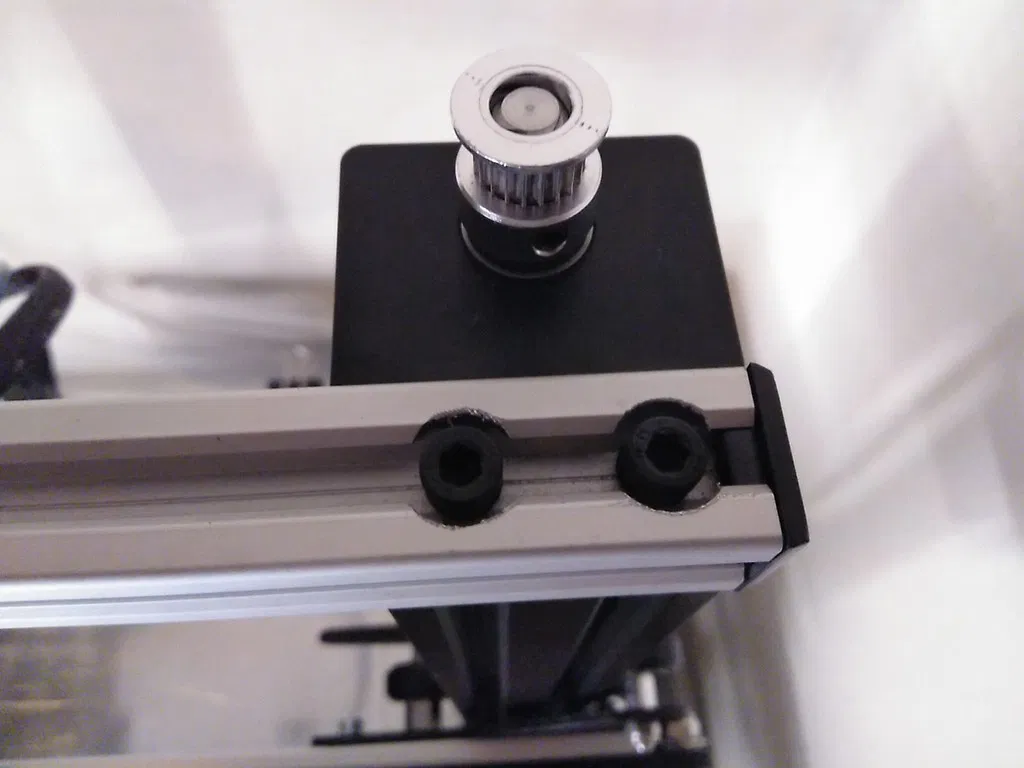
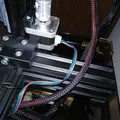
X-axis belt: A new, longer X-axis belt is required. The length will depend on your specific setup, but it needs to be longer to accommodate the extended travel.
Important Steps:
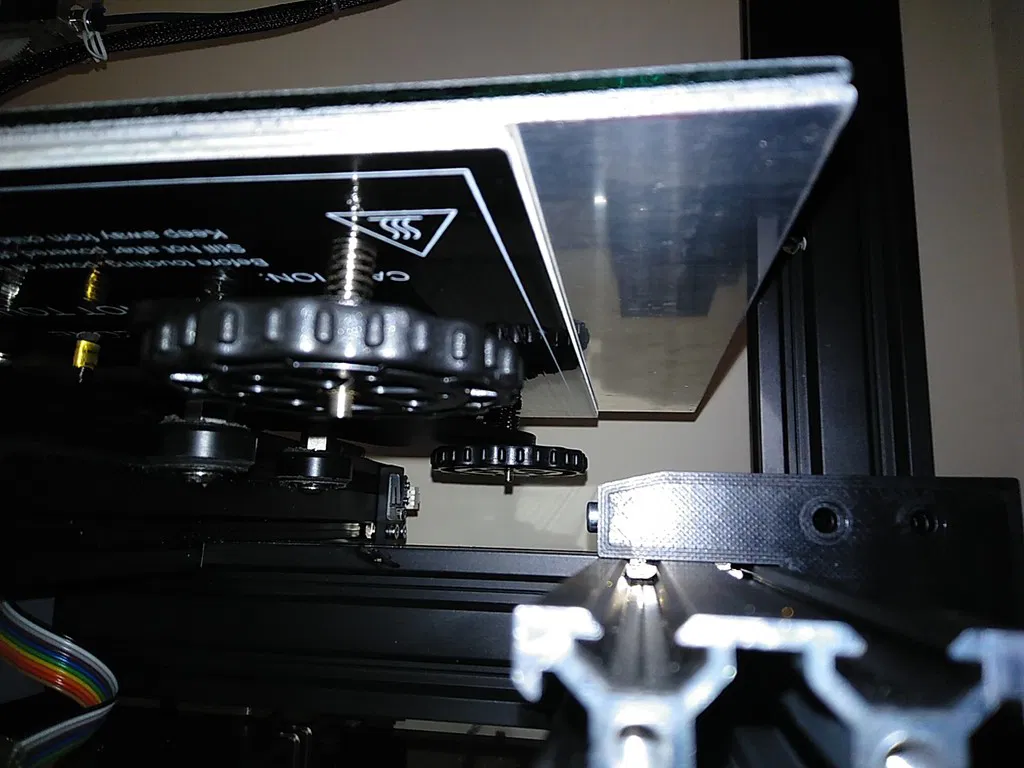
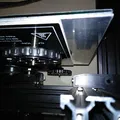
- Transfer holes: You'll need to transfer the mounting holes from your original heated bed to the new aluminum plate. Ensure the original heated bed is centered on the new aluminum base. Then, countersink these holes to fit the bed bolts.
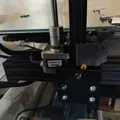
- Drill new profiles: The new 2020 V-slot profiles need to be drilled. You can do this by aligning them with the original Ender 3 profiles and transferring the hole locations. "Cái này cũng dễ thôi à."
- Tap M4 threads: For the X-axis carriage profile, you'll need to tap four M4 threads. This will allow you to securely mount components.
- Counterbore: You'll need to counterbore (create recessed holes) for the bolt heads of the Z-axis gantry wheels and the four bolts holding the top 2020 frame profile. A tree-shaped radius burr is suggested for this. "Cẩn thận cái vụ này nha, làm khéo khéo."
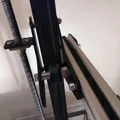
Dual Z-Axis Recommendation:
If your printer has a dual Z-axis setup driven by a single motor, you'll need a new belt approximately 800mm long. It's highly recommended to install a proper dual Z-axis system for this modification to work well.
Update 21/Sep/2021:
- Corrected file nomenclature.
- Added RH Extension file named " 4040 - Extension RH Z stepper " which includes clearance for a stepper motor. This is for users who want to add a second Z-axis stepper motor instead of using a belt-driven kit. "Cập nhật cho mấy anh em xài dual Z cho tiện nè!"
Print Settings:
Resolution: 0.5mm
Infill: 40%
Filament: Apollox Formfutura ASA Black
Giấy phép

File mô hình


Chưa có bản in nào được khoe. Hãy là người đầu tiên!

Chưa có bình luận nào. Hãy là người đầu tiên!