

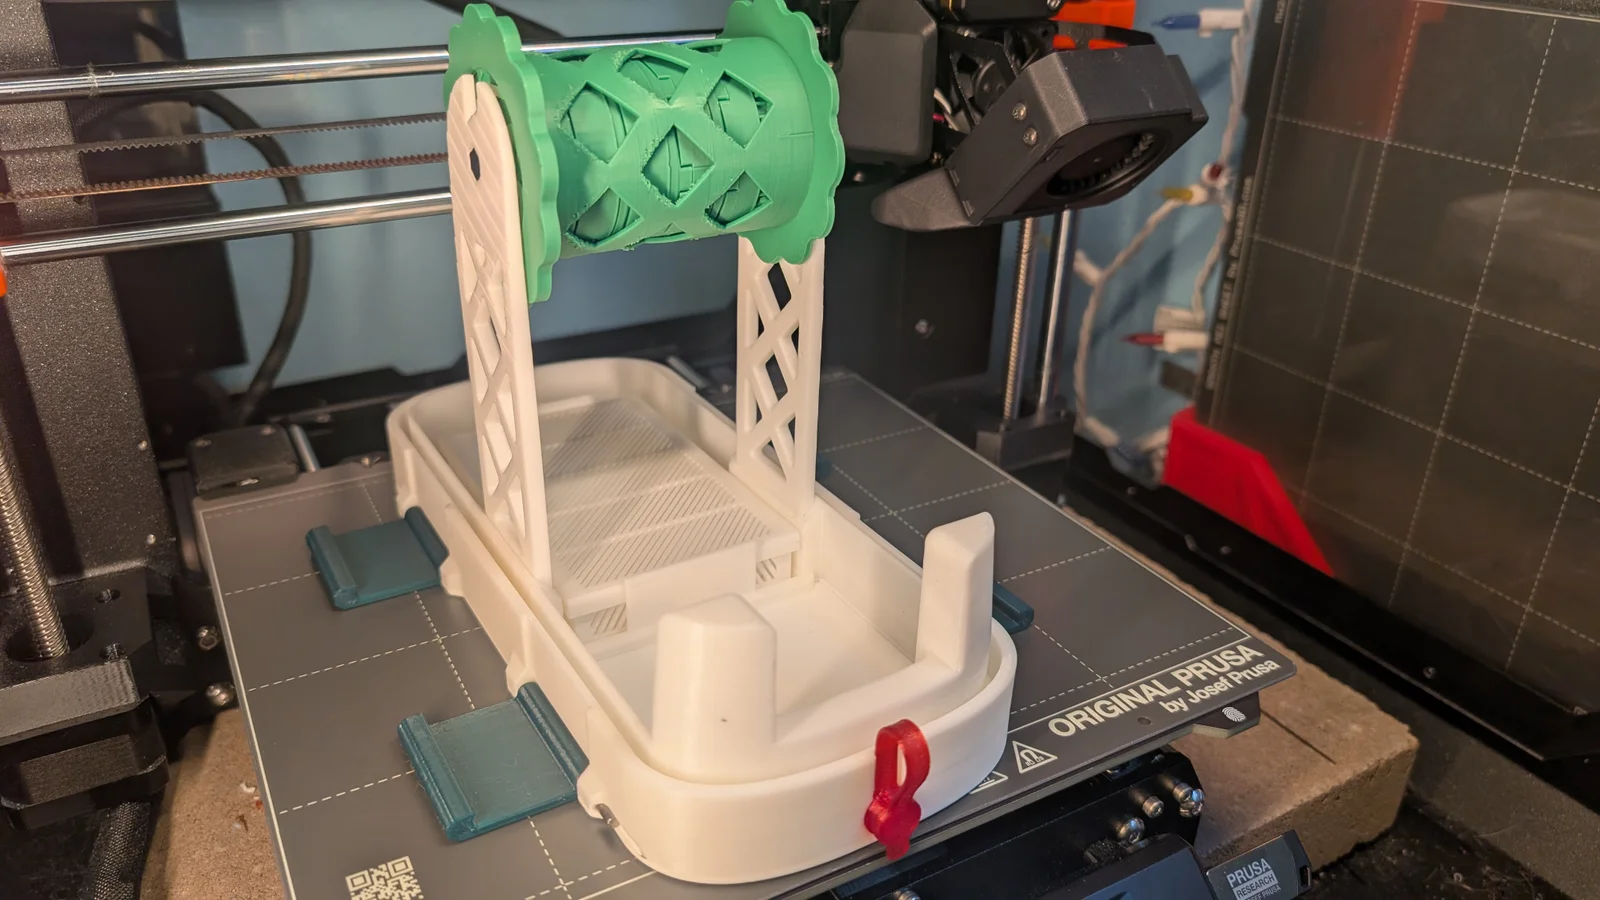

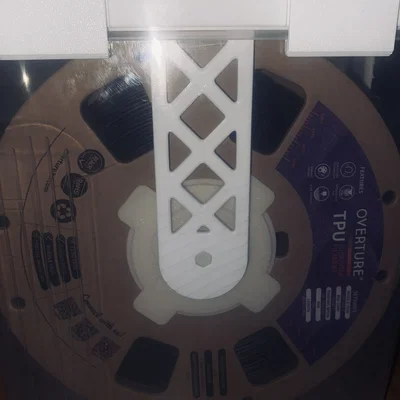

Kẹp giữ sợi Filament
 Bytinx_1344834Likes1.2KDownloads6K
Remix of Các bản remix nắp hộp lưu trữ sợi nhựa 2026 với chốt riêng biệt By SaDiablo_1958772
Build another version of this model.
I love this design. It's great, but I had some issues I needed to address. Thank you to GunplaMark for making my life easy by publishing the STEP files.
I've made a number of changes from the original design:
The original rewinders require a non printable metal spring and are (IMHO) over engineered. Having had past experience with VincentGroenhuis's rewinder, I knew it worked well. Testing confirmed that it works perfectly in this scenario, including with an MMU3. Also it only uses 2x608 bearings per rewinder instead of 4.
The VincentGroenhuis rewinder has been modded to add a removable end cap which prevents the spool falling off and allows you to change the spool without dismantling the whole rewinder. Also modded to take a hex profile shaft.
Getting the shaft inserted into the side supports while mounting the spool is a huge pain in the ass. To resolve this, I've added a guide channel to the side support and changed the profile of the shaft to be hexagonal. This gives you rotational symmetry which needs at the most a rotation of 30 degrees to find a fit.
The original clip on the shaft falls off if you look at it funny. Just getting the whole rewinder out of the supports would cause it to fall off and then the whole thing falls to pieces. I've replaced it with a printable split pin instead. I tried to test it to destruction but I was unable to break it.
Dessicant bin clips are fragile AF and don't print cleanly due to a 90 degree overhang. Broke a few of them and printed some repair patches before I modified the design to be stronger.
Latches: I've used a similar design to SaDiablo which makes them easily replaceable and hinged on a rod. I sized it for a 1/8" thick rod which can be found cheaply at most big box stores. If people want other diameters for other hinge options, let me know and it's easy to make a new version and upload. They need to be 55mm long.
As above, I've used the same technique as SaDiablo to enable the use of the original gasket from the containers.
I used a slightly modified version of the dessicant container from this remix.
All parts are aligned in the STL to print optimally.
Main body: I recommend printing with a 0.6 nozzle and a .32 layer height if you can, just to reduce the print time a bit. I put in a height modification from 1.2 to 5.4 and set the layer height to 0.2 to get nicer definition on the latch holes.
Latches: Print standing up for best strength. Depending on your hinge choice, you might need to clean up the insides with a round file.
Axle and Split Pin: Recommend printing in PETG with a 0.2 layer height. 3 perimeters.
Side supports (Left and Right): Must be printed at 0.2 layer height to get a relatively clean bridge for the axle guide. Recommend setting your bridging speed to 15mm/s for best quality.
Dessicant holder: No special instructions. Print however you want.
Rewinder: PLA is fine. 0.2 layer height. No supports needed.
Rewinder: Follow the original guidelines. It's not complicated. Push the axle in from either end. Doesn't matter. We'll align the rewinder when installing into the side supports. Use the split pin on the other end to hold it in place.
Main body: Insert the gasket from the original container. I recommend something like this to make it easier.
When putting the spool on the rewinder, make sure the spool unwinds in the direction of the arrows on either end.
After putting a spool on the rewinder, the end cap snaps on. There's an arrow on one side. Hook the opposite side on to the end of the rewinder and then push it down. It's very tight. It needs a lot of force to begin with. I recommend doing it 3 or 4 times to loosen it up a bit before putting a spool on, because it's harder with the spool in place. The arrow tells you where to pull to remove it later.
The rewinder doesn't have a clutch mechanism, instead relying on friction. I have found this to be very reliable even with plastic, cardboard, full or nearly empty spools.
If you have requests, questions or suggestions, hit me up in the comments.
Bytinx_1344834Likes1.2KDownloads6K

 ByreddLikes216Downloads2.1K

 Byarhi_585078Likes64Downloads535

 ByJasonOlliff_519145Likes241Downloads2K

 ByHanzo3dLikes155Downloads410

 ByGeek5DLikes147Downloads480

 ByBrokentooth_designsLikes23Downloads401

 By3DSourcererLikes48Downloads372

 ByMrExo3DLikes11Downloads63

 Byzachstofko_3956201Likes88Downloads151

 ByzooppLikes7Downloads158

 ByJDOsolutions_280237Likes85Downloads120