



Đầu dò cảm biến lực tự chế giá $10 cho Ender 3
 ByBrokentooth_designsLikes17Downloads142
Build another version of this model.
Description:
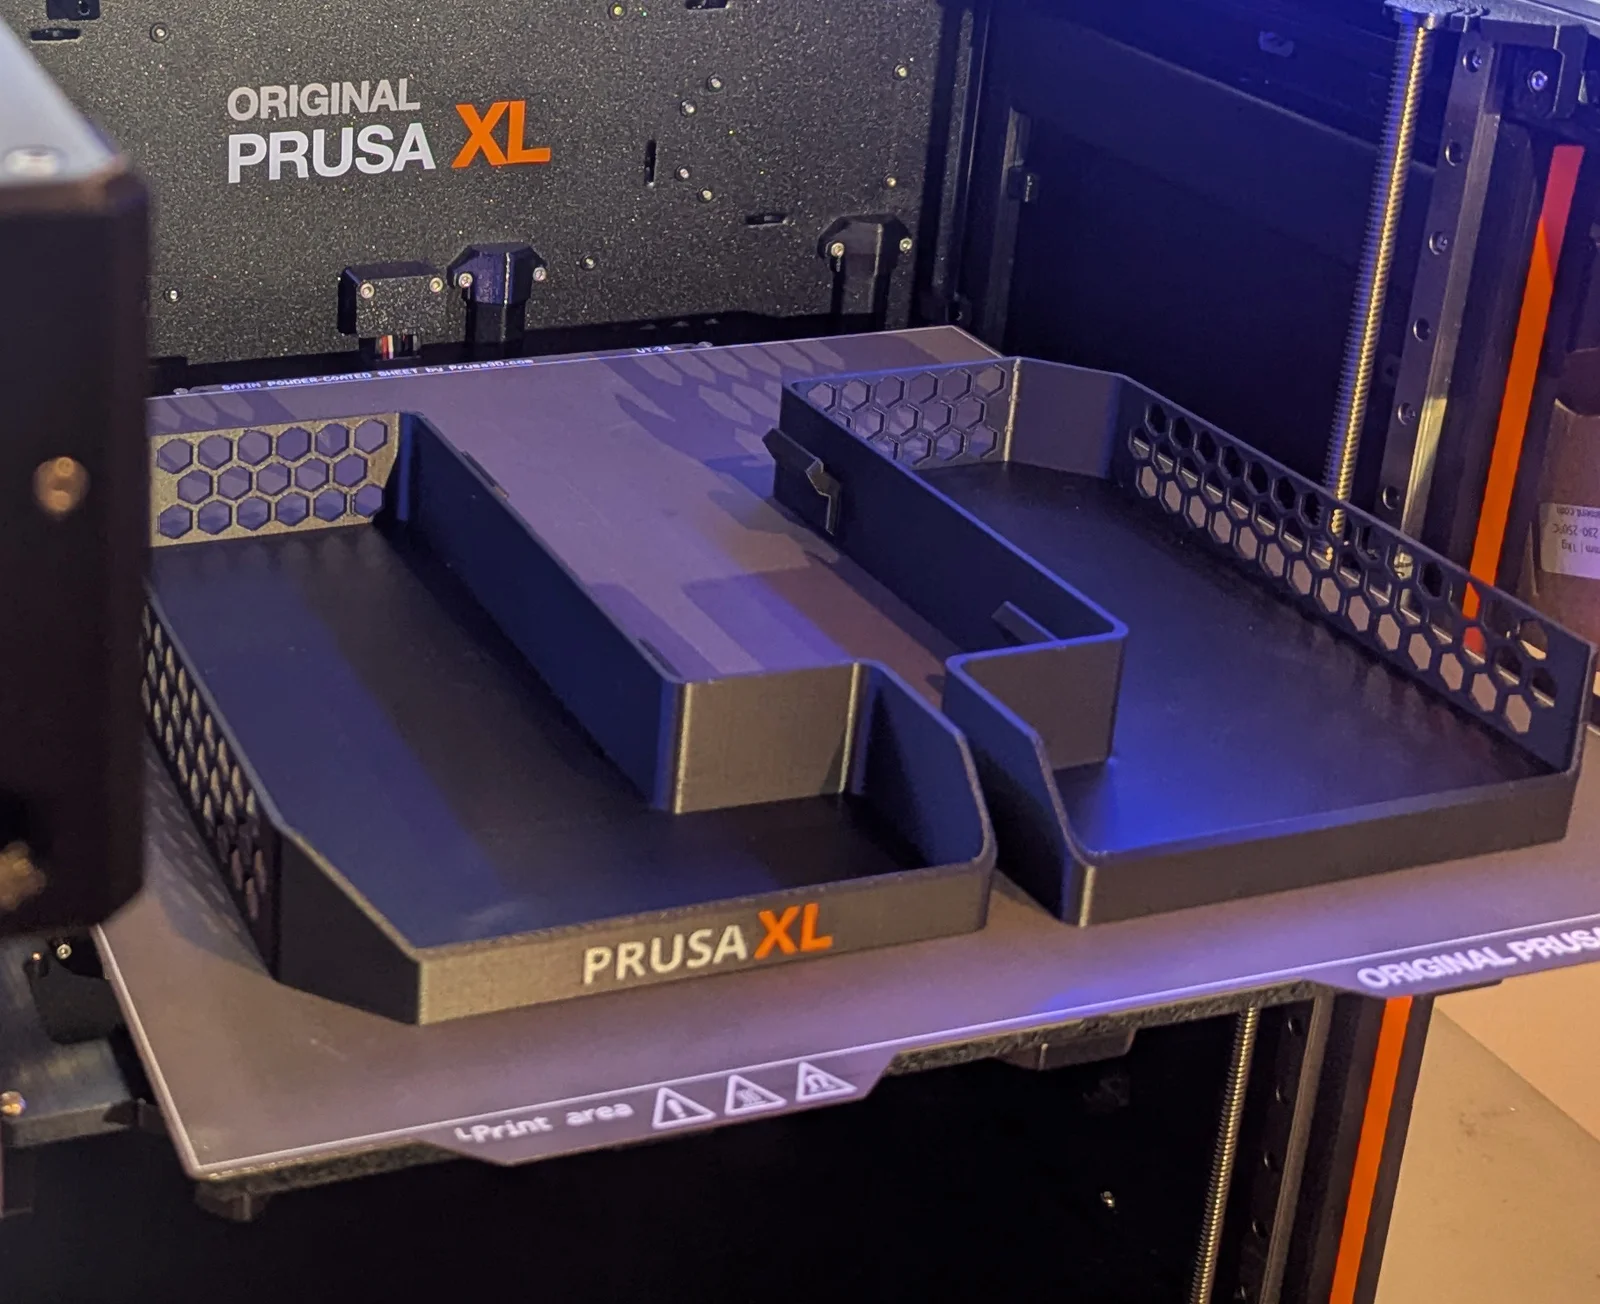
Here's a great use for that 1KG spool of Galaxy Black Prusament PLA that likely came included with your Prusa XL… Left and Right side trays (available with and without the Prusa Logo) Print the flush PRUSA XL logo text in orange and white to match the other branding on the printer for the ultimate OEM look.
These side trays are a redesign of my previously posted, very popular tray design for earlier model Prusa printers, however, the dimensions have been reworked specifically for the Prusa XL. The depth and height of the tray will not interfere with a forward mounted, lower filament spool.
Here's some Highlights:
Installation:
Happy printing!
PS: If you print these, please don't forget to post your “make” so I can see how they came out!
XL Upgrade Bonus #1: Upgraded 1-5KG Prusa XL Telescoping spool holders: https://www.printables.com/model/1127259-upgraded-telescoping-prusa-xl-spool-holders-adjust
ByBrokentooth_designsLikes17Downloads142

 Bytinx_1344834Likes1.2KDownloads6K

 ByreddLikes216Downloads2.2K

 By3DSourcererLikes48Downloads373

 ByJasonOlliff_519145Likes241Downloads2K

 ByKRYS_3DLikes8Downloads42

 ByLeifLumbyHenriksenLikes3Downloads7

 Byarhi_585078Likes64Downloads536

 ByJDOsolutions_280237Likes85Downloads121

 ByHanzo3dLikes155Downloads411

 ByPengLordLikes32Downloads109

 ByGeek5DLikes147Downloads482