
F3D
Dụng cụ giữ kim nam châm dạng vòng đeo tay 11 / 4

4 images

DIY

Dụng cụ giữ kim nam châm dạng vòng đeo tay

By GZeus_7759

Downloads
19
Likes
4
Views
245

Files 3 1.5 MB

  • pincushion_10x3mm_magnets_1766180661.3mf3MF · 521.7 KB
  • pincushion_10x2mm_magnets_1766180662.3mf3MF · 521.8 KB
  • pincushion_no_magnets_1766180662.3mf3MF · 515.7 KB

Make a variant with AI

Build another version of this model.

Open Studio

Description

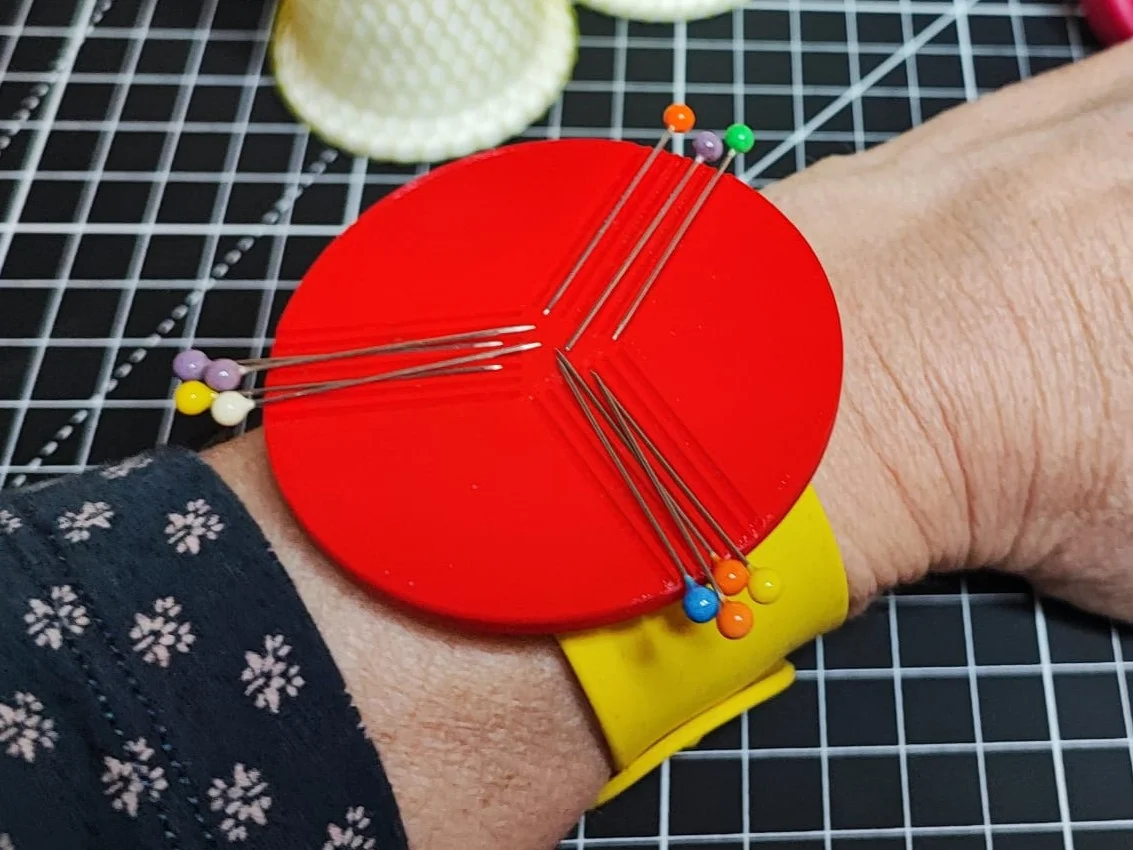
Keep your pins safe while sowing with this magnetic pincushion!

For assembly, you'll need:

  • 1 slapbracelet (up to 3cm wide)
  • 3 round magnets (10mm diameter, 2 or 3 mm thick) - If you have different magnet shapes or sizes, look at instuctions at the bottom. 3 mm thickness is still about the maximum you can use.

Detailed slicing and instructions:

  • Choose the correct file according to your magnet thickness)
  • Put the model on the printing plate, large face down
  • Layer height: 0.2mm is fine, since there are no details. If your printer can manage some bridging (3cm), no supports are needed 
  • In the slicing preview, find the layer just above the magnet holes (around 3.8mm for the 10x2mm version, 4.7mm for 10x3 version), and insert a Pause print (M601) command. If Pause print is not available, color change (M600) is also usable.  (To get Pause print command in PrusaSlicer, right click on the plus sign next to the layer map - see image below)
  • Export the G-Code and print.
  • The print should pause just after finishing the magnet holes - that is when you insert the magnets. No glue should be neccessary (especially for a magnetic printing plate, since it just sticks to the bottom), but if you're unsure, a drop of superglue should hold everything in place.
  • After inserting magnets, resume print.
  • After the print finishes, just slide in your slap bracelet. 
  • Enjoy!

Different magnet shapes/sizes?

  • If you don't have round magnets, I provided a No-magnet version of the model. You can insert the appropriate holes to the model with the “Add negative volume” in Prusa Slicer, which will create the magnet holes.
  • Right-click the model, “Add negative volume”, add a box (or other appropriate shape), change the size to fit your magnet, and add around 0.3mm more to each dimension for tolerances. Have three copies of these holes in the same layer, one above each grooved area (look at the models with the holes to get an idea about the placement).
  • Then you can slice as you normally would according to the instruction above.

Read more Show less

Print spec

Formats
3mf
Model files
3
Total size
1.5 MB
Largest file
521.8 KB

0 comments

See all