



Ngàm gắn iPhone lên Tripod - Có ren xoắn
 BykyleschiefferLikes35Downloads394
Build another version of this model.
 Lens Kodak Funsaver ngàm Sony E (Kodak Funsaver Sony E mount Lens)ByBoaztheostric_876598 · 05/03/2026
 Adapter máy ảnh dùng một lần sang ngàm Sony E-mountByJoshSpires · 05/03/2026
 Adapter Lens Máy Ảnh Dùng Một Lần cho Fujifilm (Bản Cập Nhật)ByNollikino_315603 · 05/03/2026
 Ngàm chuyển ống kính máy ảnh dùng một lần cho Fujifilm X-MountByfabian_1676945 · 04/26/2026
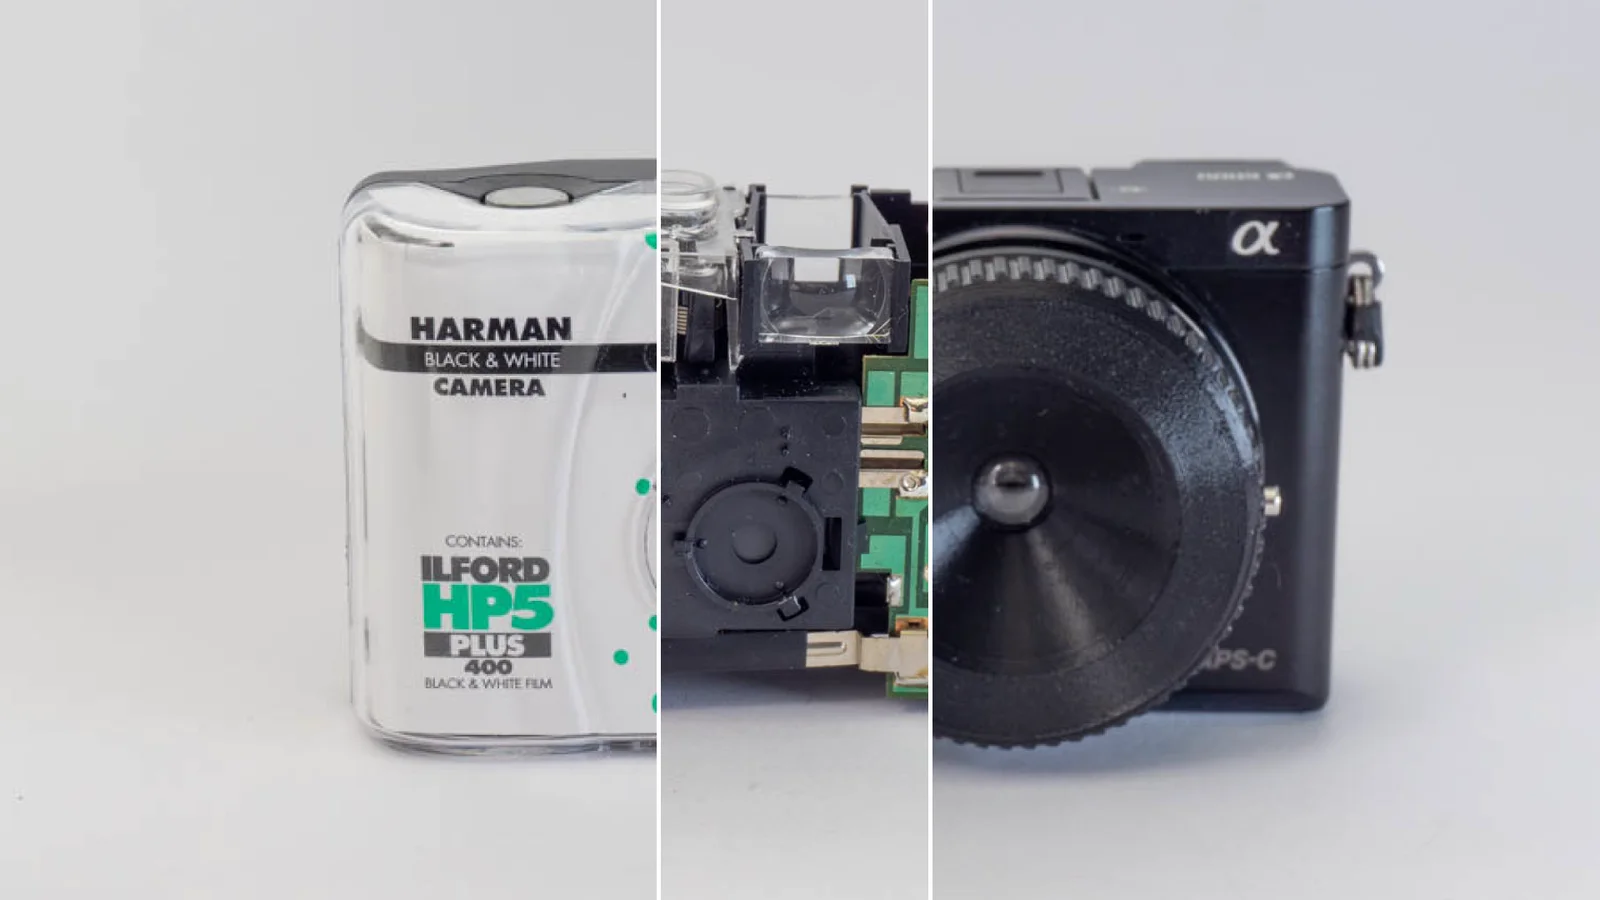
They're easy, they're cheap and they can be a lot of fun: disposable cameras.
If you still got one around, you can remove the plastic lens from the camera housing and print a lens holder for a Sony E-mount camera.
All you need is a bit of black filament, some glue and a disposable camera.
If you are using a single lens you'll get a lens with a focal length of ~35mm on a full frame camera and about 50mm on APS-C. If you've got two disposable cameras around you can build the double lens assembly with 17mm (full frame) or 26mm (APS-C):
You can find more info here: volzo.de/thing/recyclinglenses
Print settings: 0.4mm nozzle or smaller. 0.1-0.2mm layer size is okay. Increase cooling if necessary for the internal threads.
Attach the e-mount flange (1) to the inner ring (2). You can do this either with a bit of superglue or three M2 DIN965 6mm screws (3). There is a tiny tooth in the inner ring that fits into a gap in the flange, so there is only one way to fit these two parts together.
Then grab the focus ring (4) and place the lens (5) in the center. The lens has one side which is curved outwards (convex) and one side which is curved inwards (concave), but on the concave side, the lens could lay flat on a table. Place the lens in the focus ring so the curved side (convex) is pointing outwards to the front.
Grab the lens nut (6) and screw it on the threads around the lens. The lens nut should now press against the “flat” (concave) side of the lens.
Screw the focus ring (4) on the inner ring (2) and you’re done. The very last step is optional. If you’ve got another M2 screw you can screw it into the focus ring (without touching the inner ring) to create a hard stop for the focus ring. Then it’s not possible anymore to unscrew the focus ring by accident and there is a reliable “focus at infinity” stop.
For the double-lens variant you just need to replace the focus ring and add the 3d-printed shim part in between the first and the second lens. The two lenses should be placed like a mirror (flat side against flat side with the shim between them).
That’s it! Lens is done.
BykyleschiefferLikes35Downloads394

 ByckthLikes148Downloads2.4K

 ByvideograndpaLikes36Downloads280

 ByNK01_3850118Likes13Downloads211

 ByRedeyeLikes41Downloads217

 ByBaGooNLikes64Downloads138

 ByJaronLikes310Downloads1K

 Byw3rN42Likes127Downloads930

 ByTomDDLikes89Downloads572

 BykukulinLikes77Downloads511

 ByJwidessLikes34Downloads372

 ByAustin Wolt WoltLikes162Downloads375